VIEW >>> RULERS
Open a new image 600 x 480
Transparent background
PSPX - X2: Colour Depth = 8bits/channel
PSPX3: Colour Depth RGB = 8bits/channel
|
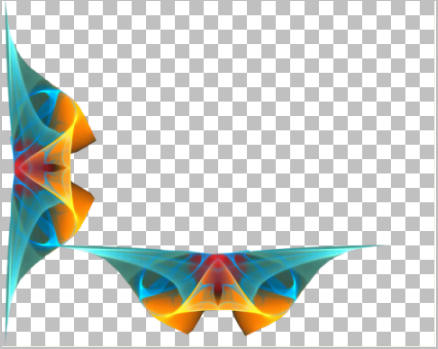
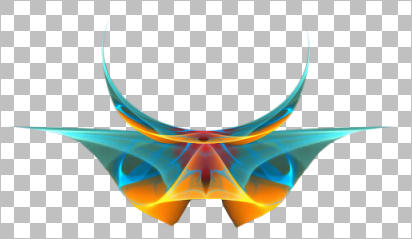
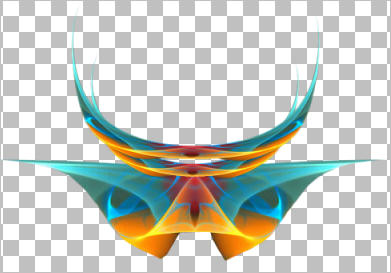
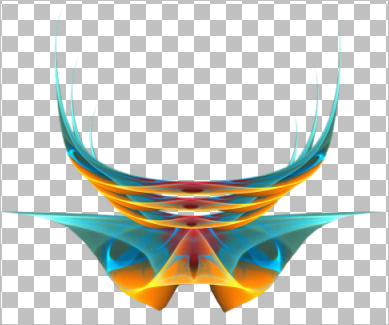
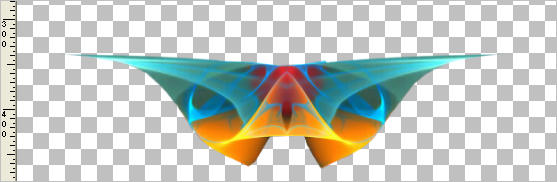
Open up the JF_Muliticolour_Shape image
in your PSP workspace
Right click on the Title Bar and select COPY from the options
Right click on the Title Bar of your tag image
and select PASTE AS NEW LAYER from the options.
IMAGE >>> FLIP
EFFECTS >>> DISTORTION EFFECTS >>> PINCH
EDIT >>> Repeat Pinch
Reposition down with your MOVER tool
|
LAYERS >>> DUPLICATE
PSP8 - PSP9:IMAGE >>> ROTATE >>> FREE ROTATE = LEFT 90
Ensure "All layers" is UNCHECKED
PSPX - PSPX3: IMAGE >>> FREE ROTATE = LEFT 90
Ensure "All layers" is UNCHECKED
Reposition with your MOVER tool
|
|
LAYERS >>> DUPLICATE
IMAGE >>> MIRROR
LAYERS >>> MERGE >>> MERGE DOWN
CLOSE Copy of Raster 2
ACTIVATE RASTER 2
LAYERS >>> DUPLICATE
Rename layer Copy 1
CLOSE RASTER 2
IMAGE >>> RESIZE = 75%
Ensure "Resize all layers" is UNCHECKED
Resample using WEIGHTED AVERAGE
Reposition down with your MOVER tool
|
|
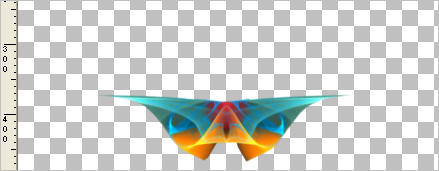
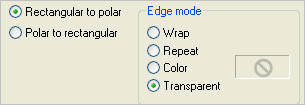
EFFECTS >>> DISTORTION EFFECTS >>> POLAR COORDINATES
|
|
IMAGE >>> RESIZE = 55%
Ensure "Resize all layers" is UNCHECKED
Resample using WEIGHTED AVERAGE
ADJUST >>> SHARPNESS >>> SHARPEN
OPEN RASTER 2
Reposition Copy 1 with your MOVER tool
if necessary
|
|
LAYERS >>> DUPLICATE
EFFECTS >>> DISTORTION EFFECTS >>> PUNCH
ADJUST >>> SHARPNESS >>> SHARPEN
Reposition with your MOVER tool
|
|
LAYERS >>> DUPLICATE
EFFECTS >>> DISTORTION EFFECTS >>> PUNCH
ADJUST >>> SHARPNESS >>> SHARPEN
Reposition with your MOVER tool |
|
OPEN ALL LAYERS
ACTIVATE RASTER 1
Flood Fill with BLACK #113e4d
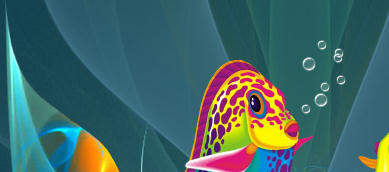
Open up the Apos3D-110826-101-s69-8-ak image
in your PSP workspace
Right click on the Title Bar and select COPY from the options
Right click on the Title Bar of your tag image
and select PASTE AS NEW LAYER from the options.
LAYERS >>> DUPLICATE
IMAGE >>> MIRROR
LAYERS >>> MERGE >>> MERGE DOWN
In your LAYER PALETTE change the OPACITY to 78%
Change the BLEND MODE to EXCLUSION
|
|
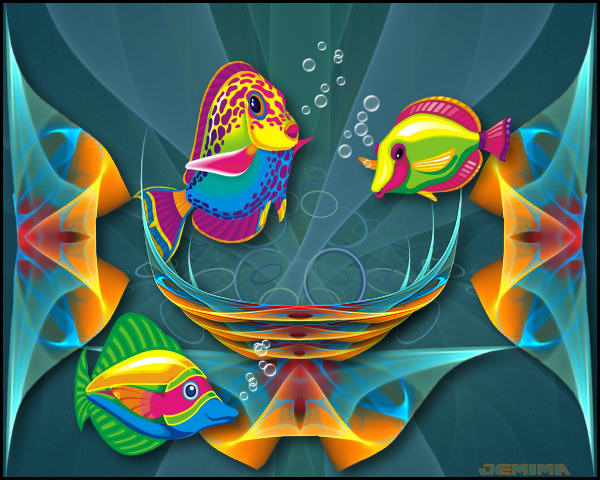
.
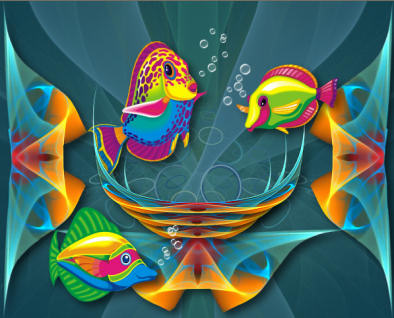
NOTE: You can place the fish where you wish OR follow the instructions below *S*
Also.. if you wish
to "sharpen" the images once reduced in size that's OK too.
I haven't "sharpened" them because I thought they were clear enough even after reducing in size.
.
|
ACTIVATE "Copy of copy 1" layer
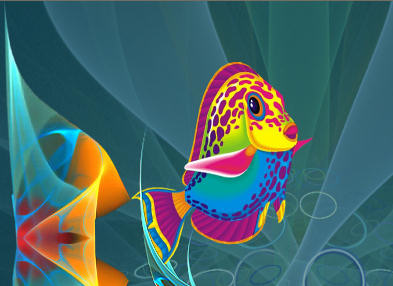
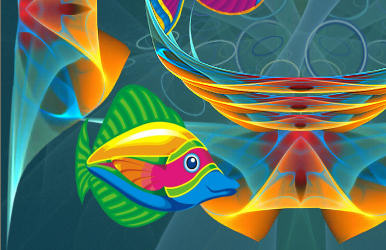
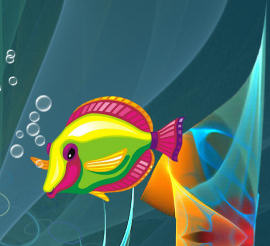
Open up the jcw_tropicalfish4 image
in your PSP workspace
Right click on the Title Bar and select COPY from the options
Right click on the Title Bar of your tag image
and select PASTE AS NEW LAYER from the options.
IMAGE >>> RESIZE = 50%
Ensure "Resize all layers" is UNCHECKED
Resample using WEIGHTED AVERAGE
Reposition with your MOVER tool
|
|
ACTIVATE "Copy of Raster 2" layer
Open up the jcw_tropicalfish5 image
in your PSP workspace
Right click on the Title Bar and select COPY from the options
Right click on the Title Bar of your tag image
and select PASTE AS NEW LAYER from the options.
IMAGE >>> MIRROR
IMAGE >>> RESIZE = 35%
Ensure "Resize all layers" is UNCHECKED
Resample using WEIGHTED AVERAGE
Reposition with your MOVER tool to the right |
|
Open up the jcw_tropicalfish3 image
in your PSP workspace
Right click on the Title Bar and select COPY from the options
Right click on the Title Bar of your tag image
and select PASTE AS NEW LAYER from the options.
IMAGE >>> RESIZE = 30%
Ensure "Resize all layers" is UNCHECKED
Resample using WEIGHTED AVERAGE
Reposition with your MOVER tool to the bottom left |
|
ACTIVATE the TOP layer
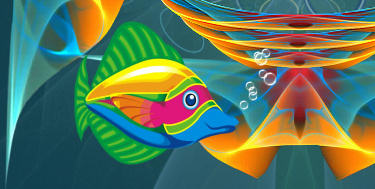
Open up the JF_Bubbles image in your PSP workspace
Activate "Bottom right" layer
Right click on the Title Bar and select COPY from the options
Right click on the Title Bar of your tag image
and select PASTE AS NEW LAYER from the options.
Reposition with your MOVER tool
|
|
Back to the JF_Bubbles image in your PSP workspace
Activate "Top right" layer
Right click on the Title Bar and select COPY from the options
Right click on the Title Bar of your tag image
and select PASTE AS NEW SELECTION from the options.
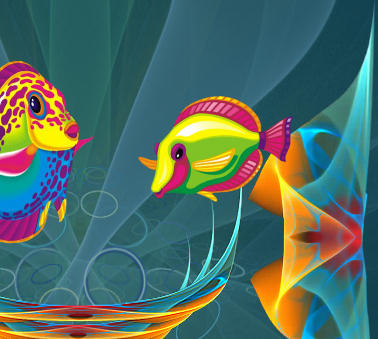
Place bubbles as shown
DESELECT
|
|
Back to the JF_Bubbles image in your PSP workspace
Activate "Top left" layer
Right click on the Title Bar and select COPY from the options
Right click on the Title Bar of your tag image
and select PASTE AS NEW SELECTION from the options.
IMAGE >>> RESIZE = 70%
Ensure "Resize all layers" is UNCHECKED
Resample using WEIGHTED AVERAGE
Place bubbles as shown
DESELECT
|
|
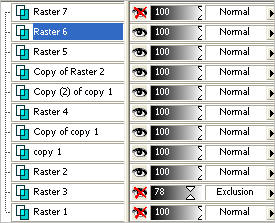
Set up layer palette as shown |
|
Starting with RASTER 6
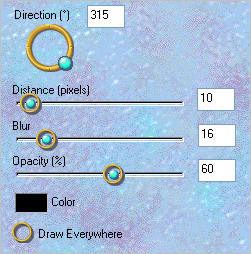
EFFECTS >>> PLUGINS >>> EYE CANDY 3 >>> DROP SHADOW
|
|
EDIT >>> Repeat Drop Shadow
on each layer all the way down to Raster 2
OPEN ALL LAYERS
|
|
LAYERS >>> MERGE >>> MERGE VISIBLE
LAYERS >>> NEW RASTER LAYER
Flood fill with BLACK
SELECTIONS >>> SELECT ALL
SELECTIONS >>> MODIFY >>> CONTRACT = 3
EDIT >>> CLEAR
DESELECT
LAYERS >>> MERGE >>> MERGE ALL (Flatten)
Save as .jpg image
|
|
|