STEP 1
Open a new image 600 x 600
Transparent background
RASTER BACKGROUND
PSPX - X2: Colour Depth = 8bits/channel
PSPX3: Colour Depth RGB = 8bits/channel |
STEP 2
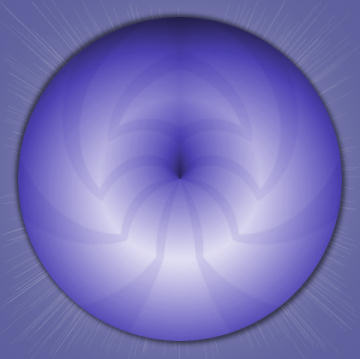
Open up the chaos image in your PSP workspace
Right click on the Title Bar and select COPY from the options
Right click on the Title Bar of your tag image
and select PASTE AS NEW LAYER from the options.
IMAGE >>> RESIZE = 85%
Ensure "Resize all layers" is UNCHECKED
Resample using WEIGHTED AVERAGE
ADJUST >>> SHARPNESS >>> SHARPEN
Minimize the chaos image
|
|
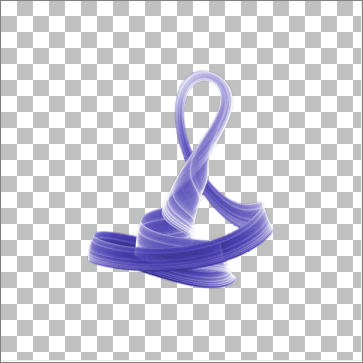
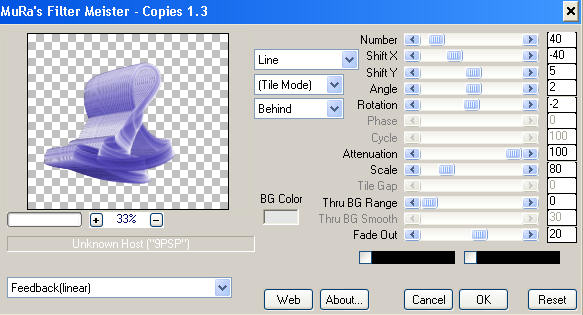
STEP 3
EFFECTS >>> PLUGINS >>> MuRa's Meister >>> Copies
BG Color = #e4e5e5
|
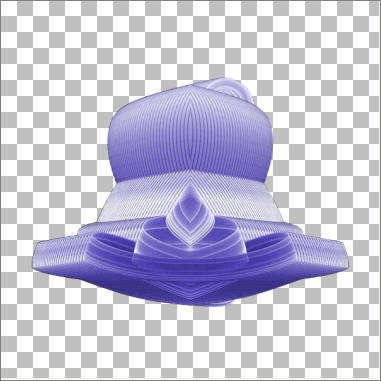
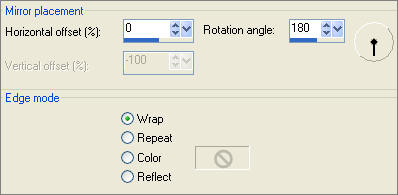
STEP 4
EFFECTS >>> REFLECTION EFFECTS >>> ROTATING MIRROR
|
|
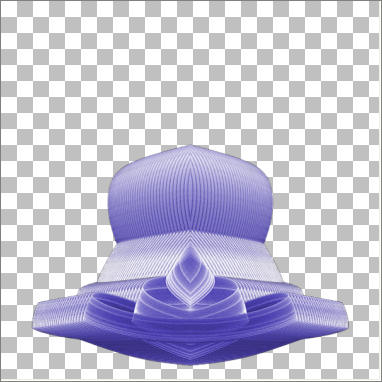
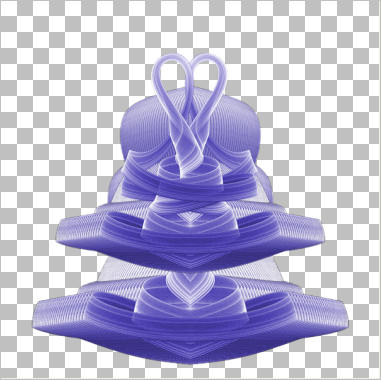
STEP 5
Reposition down with your MOVER tool |
|
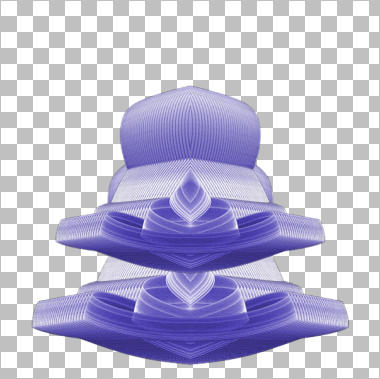
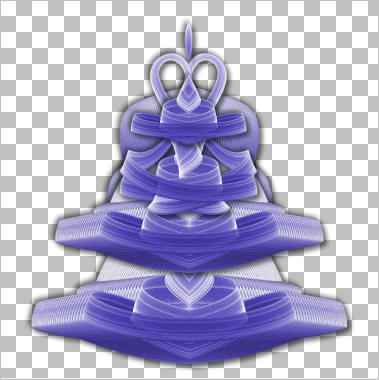
STEP 6
LAYERS >>> DUPLICATE
IMAGE >>> RESIZE = 85%
Ensure "Resize all layers" is UNCHECKED
Resample using WEIGHTED AVERAGE
ADJUST >>> SHARPNESS >>> SHARPEN
Reposition with your MOVER tool
|
|
STEP 7
Maximize the chaos image in your PSP workspace
Right click on the Title Bar and select COPY from the options
Right click on the Title Bar of your tag image
and select PASTE AS NEW LAYER from the options.
IMAGE >>> RESIZE = 60%
Ensure "Resize all layers" is UNCHECKED
Resample using WEIGHTED AVERAGE
ADJUST >>> SHARPNESS >>> SHARPEN
LAYERS >>> DUPLICATE
IMAGE >>> MIRROR
LAYERS >>> MERGE >>> MERGE DOWN
Reposition with your MOVER tool |
|
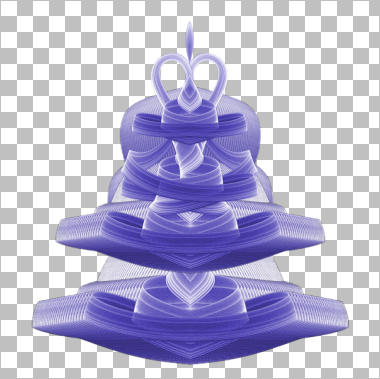
STEP 8
Maximize the chaos image in your PSP workspace
Right click on the Title Bar and select COPY from the options
Right click on the Title Bar of your tag image
and select PASTE AS NEW LAYER from the options.
IMAGE >>> RESIZE = 50%
Ensure "Resize all layers" is UNCHECKED
Resample using WEIGHTED AVERAGE
ADJUST >>> SHARPNESS >>> SHARPEN
EFFECTS >>> REFLECTION EFFECTS >>> ROTATING MIRROR
Same settings
Reposition with your MOVER tool
|
|
STEP 9
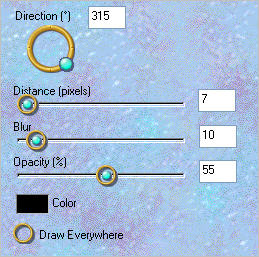
EFFECTS >>> PLUGINS >>> EYE CANDY 3 >>> DROP SHADOW |
|
STEP 10
ACTIVATE RASTER 3
EDIT >>> Repeat Drop Shadow
ACTIVATE Copy of Raster 2
EDIT >>> Repeat Drop Shadow
ACTIVATE RASTER 2
EDIT >>> Repeat Drop Shadow
|
|
STEP 11
EDIT >>> Repeat Drop Shadow.. change DIRECTION to 135
ACTIVATE Copy of Raster 2
EDIT >>> Repeat Drop Shadow
ACTIVATE RASTER 3
EDIT >>> Repeat Drop Shadow
ACTIVATE RASTER 4
EDIT >>> Repeat Drop Shadow
|
|
STEP 12
CLOSE the following layers
RASTER 4
RASTER 3
Copy of Raster 2
RASTER 2
ACTIVATE RASTER 1
SELECTIONS >>> SELECT ALL
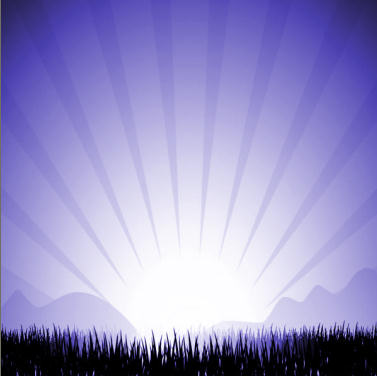
Maximize the sunrise image in your PSP workspace
Right click on the Title Bar and select COPY from the options
Right click on the Title Bar of your tag image
and select PASTE INTO SELECTION from the options.
DESELECT
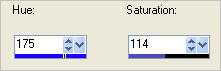
ADJUST >>> HUE & SATURATION >>> COLORIZE
|
|
STEP 13
LAYERS >>> DUPLICATE
IMAGE >>> FLIP
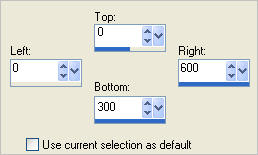
Choose your SELECTION TOOL then click on the CUSTOM SELECTION symbol
and enter these coordinates.
 EDIT >>> CLEAR
DESELECT
LAYERS >>> MERGE >>> MERGE DOWN
|
|
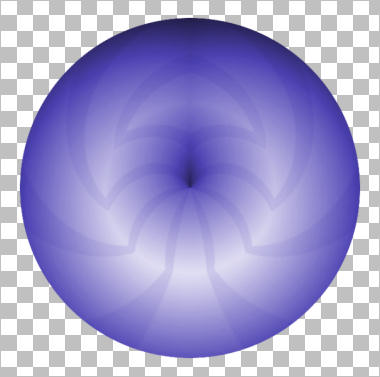
STEP 14
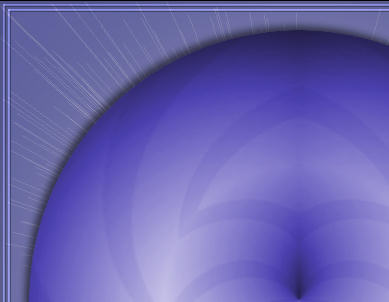
EFFECTS >>> DISTORTION EFFECTS >>> POLAR COORDINATES
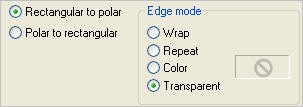
IMAGE >>> RESIZE = 90%
Ensure "Resize all layers" is UNCHECKED
Resample using WEIGHTED AVERAGE
|
|
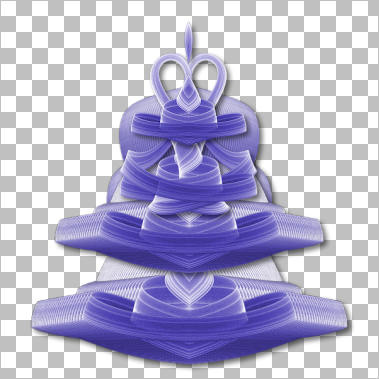
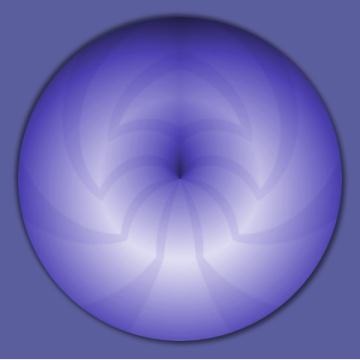
STEP 15
EFFECTS >>> PLUGINS >>> EYE CANDY 3 >>> DROP SHADOW
Same settings
EDIT >>> Repeat Drop Shadow.. change DIRECTION to 315
LAYERS >>> NEW RASTER LAYER
Flood fill with PURPLE #5b5e9c
LAYERS >>> ARRANGE >>> MOVE DOWN
|
|
STEP 16
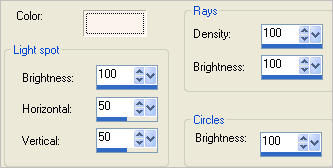
EFFECTS >>> ILLUMINATION EFFECTS >>> SUNBURST
COLOUR = #fcf3ed
|
|
STEP 17
SELECTIONS >>> SELECT ALL
SELECTIONS >>> MODIFY >>> CONTRACT = 5
SELECTIONS >>> INVERT
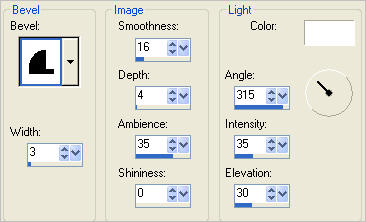
EFFECTS >>> 3D EFFECTS >>> OUTER BEVEL
|
|
STEP 18
SELECTIONS >>> INVERT
SELECTIONS >>> MODIFY >>> CONTRACT = 5
SELECTIONS >>> INVERT
EFFECTS >>> 3D EFFECTS >>> OUTER BEVEL
Same settings
DESELECT
|
|
STEP 19
OPEN ALL LAYERS
ACTIVATE RASTER 4
Open up the CR~winslowpels-turandot-07~DVDM image
in your PSP workspace
Right click on the Title Bar and select COPY from the options
Right click on the Title Bar of your tag image
and select PASTE AS NEW LAYER from the options.
IMAGE >>> RESIZE = 40%
Ensure "Resize all layers" is UNCHECKED
Resample using WEIGHTED AVERAGE
ADJUST >>> SHARPNESS >>> SHARPEN
EFFECTS >>> PLUGINS >>> EYE CANDY 3 >>> DROP SHADOW
Same settings
Reposition with your MOVER tool
|
|
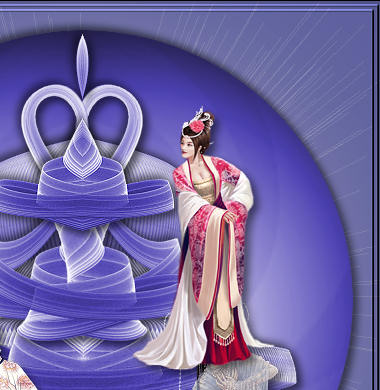
STEP 20
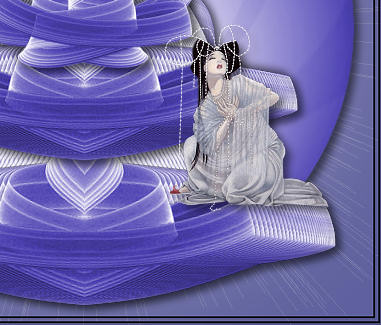
Open up the 026_(Oriental Lady)_ORIENTAL LADY 21APJW image
in your PSP workspace
Right click on the Title Bar and select COPY from the options
Right click on the Title Bar of your tag image
and select PASTE AS NEW LAYER from the options.
IMAGE >>> RESIZE = 40%
Ensure "Resize all layers" is UNCHECKED
Resample using WEIGHTED AVERAGE
ADJUST >>> SHARPNESS >>> SHARPEN
EFFECTS >>> PLUGINS >>> EYE CANDY 3 >>> DROP SHADOW
Same settings
Reposition with your MOVER tool |
|
STEP 21
Open up the Annytubes_Lady 266_23_01_2012 image
in your PSP workspace
Right click on the Title Bar and select COPY from the options
Right click on the Title Bar of your tag image
and select PASTE AS NEW LAYER from the options.
IMAGE >>> RESIZE = 40%
Ensure "Resize all layers" is UNCHECKED
Resample using WEIGHTED AVERAGE
ADJUST >>> SHARPNESS >>> SHARPEN
IMAGE >>> MIRROR
EFFECTS >>> PLUGINS >>> EYE CANDY 3 >>> DROP SHADOW
Same settings
Reposition with your MOVER tool |
|
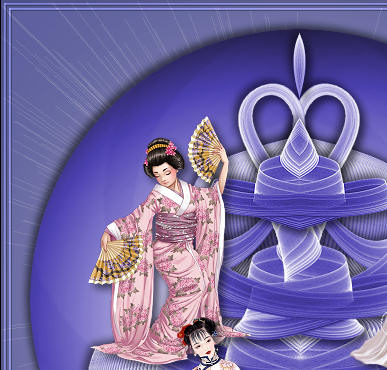
STEP 22
LAYERS >>> ARRANGE >>> MOVE DOWN (Twice)
Open up the lia_japanese_dance image
in your PSP workspace
Right click on the Title Bar and select COPY from the options
Right click on the Title Bar of your tag image
and select PASTE AS NEW LAYER from the options.
IMAGE >>> RESIZE = 40%
Ensure "Resize all layers" is UNCHECKED
Resample using WEIGHTED AVERAGE
ADJUST >>> SHARPNESS >>> SHARPEN
EFFECTS >>> PLUGINS >>> EYE CANDY 3 >>> DROP SHADOW
Same settings
Reposition with your MOVER tool
|
|
NOTE:
If you are using this tut for other than personal use
you may need to include the copyright layer when you add the above image.
See result at top of page.
|
STEP 23
LAYERS >>> MERGE >>> MERGE ALL (Flatten)
Save as .jpg image
|
|
|