VIEW >>> RULERS
Open a new image 600 x 600
Transparent background
PSPX - X2: Colour Depth = 8bits/channel
PSPX3: Colour Depth RGB = 8bits/channel
. |
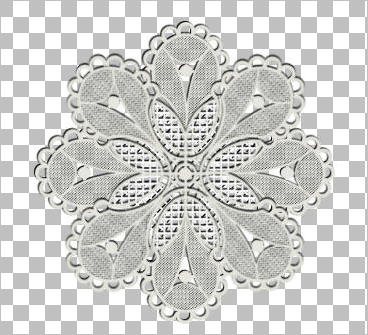
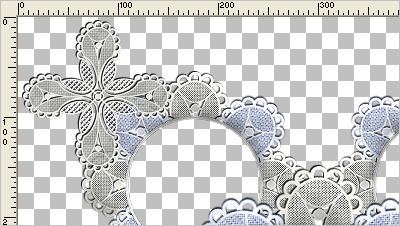
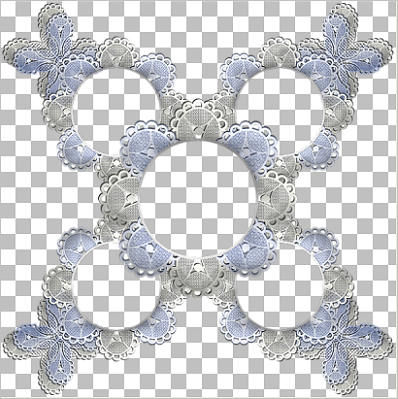
Open up the lwlacemed_cross image in your PSP workspace
Right click on the Title Bar and select COPY from the options
Right click on the Title Bar of your frame image
and select PASTE AS NEW LAYER from the options.
EFFECTS >>> 3D EFFECTS >>> DROP SHADOW
Vertical & Horizontal offsets = - ( minus ) 1
Colour = Black
Opacity = 100
Blur = 0
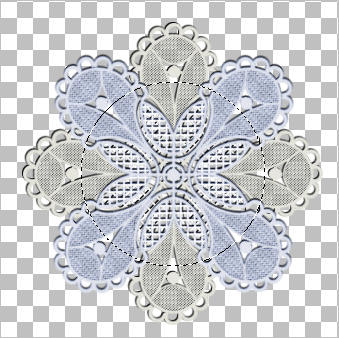
LAYERS >>> DUPLICATE
PSP8 - PSP9: IMAGE >>> ROTATE >>> FREE ROTATE = RIGHT 45
Ensure "All layers" is UNCHECKED
PSPX - PSPX3: IMAGE >>> FREE ROTATE = RIGHT 45
Ensure "All layers" is UNCHECKED
|
|
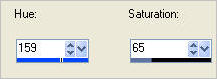
ADJUST >>> HUE & SATURATION >>> COLORIZE
LAYERS >>> MERGE >>> MERGE DOWN
|
|
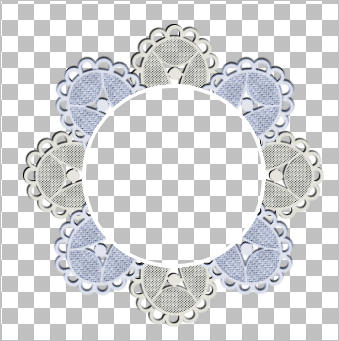
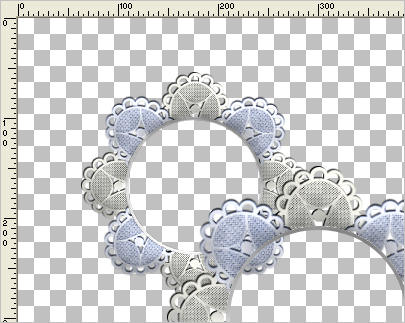
Choose your SELECTION TOOL
Selection Type = CIRCLE
Mode = Replace
Feather = 0
Antialias = Checked

Starting at 300 pixels across and 300 pixels down
drag your cursor down to
392 pixels down and release
|
|
EDIT >>> CLEAR
Flood fill with White
SELECTIONS >>> MODIFY >>> CONTRACT = 4
EDIT >>> CLEAR
DESELECT
|
|
With your MAGIC WAND

Select the white circle
ADJUST >>> BRIGHTNESS and CONTRAST >>> BRIGHTNESS/CONTRAST
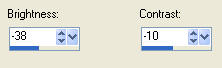
DESELECT
|
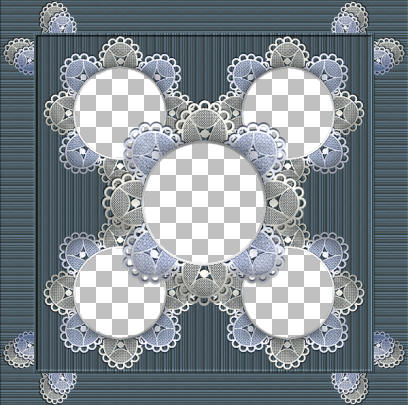
EFFECTS >>> 3D EFFECTS >>> INNER BEVEL |
|
ADJUST >>> SHARPNESS >>> SHARPEN
LAYERS >>> DUPLICATE
IMAGE >>> RESIZE = 75%
Ensure "Resize all layers" is UNCHECKED
Resample using WEIGHTED AVERAGE
ADJUST >>> SHARPNESS >>> SHARPEN
LAYERS >>> ARRANGE >>> MOVE DOWN
Reposition to top left corner with your MOVER tool
|
|
EFFECTS >>> PLUGINS >>> SIMPLE >>> TOP LEFT MIRROR
|
|
ACTIVATE RASTER 2
With your MAGIC WAND.... Same settings.
Select the CENTRE transparent area
SELECTIONS >>> MODIFY >>> EXPAND = 3
ACTIVATE Copy of Raster 2
EDIT >>> CLEAR
DESELECT
|
|
ACTIVATE RASTER 2
Open up the lwlacemed_cross image in your PSP workspace
Right click on the Title Bar and select COPY from the options
Right click on the Title Bar of your frame image
and select PASTE AS NEW LAYER from the options.
IMAGE >>> RESIZE = 50%
Ensure "Resize all layers" is UNCHECKED
Resample using WEIGHTED AVERAGE
ADJUST >>> SHARPNESS >>> SHARPEN
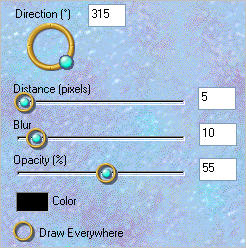
EFFECTS >>> 3D EFFECTS >>> DROP SHADOW
Vertical & Horizontal offsets = - ( minus ) 1
Colour = Black
Opacity = 100
Blur = 0
Reposition to top left corner with your MOVER tool
|
|
EFFECTS >>> 3D EFFECTS >>> INNER BEVEL
Same settings
LAYERS >>> ARRANGE >>> MOVE DOWN
(TWICE)
EFFECTS >>> PLUGINS >>> SIMPLE >>> TOP LEFT MIRROR
LAYERS >>> DUPLICATE
IMAGE >>> RESIZE = 95%
Ensure "Resize all layers" is UNCHECKED
Resample using WEIGHTED AVERAGE
ADJUST >>> SHARPNESS >>> SHARPEN
ADJUST >>> HUE & SATURATION >>> COLORIZE
Same settings
|
|
LAYERS >>> NEW RASTER LAYER
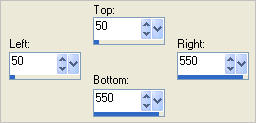
Choose your SELECTION TOOL then click on the CUSTOM SELECTION symbol
and enter these coordinates.
Flood fill with WHITE
EFFECTS >>> TEXTURE EFFECTS >>> SCULPTURE
Locate the JF178 Pattern
Colour = #73a1f5
|
|
SELECTIONS >>> MODIFY >>> CONTRACT = 4
EFFECTS >>> 3D EFFECTS >>> OUTER BEVEL
|
|
DESELECT
ACTIVATE RASTER 2
With your MAGIC WAND.... Same settings.
Select the CENTRE of your image
SELECTIONS >>> MODIFY >>> EXPAND = 3
ACTIVATE RASTER 4
EDIT >>> CLEAR
DESELECT
|
|
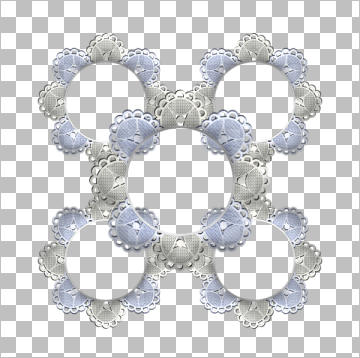
ACTIVATE Copy of Raster 2
With your MAGIC WAND.... Same settings
and while depressing your SHIFT KEY...
Select the CENTRE of the 4 outer circles
SELECTIONS >>> MODIFY >>> EXPAND = 3
ACTIVATE RASTER 4
EDIT >>> CLEAR
ACTIVATE
Copy of Raster 3
EDIT >>> CLEAR
DESELECT
|
|
ACTIVATE RASTER 4
With your MAGIC WAND.... Same settings
Select the OUTER transparent area
LAYERS >>> NEW RASTER LAYER
LAYERS >>> ARRANGE >>> SEND TO BOTTOM
LAYERS >>> ARRANGE >>> MOVE UP
Flood fill with WHITE
EFFECTS >>> TEXTURE EFFECTS >>> SCULPTURE
Same settings
DESELECT
PSP8 - PSP9: IMAGE >>> ROTATE >>> FREE ROTATE = RIGHT 90
Ensure "All layers" is UNCHECKED
PSPX - PSPX3: IMAGE >>> FREE ROTATE = RIGHT 90
Ensure "All layers" is UNCHECKED
|
|
EFFECTS >>> 3D EFFECTS >>> INNER BEVEL
Same settings
ACTIVATE RASTER 2
EFFECTS >>> PLUGINS >>> EYE CANDY 3 >>> DROP SHADOW
|
|
ACTIVATE Copy of Raster 2
EDIT >>> Repeat Drop Shadow..
EDIT >>> Repeat Drop Shadow.. change DIRECTION to 135
ACTIVATE RASTER 2
EDIT >>> Repeat Drop Shadow..
ACTIVATE RASTER 1
LAYERS >>> NEW RASTER LAYER
LAYERS >>> ARRANGE >>> SEND TO BOTTOM
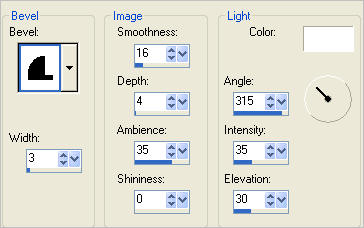
Flood fill with WHITE
EFFECTS >>> TEXTURE EFFECTS >>> BLINDS
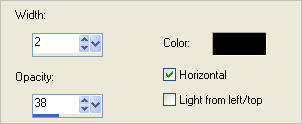
|
|
CLOSE RASTER 6 (Bottom layer)
ACTIVATE any of the other layers
LAYERS >>> MERGE >>> MERGE VISIBLE
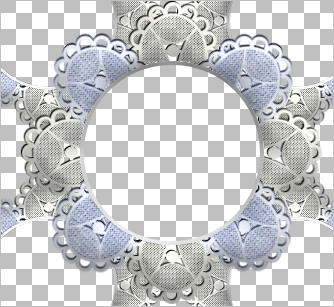
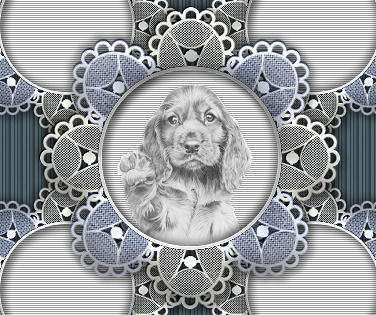
Open & Activate RASTER 6
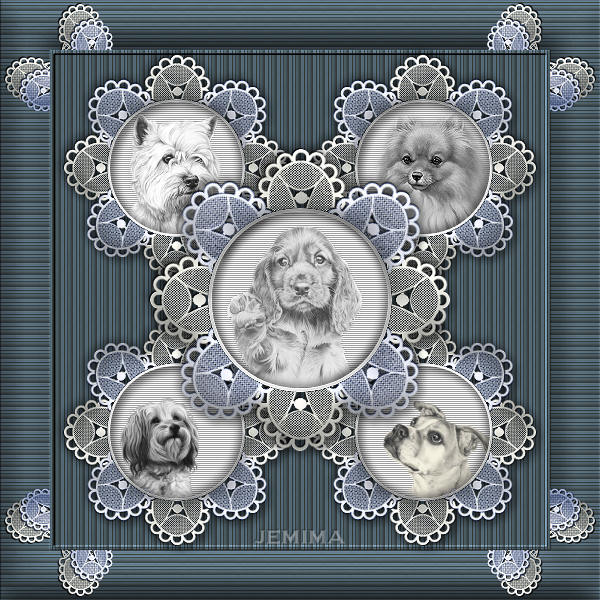
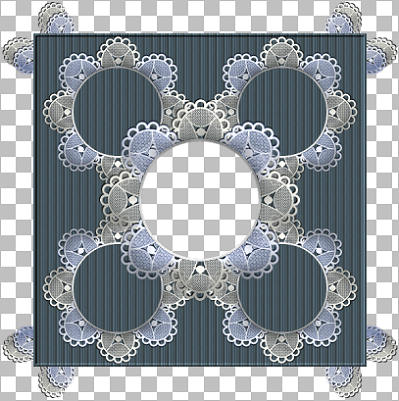
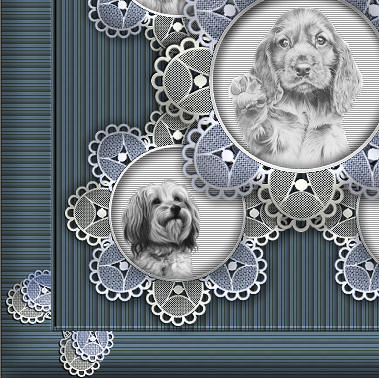
This is your frame
Save as .pspimage image
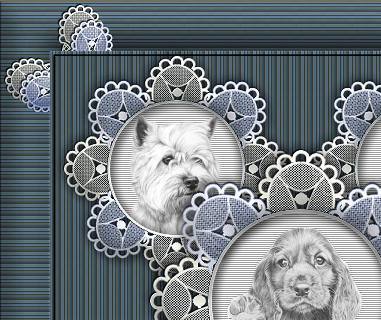
You can insert images of your choice or use the ones provided.
|
Open up the TT-springer2 image in your PSP workspace
Right click on the Title Bar and select COPY from the options
Right click on the Title Bar of your frame image
and select PASTE AS NEW LAYER from the options.
IMAGE >>> RESIZE = 35%
Ensure "Resize all layers" is UNCHECKED
Resample using WEIGHTED AVERAGE
ADJUST >>> SHARPNESS >>> SHARPEN
Reposition with your MOVER tool
|
|
Open up the Saphiere_Tubes_Dog_187 image in your PSP workspace
Right click on the Title Bar and select COPY from the options
Right click on the Title Bar of your frame image
and select PASTE AS NEW LAYER from the options.
IMAGE >>> RESIZE = 30%
Ensure "Resize all layers" is UNCHECKED
Resample using WEIGHTED AVERAGE
ADJUST >>> SHARPNESS >>> SHARPEN
Reposition with your MOVER tool |
|
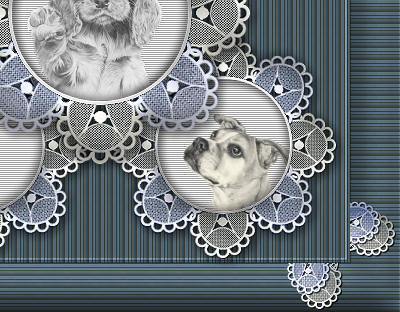
Open up the Saphiere_Staffordshire Bull Terrier_1 image
in your PSP workspace
Right click on the Title Bar and select COPY from the options
Right click on the Title Bar of your frame image
and select PASTE AS NEW LAYER from the options.
IMAGE >>> MIRROR
IMAGE >>> RESIZE = 30%
Ensure "Resize all layers" is UNCHECKED
Resample using WEIGHTED AVERAGE
ADJUST >>> SHARPNESS >>> SHARPEN
Reposition with your MOVER tool
|
|
Open up the KKK_JKillen~Sunshine_ks image
in your PSP workspace
WINDOW >>> DUPLICATE
Close the original Image
IMAGE >>> GREYSCALE
PSP8 - PSP9: IMAGE >>> INCREASE COLOUR DEPTH
>>> 16 MILLION COLOURS (24Bit)
PSPX- PSPX3: IMAGE >>> INCREASE COLOUR DEPTH
>>> RGB -16 Bits/channel
IMAGE >>> RESIZE = 20%
Ensure "Resize all layers" is CHECKED
Resample using WEIGHTED AVERAGE
Right click on the Title Bar and select COPY from the options
Right click on the Title Bar of your frame image
and select PASTE AS NEW LAYER from the options.
ADJUST >>> SHARPNESS >>> SHARPEN
Reposition with your MOVER tool |
|
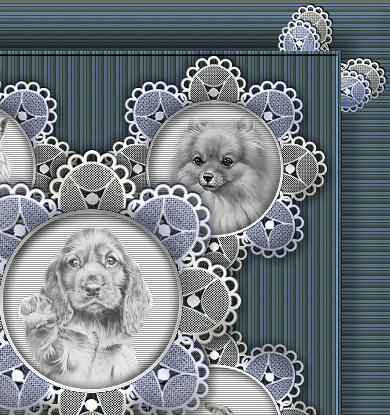
Open up the jcw_pomeranian_JGibson image
in your PSP workspace
WINDOW >>> DUPLICATE
Close the original Image
IMAGE >>> GREYSCALE
PSP8 - PSP9: IMAGE >>> INCREASE COLOUR DEPTH
>>> 16 MILLION COLOURS (24Bit)
PSPX- PSPX3: IMAGE >>> INCREASE COLOUR DEPTH
>>> RGB -16 Bits/channel
IMAGE >>> RESIZE = 50%
Ensure "Resize all layers" is CHECKED
Resample using WEIGHTED AVERAGE
Right click on the Title Bar and select COPY from the options
Right click on the Title Bar of your frame image
and select PASTE AS NEW LAYER from the options.
ADJUST >>> SHARPNESS >>> SHARPEN
Reposition with your MOVER tool |
|
LAYERS >>> MERGE >>> MERGE ALL (Flatten)
Save as .jpg image
|
|
|