STEP 1
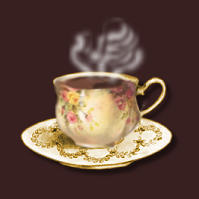
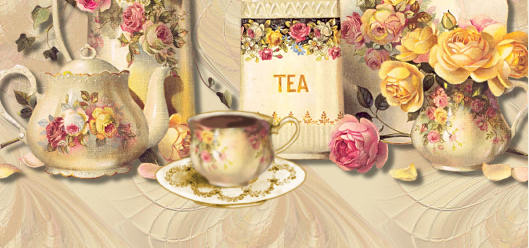
Open up the bg coffee image in your PSP workspace
WINDOW >>> DUPLICATE
Close the original.
LAYERS >> Promote background layer
Rename this layer Background
Open the slc-vt-04-04teaandroses_kk_as image in your PSP workspace
Right click on the Title Bar and select COPY from the options
Right click on the Title Bar of your background image
and select PASTE AS NEW LAYER from the options.
Effects 3D Effects >> Drop Shadow
Vertical and Horizontal = 5
Opacity = 50
Blur = 5.00
Color = Black.
|
STEP 2
Open the coffee cup2 tube
Right click on the Title Bar and select COPY from the options
Right click on the Title Bar of your working image
and select PASTE AS NEW LAYER from the options.
Reposition with your Mover Tool
 Effects 3D Effects >> Drop Shadow
Same settings |
STEP 3
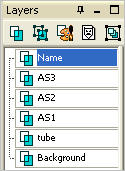
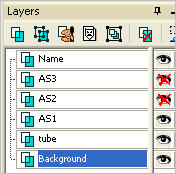
In your Layer Palette
Name the layers now
"Background",
"tube"
and the coffee cup2 layer = "AS1".
|
|
STEP 4
Activate the coffee cup2 layer AS1
Right click and select 'Duplicate' from the options
Rename this layer to AS2.
Duplicate again and rename this layer AS3. |
|
STEP 5
Note: I have added a dark layer just so you can see what I'm doing and you can do this, put it
below the AS1 layer. We will delete this later.
Activate the Background layer
LAYERS >> NEW RASTER LAYER
Flood Fill with a dark colour
Close the 'tube' layer
Close AS2
Close AS3
|
STEP 6
In the Materials Pallete make the foreground WHITE.
In Layer Palette activate AS1
LAYERS >> NEW RASTER LAYER
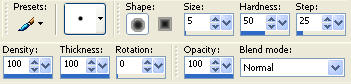
Select the Paint Brush Tool and select the +Round 05 brush.
 Use these settings.
|
|
|
|
STEP 8
Close AS1
Open & Activate AS2
LAYERS >> NEW RASTER LAYER
With your Paint Brush Tool
same settings
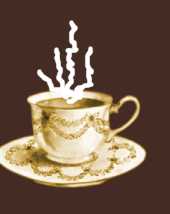
Draw 3 lines,
|
|
STEP 9
Adjust >> Blur >> Gaussian Blur
RADIUS = 3
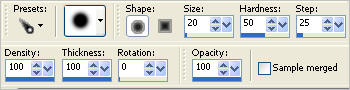
Select your Push Brush and select the +Default round brush
and move the steam around a little.
Use these settings.
|
STEP 10
LAYERS >>
MERGE >> MERGE DOWN
|
|
STEP 11
In your Layer Palette
Close AS2
Open & Activate AS3
LAYERS >> NEW RASTER LAYER
With your Paint Brush Tool
same settings
Draw lines, making these go up a little higher.
|
|
STEP 12
Adjust >> Blur >> Gaussian Blur
RADIUS = 3
Select your Push Brush and select the +Default round brush
and move the steam around a little.
Use these settings.
LAYERS >> MERGE >> MERGE DOWN
In the layer palette lets check the animation.
Close all layers except AS1.
With AS1 open , open AS2 then AS3, can you see the steam?
.Ok let's delete the dark background Raster 1
|
STEP 13
Activate AS3
LAYERS >> NEW RASTER LAYER
Using your TEXT TOOL
add your name and position it at the bottom left of your image.
Rename this layer "Name"
 . 
Close AS2 and AS3 all other layers open. (name, tube, background, AS1).
Activate the Background layer
Note: when Copy Merged I always highlight the background layer and that way I
only have to highlight once.
|
STEP 14
Right click top of working image
Select "Copy Merged" from the options.
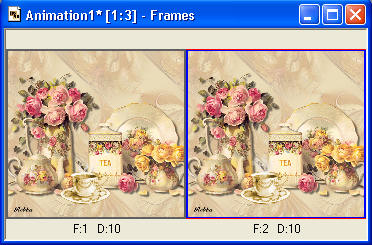
In ANIMATION SHOP
Right click in the work space
and select "Paste As New Animation" from the options.
Back to PSP.
Close AS1 and open AS2.
Right click on the title bar of image,
Select "Copy Merged" from the options.
In ANIMATION SHOP
Right click the title bar of the frame and select
"Paste After Current Frame" from the options.
Back to PSP.
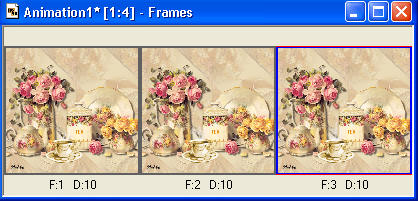
Close AS2 and open AS3, click top of image, copy merge.
In ANIMATION SHOP
Right click the title bar of the frame and select
"Paste After Current Frame" from the options.
|
STEP 15
In ANIMATION SHOP
Check your animation by clicking the image on right .
or
View >> Animation
|
|
STEP 16
Click inside the first frame ( F:1) to highlight it,
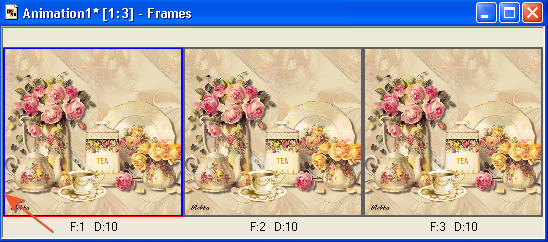
Right click and select "Frame Properties" from the options
Set the Frame Properties to 40.
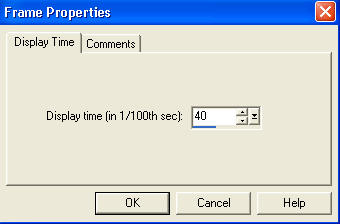
Right Click inside frame 2 (F: 2)
and select "Frame Properties" from the options
Set the Frame Properties to 50
Right Click inside frame 3 (F: 3)
and select "Frame Properties" from the options
Set the Frame Properties to 100.
Then check the animation.
You can set these to be faster if you like, 40 on all layers work good too.
|
THIS IS OPTIONAL
I also resized mine to 400.
Click on the Title Bar of the frames
EDIT >> Select None
EDIT >> Select All
Animation >> Resize Animation
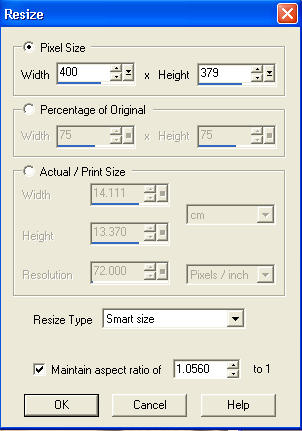
Click OK
|
STEP 17
Save your completed animation
File >> Save As
Name your animation.
With the Gif Optimiser keep pressing NEXT
until you get to the last one... click FINISH
Close the Animation
Close the frames.
Close Animation Shop |
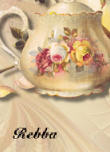
I hope you have enjoyed the tutorial.
Rebba
|
| |