This tutorial was written by Rebba to be shared with the Artistry Master Group.
Feb, 2011
I have created the animation to have fun with but also to teach perhaps a
different way of doing it, I call My Way. I'm not a tutorial writer so this is more in
steps and doesn't expound on the design or PSP part of the tutorial. If you have any
STEP 1
Open up the background 500 image in your PSP workspace
WINDOW >>> DUPLICATE
Close the original Image
|
STEP 2
LAYERS >> Promote background layer
Choose your SELECTION TOOL
Selection Type = Circle
Mode = Replace
Feather = 0
Antialias = Checked
Starting at 386 pixels across and 210 pixels down drag your cursor to 448 pixels across and 272 pixels down and release
Right click on the Title Bar
and select COPY from the options.
Right click in your PSP workspace
and select PASTE AS NEW IMAGE
from the options.
Save this image as
back ball.pspimage
|
|
STEP 3
Select the Clone Tool
using these settings.
Preset = +Round 25
 |
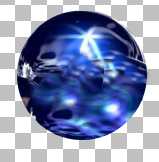
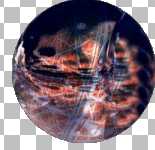
STEP 4
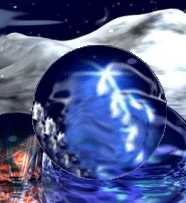
On the back ball image
I just cloned across the center black outline of the front ball on the duplicated
background 500 image.
First.... DESELECT
Right click any part that
isn't black to get a pattern then left click going across the black line
on the back ball image.
Save the image
This is mine.
Minimize this image for now.
|
|
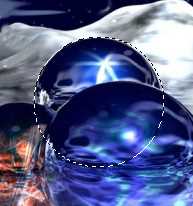
STEP 5
On the background 500 image
Choose your SELECTION TOOL
Same settings
Starting at 305 pixels across and 280 pixels down drag your cursor to 370 pixels across and 345 pixels down and release
Right click on the Title Bar
and select COPY from the options.
Right click in your PSP workspace
and select PASTE AS NEW IMAGE
from the options.
Save this image as
orange ball.pspimage
|
|
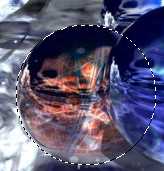
STEP 6
Select the Clone Tool
using the same settings
Activate the background 500 image.
First.... DESELECT
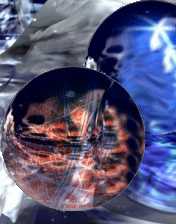
Right click on the orange part of
the duplicated image then left click to apply the pattern
on the orange ball image.
Save the image
This is mine.
Minimize this image for now.
|
|
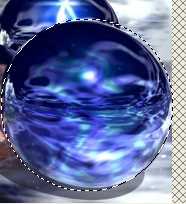
STEP 7
Back to the the background 500
duplicated image.
Choose your SELECTION TOOL
Same settings
Starting at 415 pixels across and 277 pixels down drag your cursor to 498 pixels across and 360 pixels down and release
Right click on the Title Bar
and select COPY from the options.
Right click in your PSP workspace
and select PASTE AS NEW IMAGE
from the options.
You don't have to do any cloning of this one. Yippee!
Save this image as
front ball.pspimage
|
|
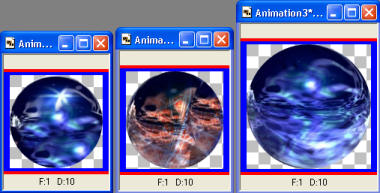
STEP 8
Minimize the background 500
duplicated image.
Maximize the 3 balls images
One image at a time..
Right click on the Title Bar and select
COPY from the options.
In ANIMATION SHOP
Right click the workspace and select
'Paste As New Animation' from the options.
|
|
Click one of the balls frame
Effects >> Insert Image Effects.
This will open a new box.
Choose Rotate
from the dropdown Effect options
and use these setting,
Click OK and this will take you back to
ANIMATION SHOP.
Repeat these steps
to both of the other balls images.
Same settings.
|
|
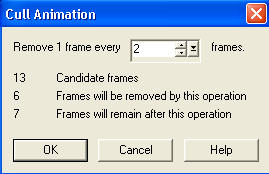
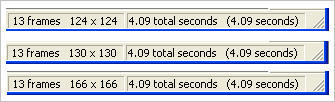
When all effects are completed, check at the bottom right of the ANIMATION SHOP window and you will
see that there ares 13 frames on each. These will make the completed animation a
REALLY BIG FILE. I always cull the animations as much as I can. If they start
looking bad or not working then I hit the undo arrow and go from there.
|
STEP 10
Animation >> Cull Animation
and use this setting
Do this twice to each ball image.
You will end up with only 4 frames on each.
|
|
STEP 11
Follow these steps on each one of the ball images. When finished don't
close the images we will work on them more.
View >> Animation
or click the  to view the animation.
and while it is still running, to view the animation.
and while it is still running,
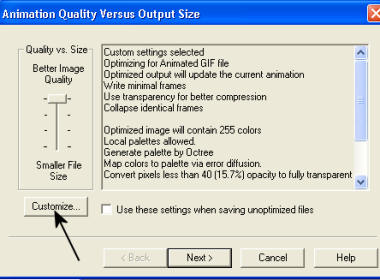
File >> Save As
Locate the folder
in which you wish to save it.
On the next window
click the Customize button. |
|
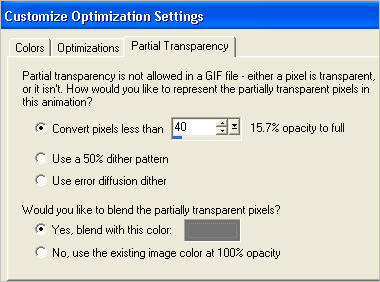
On the next window
open the Partial Transparency tag
and use these settings.
COLOR = #737373
With the Gif Optimiser keep pressing NEXT
until you get to the last one... click FINISH
|
|
STEP 13
Back to PSP.
On the duplicated background 500 image
DESELECT if needed.
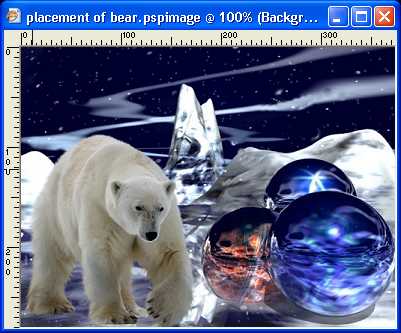
Open your JB_polar_bear2.psp tube.
Activate the merged layer
Right click on the Title Bar
and select COPY from the options.
Right click on the Title Bar of your
duplicated background 500 image
and select
PASTE AS NEW LAYER from the options.
IMAGE >> RESIZE = 60%
Ensure "Resize all layers" is UNCHECKED
and move it to the left side.
|
|
STEP 14
LAYERS >> NEW RASTER LAYER
Select your TEXT TOOL
with font and settings of your choice
add your name to the bottom left corner of the layer.
LAYERS >>> MERGE >> VISIBLE.
Right click on the Title Bar and select
COPY from the options.
In ANIMATION SHOP
Right click the workspace and select
'Paste As New Animation' from the options.
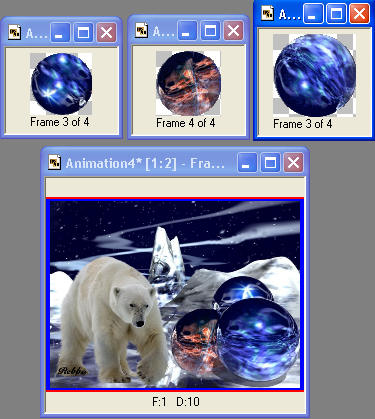
I set the images in
my workspace like this.
|
|
STEP 15
In ANIMATION SHOP
You will need 4 frames of the bear image for the balls.
Activate the bear frame image
Edit >> Copy
Right click top of frame image and select
'Paste After Current Frame' from the options.
Edit >> Select All
Edit >> Copy
Right click top of frame image and select
'Paste After Current Frame' from the options.
We are going to just copy and paste the animated balls on top of the balls
Select the bear frames.
Edit >> Propogate Paste
OR click the propagate icon down to select.

|
STEP 16
Select the back ball frames
Edit >> Select All
Edit >> Copy
Select the bear frames image
Edit >> select all
> edit >>paste into selected frame.
The ball will be attached to the arrow move it on top of the back ball.
The bottom of it will be on top of front ball.
|
|
STEP 17
Select the orange ball frames
Edit >> Select All
Edit >> Copy
Select the bear frames image
Edit >> Select All
Edit >> Paste into selected frame
The ball will be attached to the arrow
move it on top of the orange ball.
It will be on top of front ball
|
|
STEP 18
Select the front ball frames
Edit >> Select All
Edit >> Copy
Select the bear frames image
Edit >> Select All
Edit >> Paste into selected frame
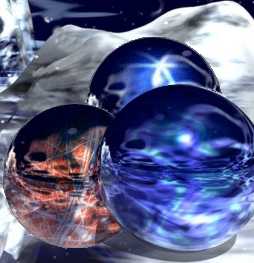
The ball will be attached to the arrow
move it on top of the front ball.
This is what they will look like pasted down.
|
|
STEP 19
Close the ball gifs.
View >> Animation
Select the bear frames image
Edit >> Select All
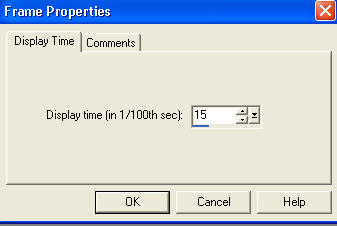
Right click on top of frames
Select 'Frame Properties' from the options
Display time =15
or desired speed. |
|
STEP 20
We need to export the image
into PSP to add snow.
If you have anything open in
PSP minimize it.
In ANIMATION SHOP
Select the bear frames image
Edit >> Select All
File > > Export frames to PSP
Working on the animation
Activate frame one and
Close all other layers.
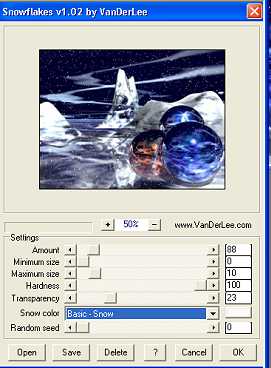
EFFECTS >> PLUGINS >> VanDerLee >> Snowflakes
and apply it using these setting.
|
|
STEP 21
Close frame 1
Open & Activate frame 2
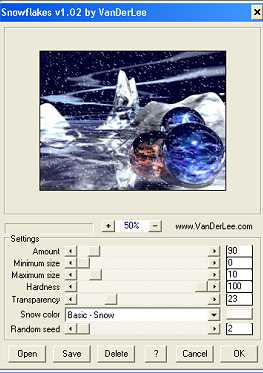
EFFECTS >> PLUGINS >> VanDerLee >> Snowflakes
Use these settings.
Change Amount to 89
Change Random Seed to 1
|
|
STEP 22
Close frame 2
Open & Activate frame 3
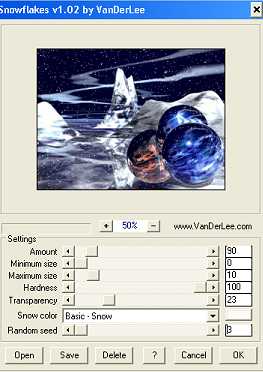
EFFECTS >> PLUGINS >> VanDerLee >> Snowflakes
Use these settings.
Change Amount to 90
Change Random Seed to 2
|
|
STEP 23
Close frame 3
Open & Activate frame 4
EFFECTS >> PLUGINS >> VanDerLee >> Snowflakes
Use these settings.
Change Random Seed to 3
|
|
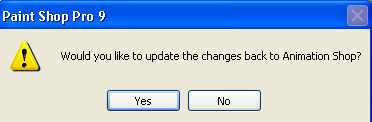
STEP 24
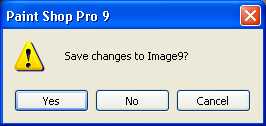
Now X(close) out of the animation
Click NO!
|
|
|
|
STEP 25
Click YES! |
|
STEP 26
Back in ANIMATION SHOP.
View >> Animation
and while it is still running,
File >> Save As
Locate the folder in which you wish to save it.
Name your animation.
With the Gif Optimiser keep pressing NEXT
until you get to the last one... click FINISH
Close the Animation
Close the frames.
Close Animation Shop
|
I hope you had fun with this animation.
Rebba
|