Have you ever wish you could do something to your tag to animate it.

This tut will show how to animate a scroll and add to any plain tag.
.
|
STEP 1
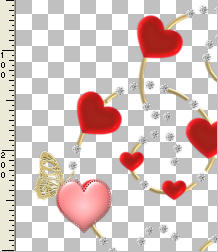
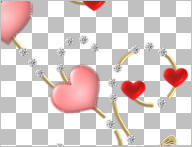
Open the ACCENTSValentineSwirly_mmJan tube,
Shift D to duplicate
Close the original
IMAGE >> RESIZE = 50%
Ensure "Resize all layers" is CHECKED
|
STEP 2
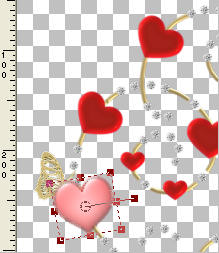
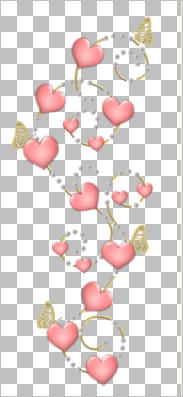
Open the my_pinkheart_rainy tube
Right click on the Title Bar and
select COPY from the options.
Right click on the Title Bar of your 'working' image and select
PASTE AS NEW LAYER from the options.
IMAGE >> RESIZE = 16%
Ensure "Resize all layers" is UNCHECKED
Reposition with your Mover tool
|
|
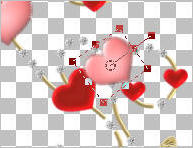
STEP 3
Select the Deform Tool
PSPX-X3:Select your PICK tool
Use the SCALE default settings
Rotate this heart to fit right over
one of the red hearts,
Pull and push in if needed
to make it the same size as the red heart.
Click the RESET RECTANGLE arrow
Click the Mover Tool
to deselect the Deform Tool (Pick Tool)
|
|
STEP 4
Right click on the Title Bar
and select COPY from the options.
Right click on the Title Bar
and select
PASTE AS NEW LAYER from the options.
With your Mover Tool
reposition the pink heart
alongside
one of the red hearts
so you can judge the size and angle it needs to be.
Resize somewhere between 86% to 98%
Ensure "Resize all layers" is UNCHECKED
Use the Deform Tool (PICK tool)
to align the heart at the same angle as the red
one it will replace.
Once you're happy with the result
Click the RESET RECTANGLE arrow
Use your Mover Tool to place the
pink heart on top of the red one.
|
|
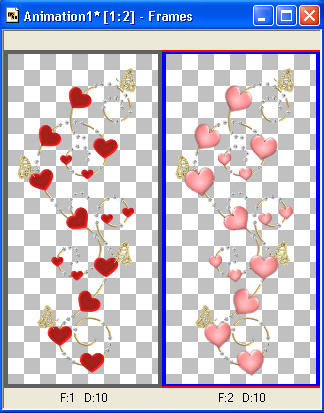
STEP 5
Continue duplicating, resizing and rotating
until you have a heart to cover
each red heart.
You will have to resize by 50% for the small hearts.
|
|
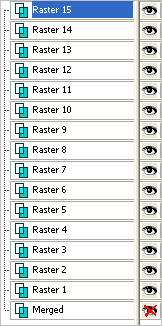
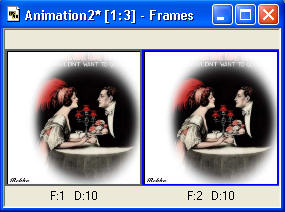
STEP 6
Close the Merged (red heart) layer
Activate one of the pink heart layers
LAYERS >> MERGE >> VISIBLE.
|
|
STEP 7
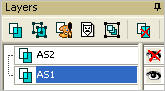
Rename AS1 and AS2 if you wish.
I didn't put my name on this
because I don't know what tag I will
be using it on and I need to know the placement for it.
ACTIVATE AS1
Close AS2
.
|
|
STEP 8
Right click on Title Bar and select
Copy merged from the options
In ANIMATION SHOP
Right click the workspace and select
'Paste As New Animation' from the options.
Back to PSP
leave (the red layer) AS1 open,
Open & Activate (the pink layer) AS2.
Right click on Title Bar and select
Copy merged from the options
(this will allow us to have the gold part
with the pink hearts.)
In ANIMATION SHOP
Right click top of frame image and select
'Paste After Current Frame' from the options.
|
 |
STEP 9
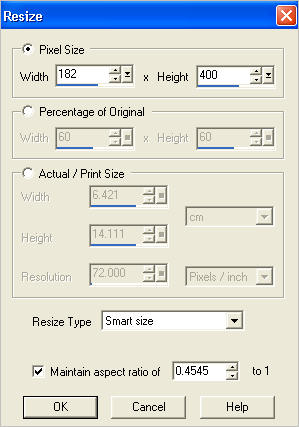
I don't do tags larger than 400 pixels
so I resized the animation.
EDIT >> Select All
Animation >> Resize Animation
Resize 400 height.
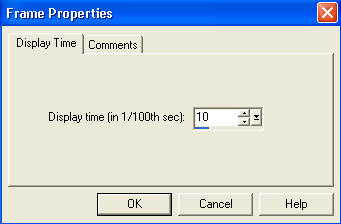
Right click on top of frames
Select 'Frame Properties' from the options
Display time =10
You can change the Display time if you wish
|
|
STEP 10
To save this as separate animation
View >> Animation
or click  to view animation. to view animation.
and while it is still running,
File >> Save As
Locate the folder in which you wish to save it.
Name your animation
On next option click the Customize button
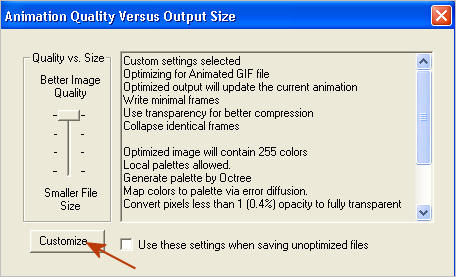
open the Partial Transparency Tab
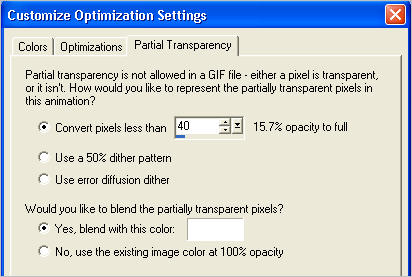
and set the color to light gray or white,
I used white.
Click OK
Then keep pressing NEXT
until you get to the last one... click FINISH
Close the Animation
DO NOT CLOSE THE FRAMES FOR THIS ANIMATION
|
NOTE
I made a quick 396 x 396 tag
with the image as background layer
and added my name layer
and added 2 pixel border layer
|
|
STEP 11
Open RebbaTag in your PSP workspace
WINDOW >>> DUPLICATE
Close the original Image
IMAGE >>> ADD BORDERS
= 2 Symmetric
COLOR = Black
|
|
STEP 12
LAYERS >> NEW RASTER LAYER
Select your TEXT TOOL
with font and settings of your choice
add your name to the
bottom left corner of the layer.
Rename this layer Name.
|
|
STEP 13
All layers open
Right click on Title Bar and select
Copy merged from the options
In ANIMATION SHOP
Right click the workspace and select
'Paste As New Animation' from the options.
Edit >> Copy
Edit >> Paste After Current Frame
Edit >> Select All
Edit >> Propogate Paste
|
|
STEP 14
Activate the Heart Scroll frames
Edit >> Select All
Edit >> Copy
Activate The Tag Frames
Edit >> Paste into selected frame
The scroll will be attached to the arrow
place it to the left side
and click to set the scroll placement

|
STEP 15
Right click on top of frames
Select 'Frame Properties' from the options
Display time =10
You can change the Display time if you wish
|
STEP 16
View >> Animation
or click to view animation.
and while it is still running,
File >> Save As
Locate the folder in which you wish to save it.
Name your animation
Then
keep pressing NEXT
until you get to the last one... click FINISH
Close the Animation
Close the frames.
Close Animation Shop
|
I hope you can use this tut and let your imagination go wild, enjoy,
Rebba
|
 .
.