STEP 1
Open up the downloaded images in your PSP workspace and minimize.
Open a new image 600 x 550
Transparent background
PSPX - X2: Colour Depth = 8bits/channel
PSPX3: Colour Depth RGB = 8bits/channel
.
|
STEP 2
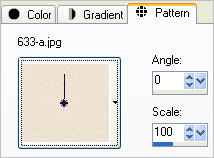
Flood fill with 633-a-jpg pattern
angle 0 scale 100
Flood fill with the pattern
Name this layer "bgd" |
|
STEP 3
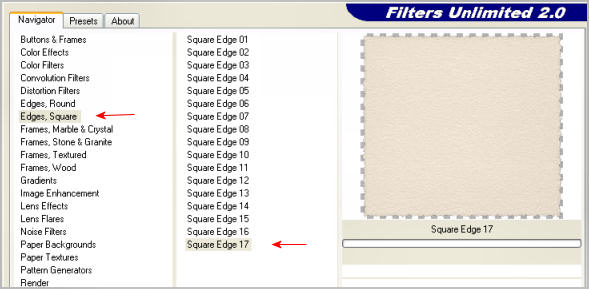
EFFECTS >> PLUGINS >> <I.C.NET Software>
>>
Filters Unlimited 2.0
>> Edges, Square >> Square edge # 17
|
STEP 4
LAYERS >> NEW RASTER LAYER
Flood Fill with #55828f
LAYERS >> Load/Save Mask >> Load Mask from disc
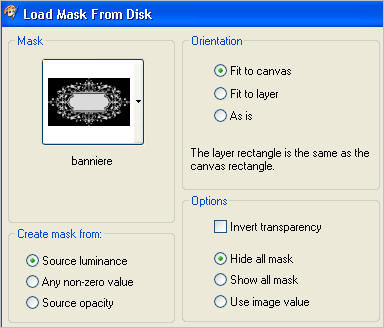
LAYERS >>> MERGE >>> MERGE GROUP
Rename this layer " mask"
|
STEP 5
Activate "bgd" layer
SELECTIONS >> SELECT ALL
SELECTIONS >> FLOAT
SELECTIONS >> DEFLOAT
SELECTIONS >> INVERT
Activate "mask" layer
and Delete
DESELECT |
STEP 6
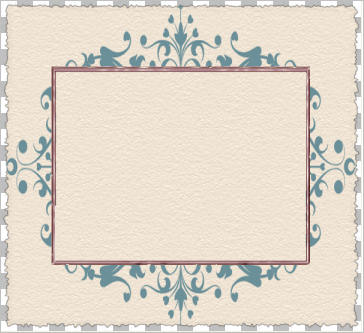
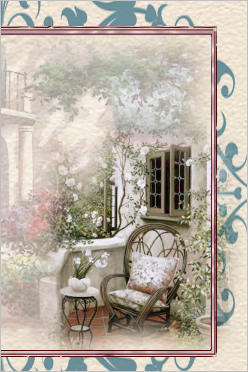
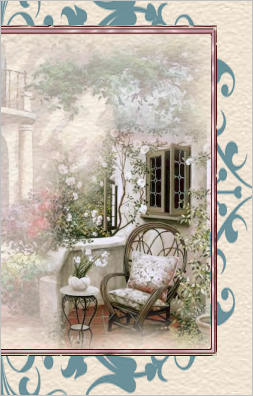
Open up the center frame image
in your PSP workspace
Right click on the Title Bar
and select
COPY from the options.
Right click on the Title Bar of your 'working' image
and select PASTE AS NEW LAYER from the options.
Name this layer "frame"
With your MAGIC WAND
Mode = Replace
Match Mode = RGB Value
Tolerance = 0
Feather = 0
Antialias = UNchecked
Sample Merged = UNCHECKED
PSP9 - X3: Check CONTIGUOUS
PSPX - X3: There is no " Sample Merged"
PSPX - X3: Use all layers = UNChecked
Click inside frame
Activate " mask "layer
Delete
DESELECT |
|
STEP 7
Open up the DaisyWeb_Garden_A image
Right click on the Title Bar
and select COPY from the options.
Right click on the Title Bar of your 'working' image
and select PASTE AS NEW LAYER from the options.
In your LAYER PALETTE
Change the opacity to 30
Rename this layer "scenery"
|
|
STEP 8
Open up the my_solice image
Right click on the Title Bar
and select COPY from the options.
Right click on the Title Bar of your 'working' image
and select PASTE AS NEW LAYER from the options.
IMAGE >>> MIRROR
IMAGE >> RESIZE = 60%
Ensure "Resize all layers" is UNCHECKED
With your MOVER TOOL
place in lower right corner of frame
Rename this layer "chair" |
|
STEP 9
Activate the " frame" layer
With your MAGIC WAND
Mode = Replace
Match Mode = RGB Value
Tolerance = 0
Feather = 0
Antialias = UNchecked
Sample Merged = UNCHECKED
PSP9 - X3: Check CONTIGUOUS
PSPX - X3: There is no " Sample Merged"
PSPX - X3: Use all layers = UNChecked
Click inside frame
SELECTIONS >>>
INVERT
Activate the "chair" layer
EDIT >>> Clear
DESELECT |
|
STEP 10
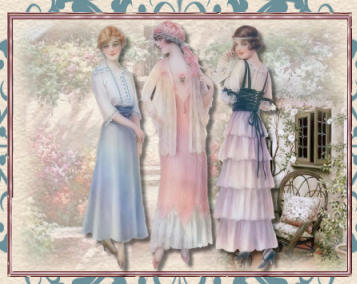
Open up the ladies image
Right click on the Title Bar
and select COPY from the options.
Right click on the Title Bar of your 'working' image
and select PASTE AS NEW LAYER from the options.
IMAGE >> RESIZE = 60%
Ensure "Resize all layers" is UNCHECKED
ADJUST >> SHARPNESS >> SHARPEN
Effects >> 3D Effects >> Drop Shadow
Vertical and Horizontal = 5
Opacity = 50
Blur = 5.00
Color = Black
Rename this layer "ladies"
|
|
STEP 11
LAYERS >> NEW RASTER LAYER
Select your TEXT TOOL
with font and settings of your choice
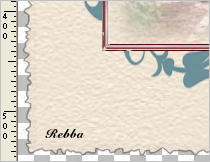
add your name to the bottom left corner
of the layer.
Rename this layer "name"
|
|
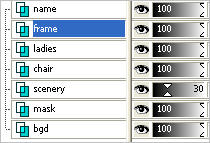
STEP 12
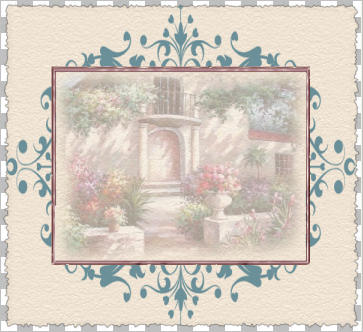
Set up LAYER PALETTE as shown
Save as a .psp image
This is your " working image " |
|
STEP 13
Right click on the Title Bar and select
COPY from the options.
Click in the workspace Copy as a new image
(This is a copy of the frame)
Save this image as AS2.pspimage
Windows Duplicate
Save this image as AS1.pspimage
Minimize both for now |
| |
|