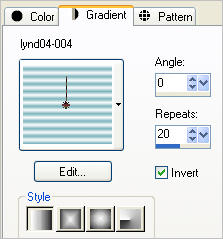
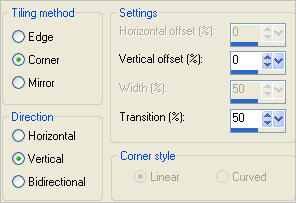
STEP 1
In your MATERIALS PALETTE
Load the lynd04-004.jgd gradient
in your foreground
using these settings |
|
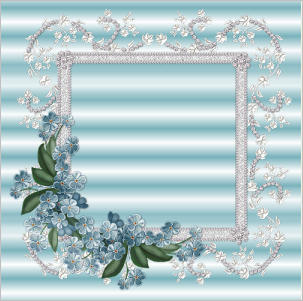
STEP 2
Open a new image 500 x 500
Transparent background
PSPX - X2: Colour Depth = 8bits/channel
PSPX3: Colour Depth RGB = 8bits/channel
Flood fill with gradient
Name this layer bgd
This is your 'working' image
|
STEP 3
EFFECTS >> IMAGE EFFECTS >> SEAMLESS TILING |
|
STEP 4
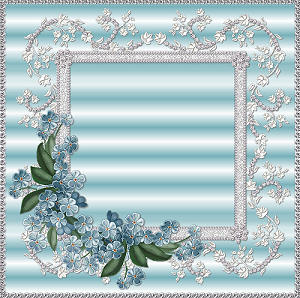
Open CJ_Frame 12C tube in your PSP workspace
WINDOW >>> DUPLICATE
Close the original Image
IMAGE >> RESIZE = 500x500
Ensure "Resize all layers" is UNCHECKED
Right click on the Title Bar
and select COPY from the options.
Right click on the Title Bar of your 'working' image
and select PASTE AS NEW LAYER from the options.
ADJUST >> SHARPNESS >> SHARPEN
Name this layer frame
Effects >> 3D Effects >> Drop Shadow
Vertical and Horizontal =1
Opacity = 100
Blur = 0.00
Color = GREY #808080 |
|
STEP 5
Open lg diamond tube in your PSP workspace
WINDOW >> DUPLICATE
IMAGE >> RESIZE = 500x500
Ensure "Resize all layers" is UNCHECKED
Right click on the Title Bar
and select COPY from the options.
Right click on the Title Bar of your 'working' image
and select PASTE AS NEW LAYER from the options.
ADJUST >> SHARPNESS >> SHARPEN
Name this layer diamond |
|
STEP 6
LAYERS >> NEW RASTER LAYER
Select your TEXT TOOL
with font and settings of your choice
add your name to the bottom left corner of the layer.
Rename this layer Name.
PSPX3.. click the "A" tool
then before clicking on the work
hold down the shift key and then click,
it will bring up the entry box as other versions do
|
|
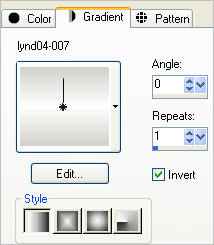
STEP 7
In your MATERIALS PALETTE
Load the lynd04-007.jgd gradient
in your background
using these settings |
|
STEP 8
Activate frame layer
With your MAGIC WAND
Mode = Replace
Match Mode = RGB Value
Tolerance = 0
Feather = 0
Antialias = UNchecked
Sample Merged = UNCHECKED
PSP9 - X3: Check CONTIGUOUS
PSPX - X3: There is no " Sample Merged"
PSPX - X3: Use all layers = UNChecked
Click inside frame
LAYERS >> NEW RASTER LAYER
LAYERS >> ARRANGE >> MOVE DOWN
SELECTIONS >> MODIFY >> EXPAND = 2
Flood Fill with background gradient
DESELECT
Name this layer bird bgd
|
|
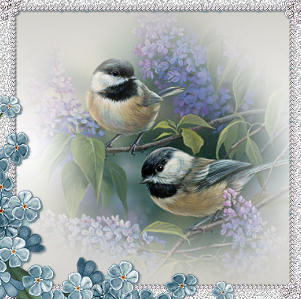
STEP 9
Open Misted_Two_Little_birds_RM tube
in your PSP workspace
Right click on the Title Bar
and select COPY from the options.
Right click on the Title Bar of your 'working' image
and select PASTE AS NEW LAYER from the options.
IMAGE >> RESIZE = 75%
Ensure "Resize all layers" is UNCHECKED
Pull image up a little with your
MOVER TOOL
Name this layer birds
|
|
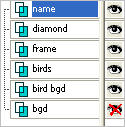
STEP 10
Set up LAYER PALETTE as shown
Right click on Title Bar and select
Copy from the options
|
|
STEP 11
In ANIMATION SHOP
Right click the workspace and select
'Paste As New Animation' from the options.
Edit >> Copy
Edit >> Paste After Current Frame
|
|
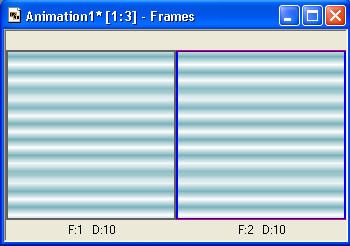
STEP 12
Click on the gray rim around the first frame (F:1) to highlight it,
Effects >> Insert Image Transition.
Use these settings
Transition Length = 1.4 secs
Frames per second = 6fps
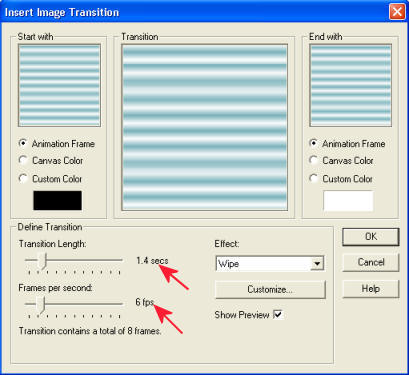
CLICK CUSTOMIZE
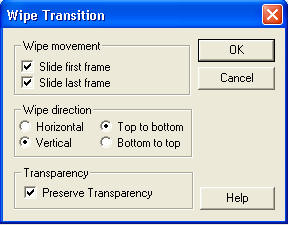
CLICK OK
|
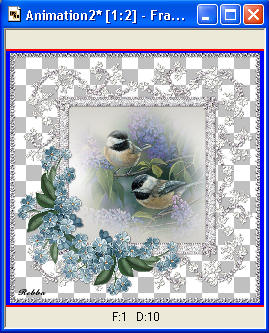
STEP 13
Back to PSP
Set up LAYER PALETTE as shown
Right click on Title Bar and select
Copy merged from the options |
|
STEP 14
In ANIMATION SHOP
Right click the workspace and select
'Paste As New Animation' from the options.
EDIT >>> Copy
|
|
|
|
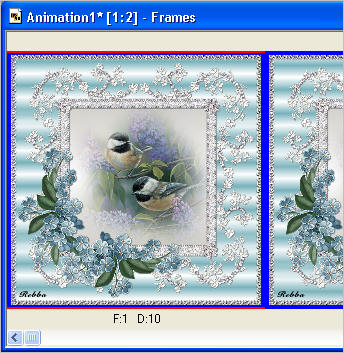
STEP 15
Click the Title bar of the first animation frames
(Gradient BG) to highlight them.
ZOOM in to the first frame (F:1)
for accuracy in the following instructions
Edit >> Select AllEdit >> Propagate Paste
Edit >> Paste into selected frame
The frame will be attached to the mousecenter the image and click mouse to place it.
|
|
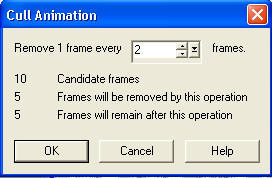
STEP 16
Animation>> Cull Animation
Click OK
|
|
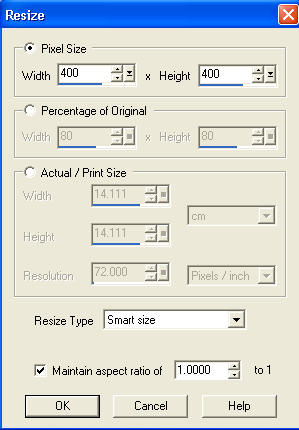
STEP 17
Animation >> Resize animation
400 x 400
Or size of your choice
|
|
STEP 18
View >> Animation
and while it is still running,
File >> Save As
Locate the folder in which you wish to save it.
Name your animation.
With the Gif Optimiser keep pressing NEXT
until you get to the last one... click FINISH
Close the Animation
Close the frames.
Close Animation Shop
|
|
I hope you enjoyed the tutorial
Rebba |
|