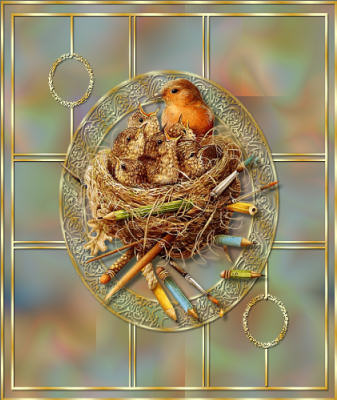
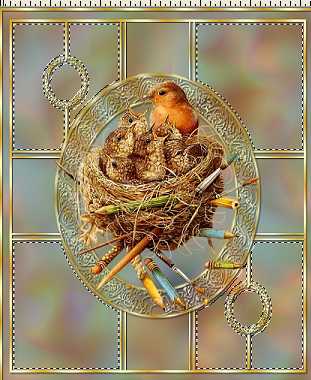
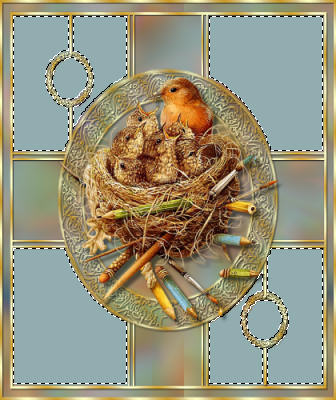
BIRD'S NEST
PSP8 to PSPX3
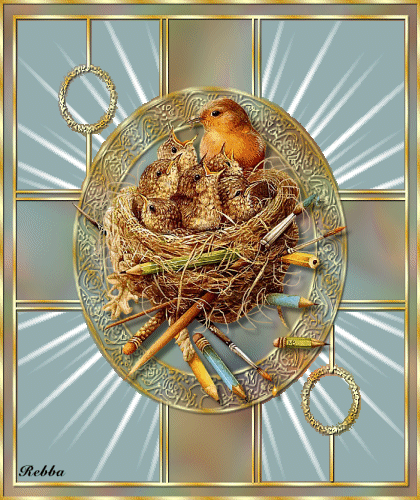
This tutorial was written by Rebba to be shared with the Artistry Master Group.
MARCH 2011
I have created the animation to have fun with but also to teach perhaps a
different way of doing it, I call My Way. I'm not a tutorial writer so this is more in
steps and doesn't expound on the design or PSP part of the tutorial. If you have any
trouble understanding please email me I will be happy to explain.
rebbad@embarqmail.com
There will also be NOTES added to the tut and this is to explain something that I had
trouble with. I hope this will save you from having the same problem.
The tubes used are not mine and the copyright belongs to the artist. No
infringement intended.
Note: Remember to save often in PSP and to Edit >> Empty Clipboard in PSP when
you come out of AS and back into PSP. You don't want to lose everything
(like me) when almost finished.
******************************** You will need the following to complete this tutorial
ANIMATION SHOP
Materials
line setup.pspimage
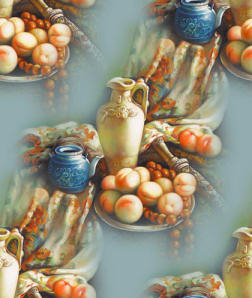
JC_Still Life-3.pspimage
birdnest.pspimage
MBNNatures Sketchbook_mc.psp
Save to a folder on your computer
Plugins
FM TILE TOOLS
http://www.fleursauvage.be/utilitaire/filtres/filtres.htm
TRAMAGES
http://www.4shared.com/file/ALt0qwxJ/Tramages.htm
********************************
STEP 1
Open up the JC_Still Life-3 image in your PSP workspace
WINDOW >>> DUPLICATE
Close the original Image
Delete Raster 2
.
|
STEP 2
EFFECTS >> IMAGE EFFECTS >> SEAMLESS TILING
Default setting
LAYERS >> NEW RASTER LAYER
LAYERS >>> ARRANGE >>> SEND TO BOTTOM
Fill with AQUA #92adaf
LAYERS >>> MERGE >> VISIBLE.
Rename this layer background
|
|
STEP 3
Effects >> Distortion Effects >> Twirl
These settings |
|
STEP 4
Adjust >> Blur >> Gaussian Blur
RADIUS = 15.00
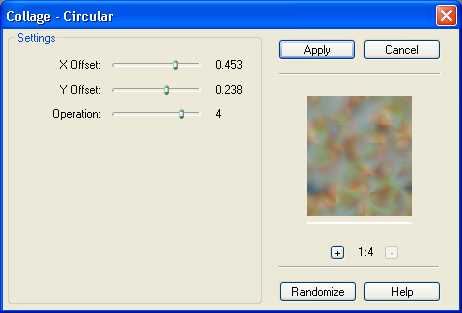
EFFECTS >> PLUGINS >> FM TILE TOOLS >> Collage - Circular
Use these settings
Click APPLY
|
STEP 5
SELECTIONS >> SELECT ALL
LAYERS >> NEW RASTER LAYER
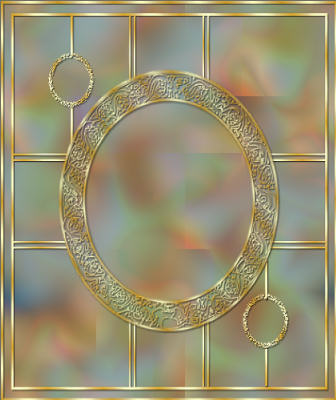
Open the line setup frame image
in your PSP workspace
Right click on the Title Bar and
select COPY from the options.
Right click on the Title Bar of your 'working' image
and select PASTE Into Selection from the options.
DESELECT
ADJUST >> SHARPNESS >> SHARPEN
Rename this layer gold frame
|
|
STEP 6
Open the MBNNatures Sketchbook_mc image
in your PSP workspace
Right click on the Title Bar and
select COPY from the options.
Right click on the Title Bar of your 'working' image
and select PASTE AS NEW LAYER from the options.
IMAGE >> RESIZE =60%
Ensure "Resize all layers" is UNCHECKED
Effects >> 3D Effects >> Drop Shadow
Vertical and Horizontal = 5
Opacity = 50
Blur = 5.00
Color = Black
Rename this layer tube
|
|
STEP 7
Activate the gold frame layer.
With your MAGIC WAND
Mode = Replace
Match Mode = RGB Value
Tolerance = 0
Feather = 0
Antialias = UNchecked
Sample Merged = UNCHECKED
PSP9 - X3: Check CONTIGUOUS
PSPX - X3: There is no " Sample Merged"
PSPX - X3: Use all layers = UNChecked
and while holding down the Shift Key
select the 4 corner areas indicated
|
|
STEP 8
LAYERS >> NEW RASTER LAYER
Flood Fill with AQUA
LAYERS >> DUPLICATE
Leave selected.
|
|
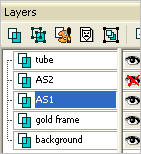
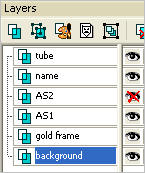
STEP 9
Name these layers AS1 and AS2.
Set your layer palette as shown
|
|
STEP 10
With AS1 Active
EFFECTS >> PLUGINS >> TRAMAGES >> Starmaker
Use these settings.
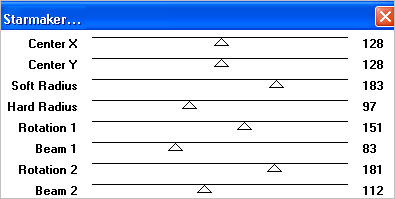 |
STEP 11
Close AS1
Open & Activate AS2
EFFECTS >> PLUGINS >> TRAMAGES >> Starmaker
Use these settings.
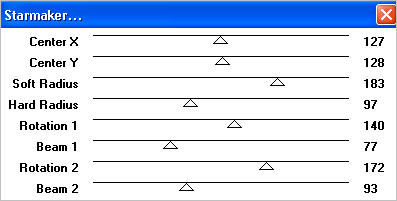 DESELECT
.
|
STEP 12
LAYERS >> NEW RASTER LAYER
Rename this layer name
Select your TEXT TOOL
with font and settings of your choice
add your name to the bottom left corner of the layer.
PSPX3.. click the "A" tool
then before clicking on the work
hold down the shift key and then click,
it will bring up the entry box as other versions do
Close AS2 all other layers open
and activate the background layer
Right click on Title Bar and select
Copy merged from the options
.
|
STEP 13
In ANIMATION SHOP
Right click the workspace and select
'Paste As New Animation' from the options
Close AS1
Open AS2
Right click on Title Bar and select
Copy merged from the options
In ANIMATION SHOP
Right click top of frame image and select
'Paste After Current Frame' from the options.
.
|
|
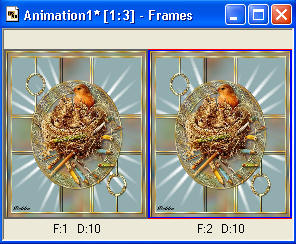
STEP 14
View >> Animation
and while it is still running,
File >> Save As
Locate the folder in which you wish to save it.
Name your animation.
With the Gif Optimizer keep pressing NEXT
until you get to the last one...
Click FINISH
Close the Animation
Close the frames.
Close Animation Shop
|
|
I hope you enjoyed the tutorial.
Rebba
|
|
Page designed by

for
http://www.artistrypsp.com/
Copyright ©
2000-2011 Artistry In PSP / PSP Artistry
All rights reserved.
Unless specifically made available for
download,
no graphics or text may be removed from
this site for any reason
without written permission from Artistry
In PSP / PSP Artistry
|