STEP 1
We are going to first make our background tiles.
Open a new image 248 x 248
Transparent background
PSPX - X2: Colour Depth = 8bits/channel
PSPX3: Colour Depth RGB = 8bits/channel
Shift >> D (on your keyboard)
Duplicate 3 times (so we have 4 images.)
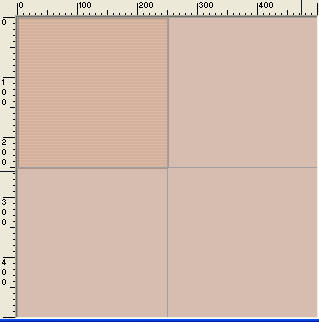
On first image Flood fill with #d4b19d
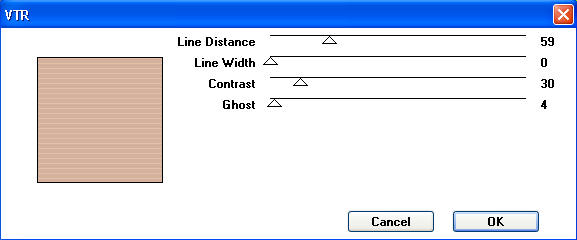
EFFECTS >> PLUGINS >> PENTA.com >> VTR
use these settings.
LAYERS >>> MERGE >>> MERGE ALL (Flatten)
IMAGE >>> ADD BORDERS = SYMMETRIC 2
Color = BLACK
File >> Save As >> VTR_ image.psp
|
STEP 2
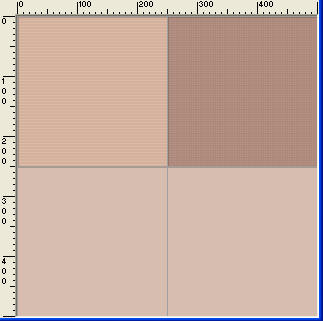
Select the second image
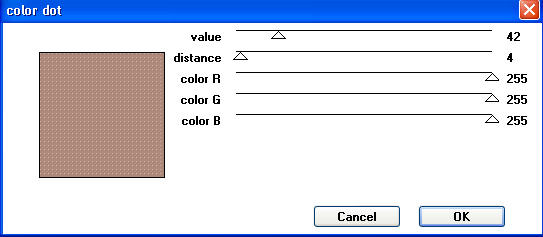
Flood fill with #ad897c
EFFECTS >> PLUGINS >> PENTA.com >> color dot
use these settings.
LAYERS >>> MERGE >>> MERGE ALL (Flatten)
IMAGE >>> ADD BORDERS = SYMMETRIC 2
Color = BLACK
File >> Save As >> colordot_image.psp
|
STEP 3
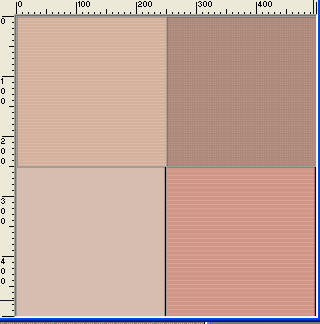
Select image 3
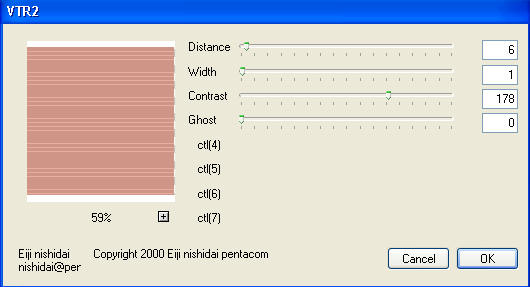
Flood fill with #cf9688
EFFECTS >> PLUGINS >> PENTA.com >> VTR2
use these settings.
LAYERS >>> MERGE >>> MERGE ALL (Flatten)
IMAGE >>> ADD BORDERS = SYMMETRIC 2
Color = BLACK
File >> Save As >> VTR2_image.psp
|
STEP 4
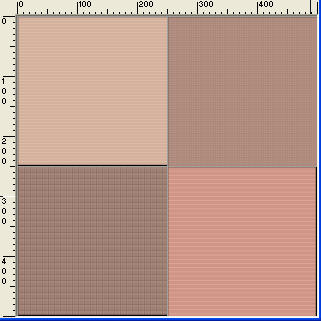
Select image 4
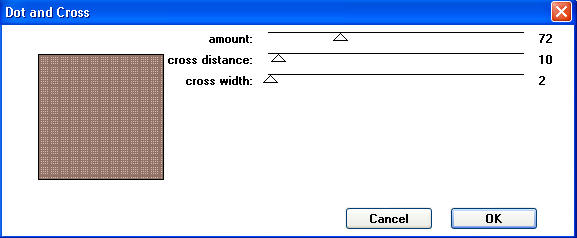
Flood fill with #917367
EFFECTS >> PLUGINS >> PENTA.com >> Dot and Cross
use these settings.
LAYERS >>> MERGE >>> MERGE ALL (Flatten)
IMAGE >>> ADD BORDERS = SYMMETRIC 2
Color = BLACK
File >> Save As >> DotandCross _image.psp
|
STEP 5
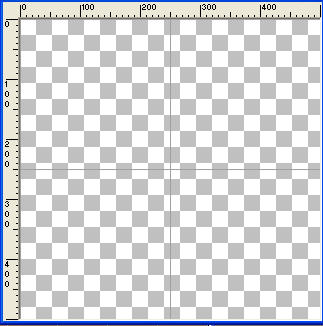
Open a new image 500 x 500
Transparent background
PSPX - X2: Colour Depth = 8bits/channel
PSPX3: Colour Depth RGB = 8bits/channel
(This is your "working' image)
Flood fill with #d7bdaf
View >> Rulers
View >> Change Grid, Guide & Snap Properties
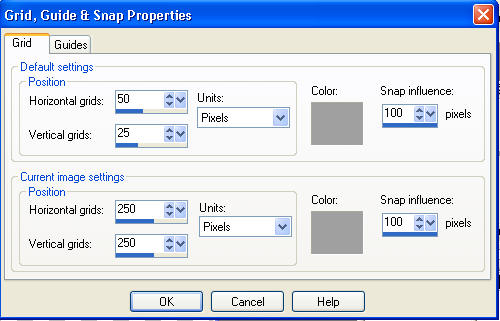
View >>
GRID
View >> Snap to GRID
We have 4 equal sections
|
STEP 6
Activate the VTR_ image.psp image
Right click on the Title Bar and select COPY from the options.
Right click on the Title Bar of your 'working' image and select
PASTE AS NEW LAYER from the options.
With your Mover Tool
Move it to top left of working image,
made sure it snaps in place.
In your Layer Palete
Rename this layer AS1
|
|
STEP 7
Activate the colordot_image.psp image
Right click on the Title Bar
and select COPY from the options.
Right click on the Title Bar of
your 'working' image and select
PASTE AS NEW LAYER from the options.
With your Mover Tool
Move it to top right of working image,
made sure it snaps in place.
In your Layer Palete
Rename this layer AS2
|
|
STEP 8
Activate the VTR2_image.psp image
Right click on the Title Bar
and select COPY from the options.
Right click on the Title Bar of
your 'working' image and select
PASTE AS NEW LAYER from the options.
With your Mover Tool
Move to bottom right on working image,
made sure it snaps in place.
In your Layer Palete
Rename this layer AS3
|
|
STEP 9
Activate the DotandCross _image.psp image
Right click on the Title Bar
and select COPY from the options.
Right click on the Title Bar of
your 'working' image and select
PASTE AS NEW LAYER from the options.
With your Mover Tool
Move to bottom left on working image,
made sure it snaps in place.
In your Layer Palete
Rename this layer AS4
|
|
STEP 10
To turn off GRID
View >> GRID
View >> Snap to GRID
|
STEP 11
Open Pretty Autumn Fairy tube
in your PSP workspace
Right click on the Title Bar
and select COPY from the options.
Right click on the Title Bar of
your 'working' image and select
PASTE AS NEW LAYER from the options.
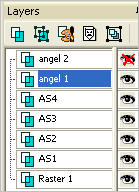
In your Layer Palette
Rename this layer angel 1
Right click on this layer and select
"Duplicate"
from the options.
Rename this layer angel 2
Activate layer angel 1
Close layer layer angel 2
|
|
STEP 12
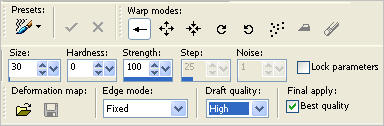
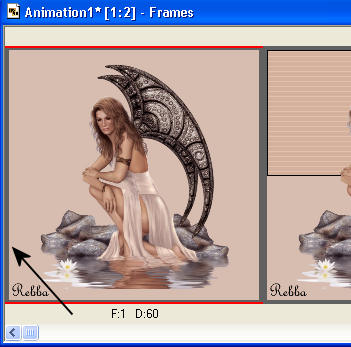
I used the warp brush on the water on the angels just to give a little movement.
Select Warp Brush using these settings
select the arrow pointing to left
|
STEP 13
With the Warp Brush I clicked on the water in 4 or 5 places on each layer.
You want to just move the water to the right horizontally a few pixels
maybe 10 to 20.
When you finish angel 1
Click APPLY
Close the layer
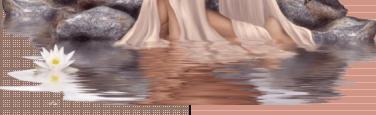 BEFORE BEFORE
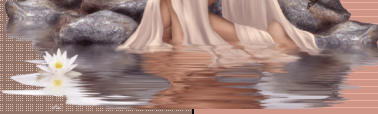 AFTER ... AFTER ...
Open & Activate angel 2 and do the same thing.
Click APPLY
|
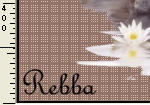
STEP 14
LAYERS >> NEW RASTER LAYER
Select your TEXT tool
and a font of choice
Add your name on the bottom left
side so it doesn't interfere with the animation.
Rename this layer name
|
|
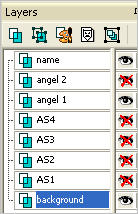
STEP 15
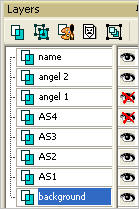
In your Layer Palette
Open the following layers
background
name
angel 1
Close all other layers.
Activate the background layer
Right click on Title Bar and select
Copy merged from the options
In ANIMATION SHOP
Right click the workspace and select
'Paste As New Animation' from the options.
Back to PSP.
|
|
STEP 16
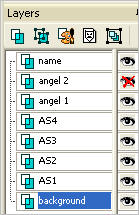
In your Layer Palette
Close angel 1
Open angel 2
Open AS1
Right click on Title Bar and select
Copy merged from the options
|
|
STEP 17
In ANIMATION SHOP
Right click top of frame image and select
'Paste After Current Frame' from the options.
|
 |
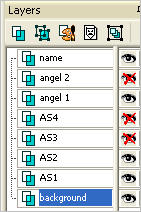
STEP 18
Back to PSP
In your Layer Palette
Close angel 2
Open angel 1
Open AS2
Right click on Title Bar and select
Copy merged from the options
In ANIMATION SHOP
Right click top of frame image and select
'Paste After Current Frame' from the options..
|
|
STEP 19
Back to PSP
In your Layer Palette
Close angel 1
Open angel 2
Open AS3
Right click on Title Bar and select
Copy merged from the options
In ANIMATION SHOP
Right click top of frame image and select
'Paste After Current Frame' from the options..
|
|
STEP 20
Back to PSP
In your Layer Palette
Close angel2
ALL other layers OPEN
Right click on Title Bar and select
Copy merged from the options
In ANIMATION SHOP
Right click top of frame image and select
'Paste After Current Frame' from the options..
|
|
STEP 21
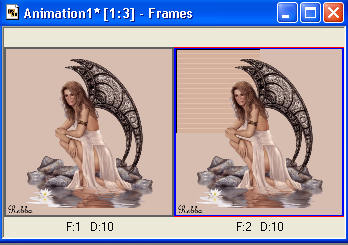
In ANIMATION SHOP
Edit >> select none
Edit >> select all
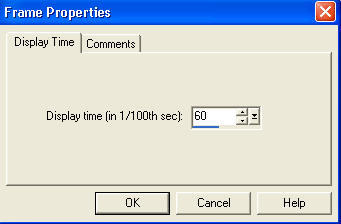
Right click on top of frames
Select 'Frame Properties' from the options
Display time = 60
Edit >> select none
Scroll arrow on bottom of frame to left.
Select the gray edge around frame 1
Right click on top of frames
Select 'Frame Properties' from the options
Display time = 10
|
STEP 22
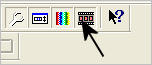
View >> Animation
or
click the icon to view your animations.
|
|
STEP 23
While the animation is running
Save your completed animation
File >> Save As
Find folder to save to.
Name your animation.
With the Gif Optimiser keep pressing NEXT
until you get to the last one... click FINISH
Close the Animation
Close the frames.
Close Animation Shop |
I hope you had fun doing this tut.
|
| |