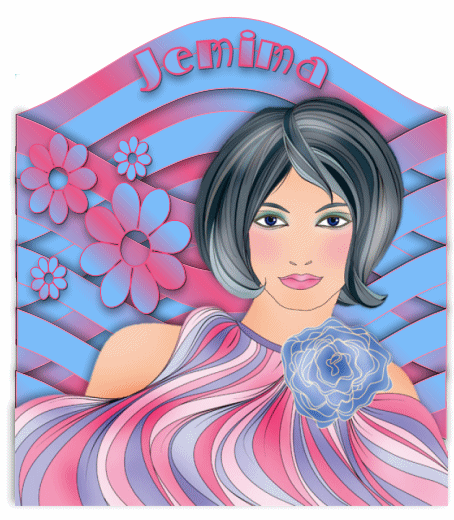
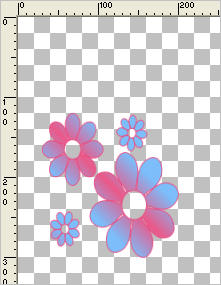
TRINKET - NAME TAG
PSP8 to PSPX3
This tutorial was written by Jemima ~ APRIL 2011
Copyright © 2011 ~ Jemima ~ All rights reserved
********************************
This was created using PSP9 but can be adapted for other versions of PSP.
You will need the
following to complete this tutorial
Materials
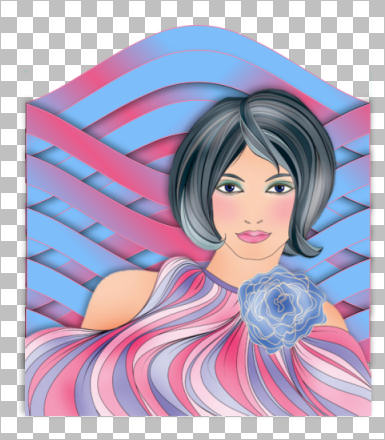
JF_girl-illustration-fashion.pspimage
Save to a folder on your computer
ib_trinket01.jsl
Ding137_gq.PspShape
Save to your PSP Shapes folder
ALL VERSIONS: C:\Documents and Settings\YOUR NAME\My Documents\My PSP Files\Shapes
Make sure you point to it in
Files >> Preferences >> Shapes
OR
PSP8: C:\Program Files\Jasc Software\Paint Shop Pro 8\Shapes
PSP9: C:\Program Files\Jasc Software\Paint Shop Pro 9\Shapes
PSPX: C:\Program Files\Corel\Corel Paint Shop Pro X\Shapes
PSPXI / X2: C:\Program Files\Corel\Corel Paint Shop Pro Photo X2\Corel_11
PSPX3: C:\Program Files\Corel\X3\PSPClassic\Corel_11
MiltonBurlesque.ttf
Save to your WINDOWS >>> FONTS folder
OR
to a folder where you store your extra fonts.
Plugins
** EYE CANDY3 **
http://pspgroep.seniorennet.be/filterpagina.htm
********************************
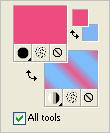
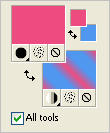
In your MATERIALS PALETTE
Load PINK" #ed4c80" in your foreground
Load BLUE " #81b5f5 " in your background
Then click on the GRADIENT option in your background palette,
locate the "Foregound-background"
and use these settings
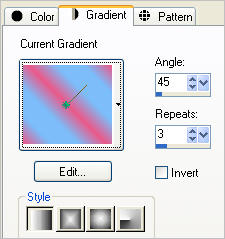 . . 
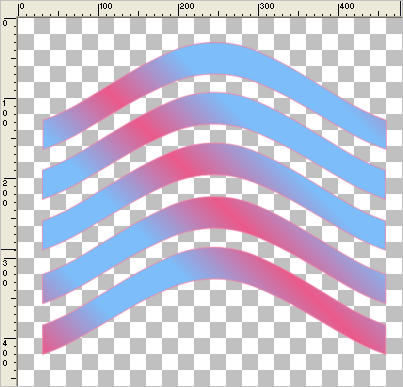
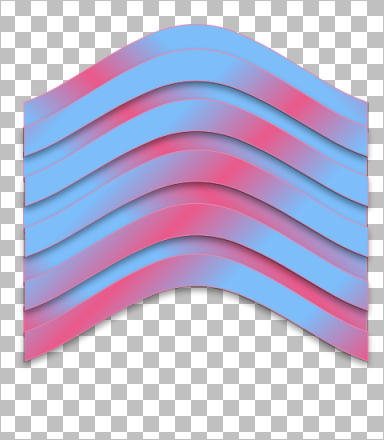
Select your PRESET SHAPES tool
Locate the ib_trinket01 shape
and use these settings

Starting at 30 pixels across and 30 pixels down
drag your cursor to 460 pixels across and 420 pixels down and release
CLOSE RASTER 1
LAYERS >>> NEW RASTER LAYER
Select your PRESET SHAPES tool
Locate the Ding137_gq shape
and use the same settings
Starting at 30 pixels across and 120 pixels down
drag your cursor to 200 pixels across and 300 pixels down and release
EFFECTS >>> 3D EFFECTS >>> DROP SHADOW
Vertical & Horizontal offsets = 1
Colour = Black
Opacity = 50
Blur = 0
CLOSE RASTER 2
OPEN AND ACTIVATE RASTER 1
EFFECTS >>> 3D EFFECTS >>> DROP SHADOW
Vertical & Horizontal offsets = 1
Colour = Black
Opacity = 50
Blur = 0
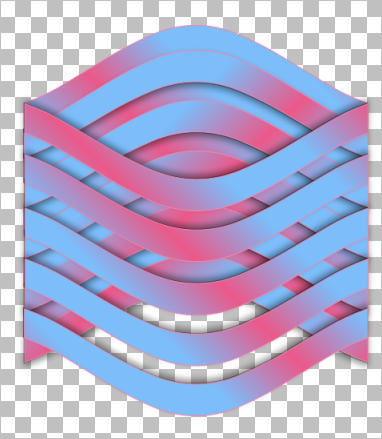
LAYERS >>> DUPLICATE
IMAGE >>> MIRROR
EFFECTS >>> PLUGINS >>> EYE CANDY 3 >>> DROP SHADOW
Drag down with your MOVER tool as shown below.
LAYERS >>> DUPLICATE
IMAGE >>> FLIP
Drag down with your MOVER tool as shown below
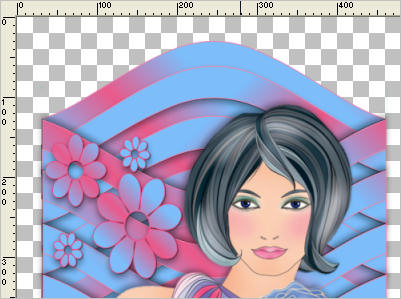
Open up the JF_girl-illustration-fashion image in your PSP workspace
Right click on the Title Bar and select COPY from the options
Right click on the Title Bar of your tag image
and select PASTE AS NEW LAYER from the options.
IMAGE >>> RESIZE = 72%
Ensure "Resize all layers" is UNCHECKED
Resample using WEIGHTED AVERAGE
EFFECTS >>> PLUGINS >>> EYE CANDY 3 >>> DROP SHADOW
change DIRECTION to 135
Drag down with your MOVER tool as shown below
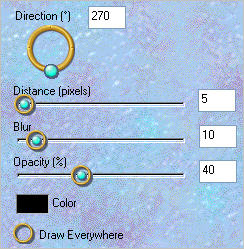
OPEN AND ACTIVATE RASTER 2
EFFECTS >>> PLUGINS >>> EYE CANDY 3 >>> DROP SHADOW
change DIRECTION to 270
Reposition with your MOVER tool
LAYERS >>> NEW RASTER LAYER
CLOSE RASTER 2
CLOSE RASTER 3
In your MATERIALS Palette
NULL the gradient background
Load BLACK in the foreground
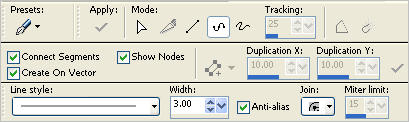
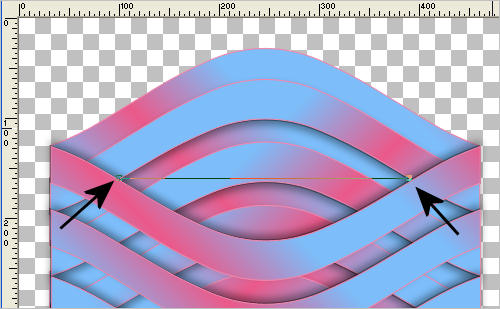
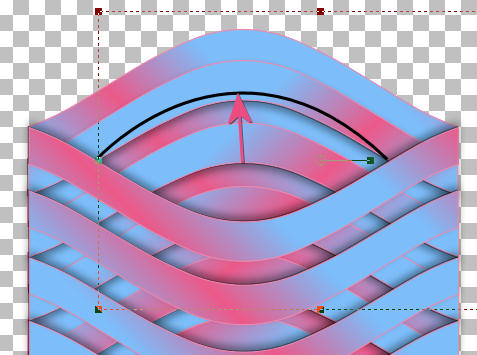
Select your PEN tool
Click where indicate by the left arrow... then click
where indicate by the right arrow.
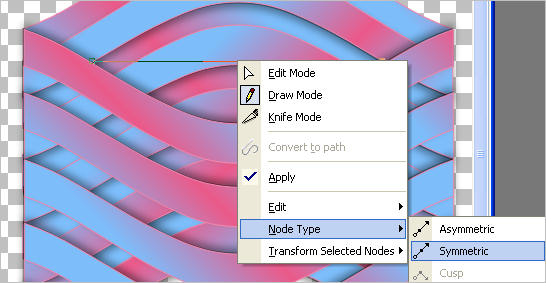
RIGHT Click on the line and select NODE TYPE >>> SYMMETRIC
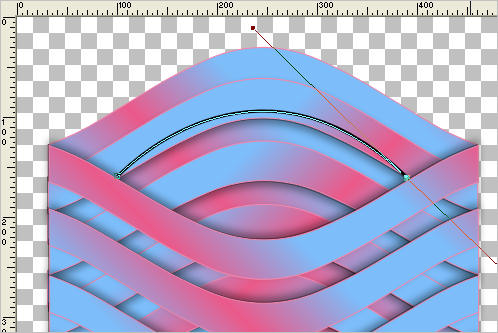
Place your cursor over the NODE (2 curved arrows will appear)
and drag upwards and to the left
so you end up with an "arc" as shown below
Select your TEXT tool
PSPX3 TIP: PSPX3 has a very different way of adding text
However if you hold down the shift key when
clicking on the A (Text Tool) the box will show up as other versions
otherwise type the text and then click on the apply changes
(green button in the tools options next to presets)

In your MATERIALS Palette
Open the gradient background
Load Pink #ed4c80 in the foreground
Hover you cursor over the centre of the arc until this symbol  appears... appears...
Click and enter your text in the box
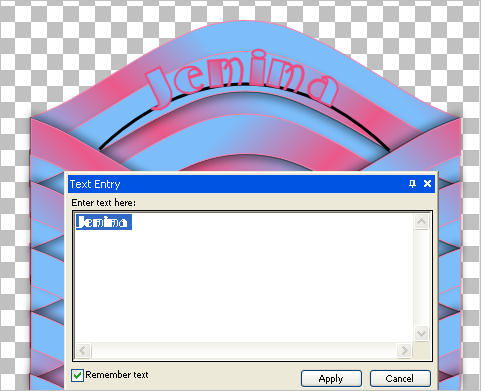
Click APPLY
EFFECTS >>> 3D EFFECTS >>> DROP SHADOW
Vertical & Horizontal offsets = 1
Colour = Black
Opacity = 50
Blur = 0
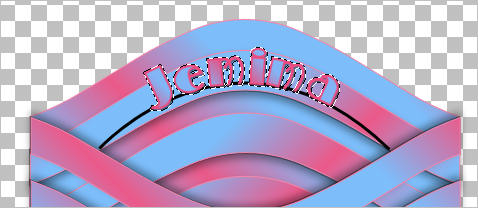
EFFECTS >>> PLUGINS >>> EYE CANDY 3 >>> DROP SHADOW
Same settings
DESELECT
In your LAYER PALETTE
Open the VECTOR 1 layer >>> Close the NEW PATH layer
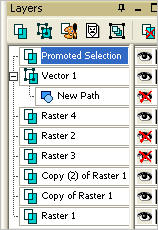
Click on the - (minus) sign next to Vector 1
Right click on the Vector 1 layer
Select "Convert to Raster layer"
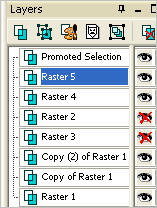
OPEN ALL LAYERS
Adjust the position of the text if needed
Save as .psp image

If you want to save it as a .PNG image...
LAYERS >>> MERGE >>> MERGE VISIBLE
Save as .png image
If you want to save it as a .GIF image...
which is what I did for the result at the top of this tutorial
Add a background layer
... mine is white
LAYERS >>> MERGE >>> MERGE ALL (Flatten)
Save as .gif image
Personally I wouldn't save it as a .JPEG because these colours bleed
as you can see in all the examples used in this tut.
Page designed by

for
http://www.artistrypsp.com/
Copyright ©
2000-2011 Artistry In PSP / PSP Artistry
All rights reserved.
Unless specifically made available for
download,
no graphics or text may be removed from
this site for any reason
without written permission from Artistry
In PSP / PSP Artistry
|