PIMP YOUR PHOTOS
PSP8 to PSPX3
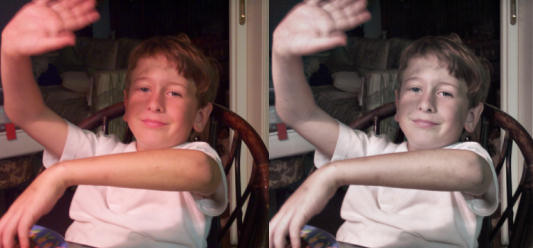
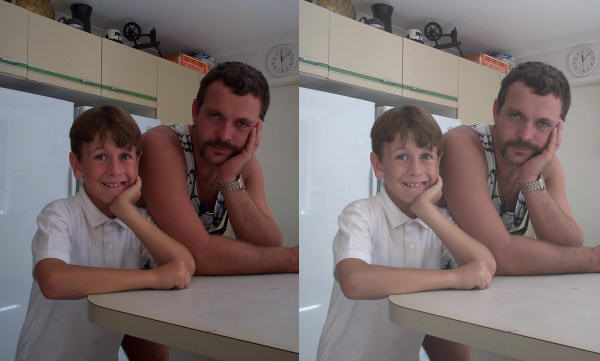
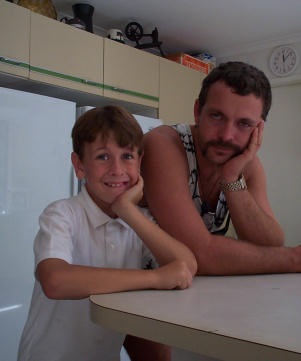
My grandson Jared when he was still a sweet kid. *S*
BEFORE ...................................................... AFTER
This tutorial was written by Jemima ~ JULY 2011
Copyright © 2011 ~ Jemima ~ All rights reserved
********************************
This was created using PSP9 but can be adapted for other versions of PSP.
You will need the
following to complete this tutorial
Materials
Jared_Jason2001.jpg
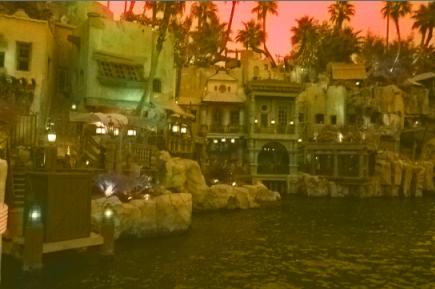
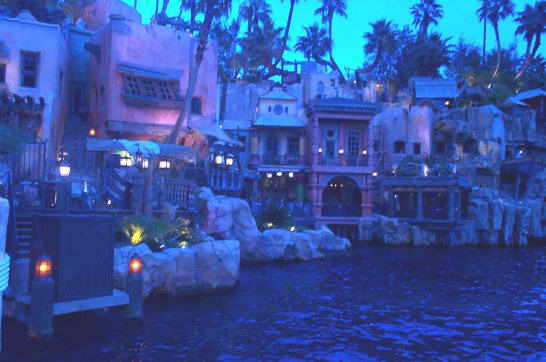
PiratesOfTheCarribean.jpg
Save to a folder on your computer
Plugins
** NONE**
********************************
We all have photos we've taken that have a ghastly orange/red or blue tinge.
In this tutorial I'll show you how to fix that in a couple of easy steps.
I've supplied some personal photos so you can do this tutorial
but dig out those photos of yours that you thought were too far gone to use. *S*
OK... Open the Jared_Jason2001 photo in your PSP workspace.
I hated his moustache... ugh!! LOL!!
This photo has too much orange tint....
WINDOW >>> DUPLICATE
Close the original Image
LAYERS >>> Promote background layer
LAYERS >>> DUPLICATE
ADJUST >>> BLUR >>> Average
ADJUST >>> COLOUR BALANCE >>> NEGATIVE IMAGE
PSPX - X3: IMAGE >>> NEGATIVE IMAGE
In your LAYER PALETTE change the BLEND MODE to COLOR (L)
Change
the OPACITY to around 16%
ACTIVATE RASTER 1
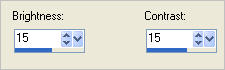
ADJUST >>> BRIGHTNESS and CONTRAST >>> BRIGHTNESS/CONTRAST
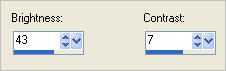
NOTE: Play around with the OPACITY and Brightness/Contrast until you find a result you like.
BEFORE ............................................................... AFTER
LAYERS >>> MERGE >>> MERGE ALL (Flatten)
Save your adjusted photo as a .jpg image.
*********************
OK... now we'll try a photo with far too much blue... I'm sure you'll have some of those.
Open up the PiratesOfTheCarribean.jpg image supplied.
This was taken in Las Vegas in 2001... what a trip!!!! *S*
WINDOW >>> DUPLICATE
Close the original Image
LAYERS >>> Promote background layer
LAYERS >>> DUPLICATE
ADJUST >>> BLUR >>> Average
ADJUST >>> COLOUR BALANCE >>> NEGATIVE IMAGE
PSPX - X3: IMAGE >>> NEGATIVE IMAGE
This time it's shades of orange and yellow....
In your LAYER PALETTE change the BLEND MODE to COLOR (L)
Change the OPACITY to around 60 %
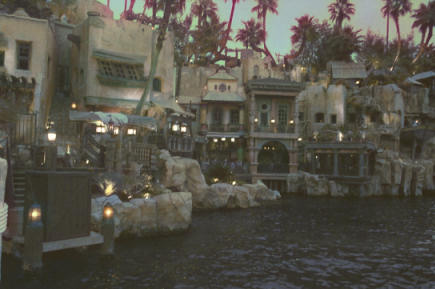
It's still a bit dark....
ACTIVATE RASTER 1
ADJUST >>> BRIGHTNESS and CONTRAST >>> BRIGHTNESS/CONTRAST
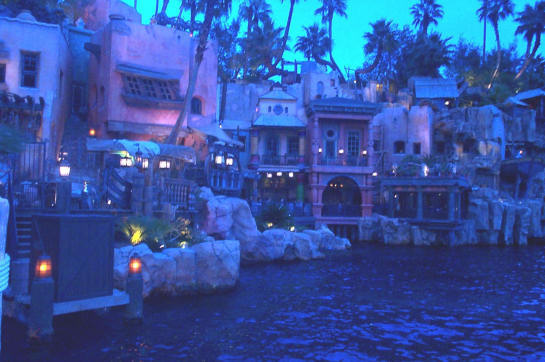
BEFORE
AFTER
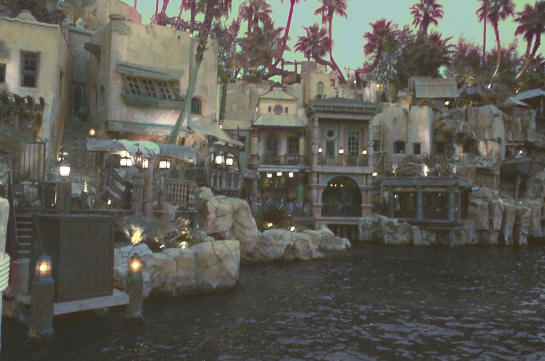
Now doesn't that look more natural????
LAYERS >>> MERGE >>> MERGE ALL (Flatten)
Save your adjusted photo as a .jpg image.
*****************
Now you can save all those photos you were going to ditch!!! *S*
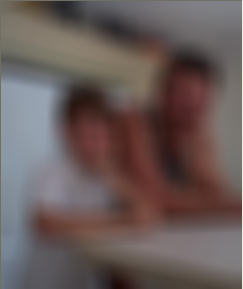
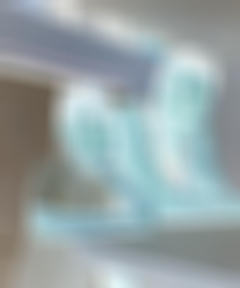
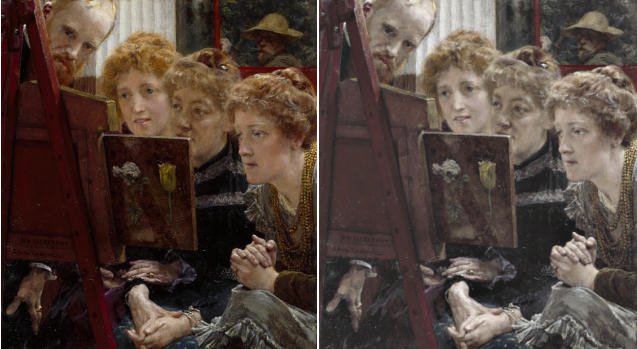
You can also do this with artwork like I did with the image below,
using the exact same method.
You can see a lot more detail in the adjusted image on the right.
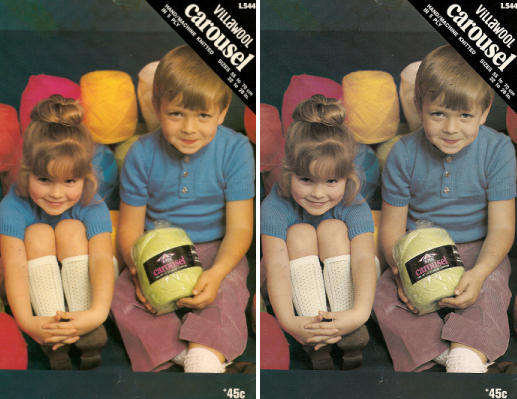
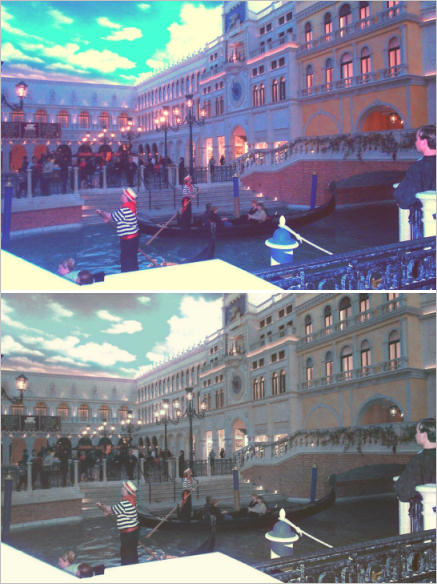
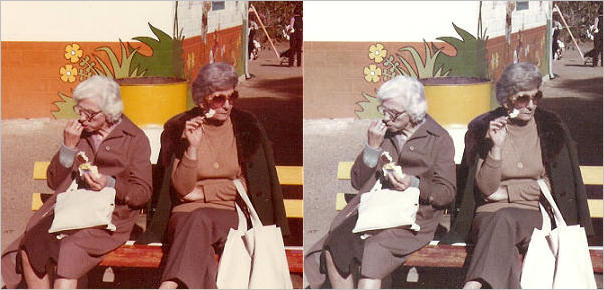
Here are some more 'before' and 'after' examples of my photos.
Jason used to model when he was little.
This is from a knitting pattern. *S*
The Grand Canal in the Venetian Casino - Las Vegas
My Mum and Grandmother feeding their faces (Circa late 60's)
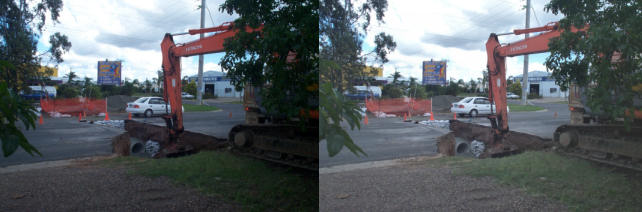
Work being done creating new drains outside my place a couple of years ago.
Didn't I tell you this was easy??? *S*
So.. off you go and rescue all those old photos
you thought were a disaster.
.
Page designed by

for
http://www.artistrypsp.com/
Copyright ©
2000-2011 Artistry In PSP / PSP Artistry
All rights reserved.
Unless specifically made available for
download,
no graphics or text may be removed from
this site for any reason
without written permission from Artistry
In PSP / PSP Artistry
|
