OFFSET POSSIBILITIES
PSP8 to PSPX3
This tutorial was written by Jemima ~ APRIL 2011
Copyright © 2011 ~ Jemima ~ All rights reserved
********************************
This was created using PSP9 but can be adapted for other versions of PSP.
You will need the
following to complete this tutorial
Materials
3180633_illustration.jpg
ballons (10).jpg
Floral Damask1.jpg
JF_Sky.jpg
kikirou1600 - paysage medieval.pspimage
SP-AwwwhhhhDragon.psp
ccc_bookoflittlepeople14.psp
KarenFoster_StorybookPhrasesSheet1_SLH.psp
Save to a folder on your computer
Plugins
** EYE CANDY3 **
http://pspgroep.seniorennet.be/filterpagina.htm
********************************
In this tutorial you'll create some great, unique backgrounds for your Tags,
from artwork you'll find around the Internet.
. VIEW >>> RULERS
Open up the 3180633_illustration.jpg image in your PSP workspace
WINDOW >>> DUPLICATE
Minimize the original Image
LAYERS >>> Promote background layer
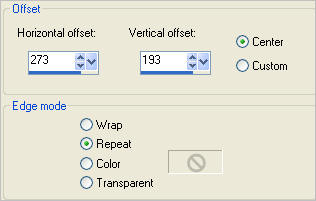
EFFECTS >>> IMAGE EFFECTS >>> OFFSET
(These setting were chosen randomly except for the "Custom" option)
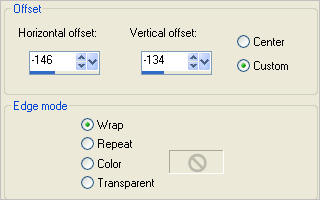
Hmmm... doesn't look very unique... does it...???

EFFECTS >>> IMAGE EFFECTS >>> OFFSET
This time check the "Center" option and Edge Mode = REPEAT
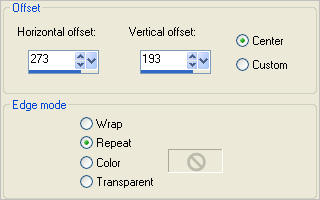
Now... isn't this much better???? *S*

Save as .psp image
Maximize the 3180633_illustration.jpg image in your PSP workspace
WINDOW >>> DUPLICATE
CLOSE the original Image
LAYERS >>> Promote background layer
Let's try another from this image.
EFFECTS >>> IMAGE EFFECTS >>> OFFSET
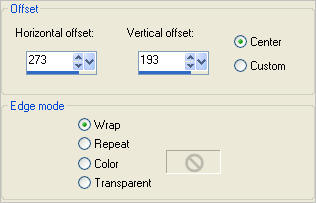
This time check the "Center" option and Edge Mode = WRAP
Boring..... *S*

EFFECTS >>> IMAGE EFFECTS >>> OFFSET
This time check the "Center" option and Edge Mode = REPEAT
Again... a different result *S*

Save as .psp image
O.K. let's try one we could use for a Birthday Tag.
Open up the ballons (10).jpg image in your PSP workspace
WINDOW >>> DUPLICATE
Close the original Image
LAYERS >>> Promote background layer
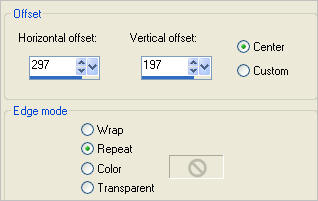
EFFECTS >>> IMAGE EFFECTS >>> OFFSET
Check the CENTRE and REPEAT options
Now you have a pretty background for your Birthday or Celebration tag *S*

Save as .psp image
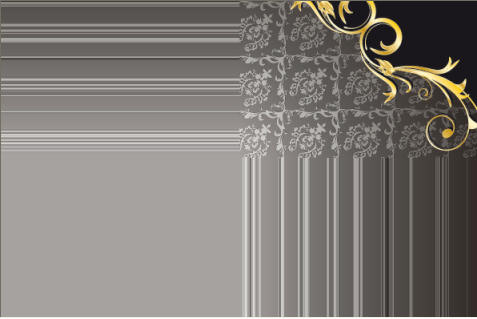
This time we'll use something slightly different.
This has a couple of gold designs we may want to utilise in our background.
Open up the Floral Damask1.jpg image in your PSP workspace
WINDOW >>> DUPLICATE
Close the original Image
LAYERS >>> Promote background layer
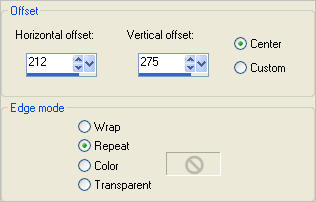
EFFECTS >>> IMAGE EFFECTS >>> OFFSET
Check the CENTRE and REPEAT options
DO NOT 'APPLY' THE OFFSET EFFECTS SETTINGS >>> READ ON FIRST
OOPS... the gold isn't quite right....
What we need to do is lower the position of the gold decoration
Reduce the setting for the Vertical Offset
Click OK
and this is what you end up with.

Save as .psp image
FINALLY, let's try this with a tube.....
It won't work with all tubes, particularly NOT misted tubes.
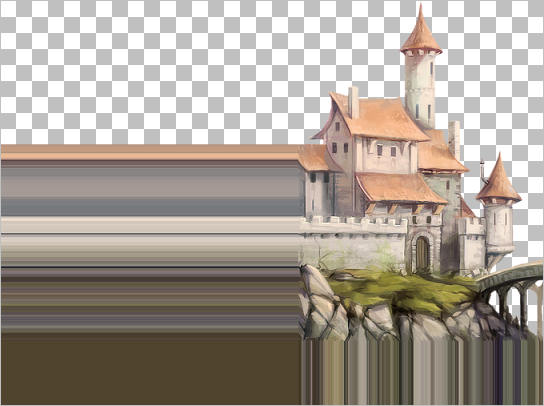
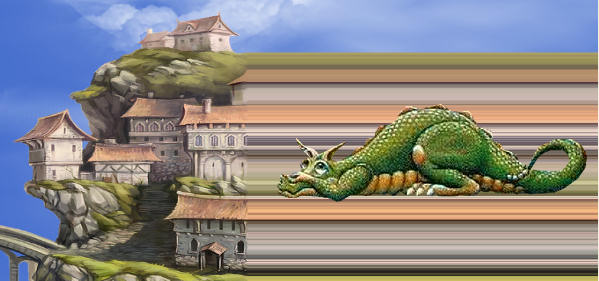
Open up the kikirou1600 - paysage medieval.pspimage image in your PSP workspace
WINDOW >>> DUPLICATE
Minimize the original Image
Close RASTER 2
ACTIVATE RASTER 1
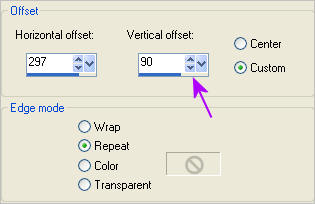
EFFECTS >>> IMAGE EFFECTS >>> OFFSET
Check the CENTRE and REPEAT options
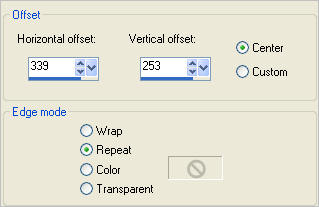
DO NOT 'APPLY' THE OFFSET EFFECTS SETTINGS >>> READ ON FIRST
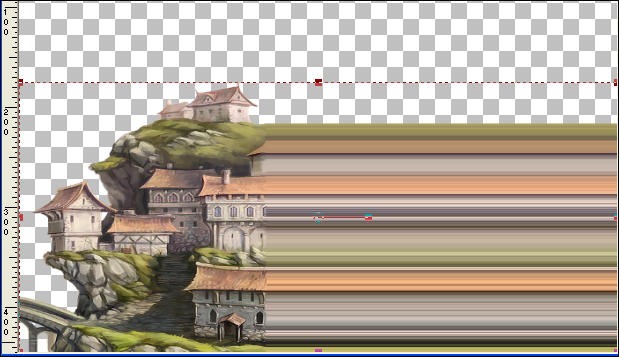
Hmmm.... would look better if more of the castle was showing...
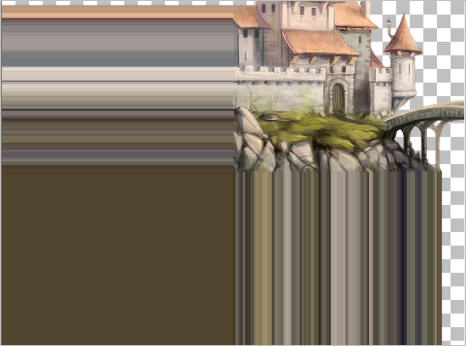
Increase the HORIZONTAL setting to move the image to the right side.
Decrease the VERTICAL
setting until the turret on the castle is in full view.
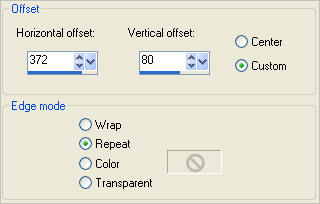
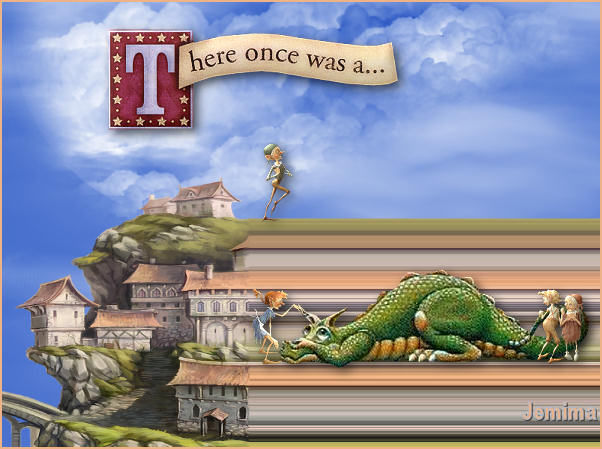
Now you have something a little different for your fantasy tag.
Let's try this with the right side of this image... and we'll make a tag out of it *S*
Open up the kikirou1600 - paysage medieval.pspimage image in your PSP workspace
WINDOW >>> DUPLICATE
Close the original Image
Close RASTER 2
ACTIVATE RASTER 1
EFFECTS >>> IMAGE EFFECTS >>> OFFSET
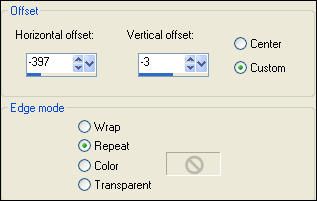
IMAGE >>> RESIZE = 88%
Ensure "Resize all layers" is CHECKED
Resample using WEIGHTED AVERAGE
Select your DEFORMATION tool
Mode = SCALE
use default settings
PSPX - X3:Select your PICK tool
Drag the centre top node down the 175 mark on the left ruler
Click the RESET RECTANGLE arrow
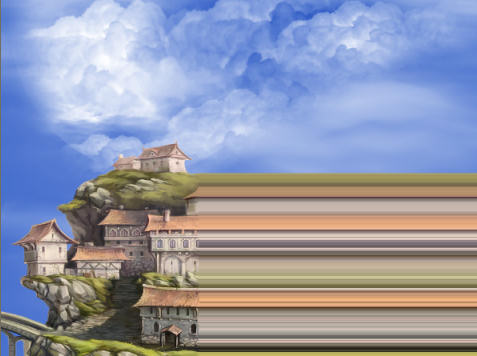
LAYERS >>> NEW RASTER LAYER
LAYERS >>> ARRANGE >>> SEND TO BOTTOM
Open up the JF_Sky image in your PSP workspace
Right click on the Title Bar and select COPY from the options
Right click on the Title Bar of your tag image
and select PASTE AS NEW LAYER from the options.
ACTIVATE THE TOP LAYER
Open up the SP-AwwwhhhhDragon image in your PSP workspace
Right click on the Title Bar and select COPY from the options
Right click on the Title Bar of your tag image
and select PASTE AS NEW LAYER from the options.
Reposition with your MOVER tool
Open up the ccc_bookoflittlepeople14.psp image in your PSP workspace
Activate Layer 3
Right click on the Title Bar and select COPY from the options
Right click on the Title Bar of your tag image
and select PASTE AS NEW LAYER from the options.
IMAGE >>> RESIZE = 25%
Ensure "Resize all layers" is UNCHECKED
Resample using WEIGHTED AVERAGE
IMAGE >>> MIRROR
ADJUST >>> SHARPNESS >>> SHARPEN
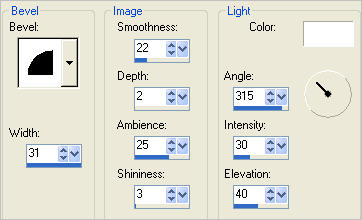
EFFECTS >>> 3D EFFECTS >>> INNER BEVEL
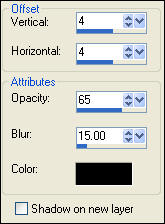
EFFECTS >>> 3D EFFECTS >>> DROP SHADOW
Reposition with your MOVER tool

Open up the ccc_bookoflittlepeople14.psp image in your PSP workspace
Activate Layer 2
Right click on the Title Bar and select COPY from the options
Right click on the Title Bar of your tag image
and select PASTE AS NEW LAYER from the options.
IMAGE >>> RESIZE = 25%
Ensure "Resize all layers" is UNCHECKED
Resample using WEIGHTED AVERAGE
ADJUST >>> SHARPNESS >>> SHARPEN
EFFECTS >>> 3D EFFECTS >>> INNER BEVEL
Same settings
EFFECTS >>> 3D EFFECTS >>> DROP SHADOW
Same settings
Reposition with your MOVER tool
Open up the ccc_bookoflittlepeople14.psp image in your PSP workspace
Activate Layer 1
Right click on the Title Bar and select COPY from the options
Right click on the Title Bar of your tag image
and select PASTE AS NEW LAYER from the options.
IMAGE >>> RESIZE = 25%
Ensure "Resize all layers" is UNCHECKED
Resample using WEIGHTED AVERAGE
ADJUST >>> SHARPNESS >>> SHARPEN
EFFECTS >>> 3D EFFECTS >>> INNER BEVEL
Same settings
EFFECTS >>> 3D EFFECTS >>> DROP SHADOW
Same settings
Reposition with your MOVER tool
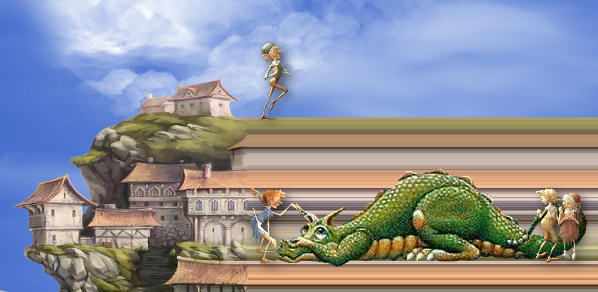
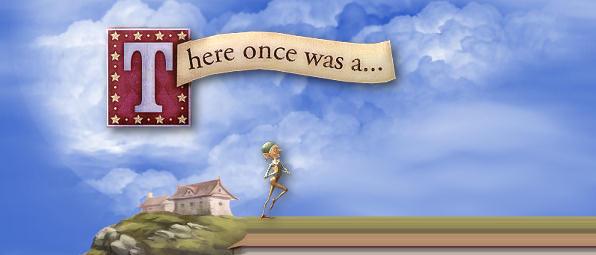
Open up the KarenFoster_StorybookPhrasesSheet1_SLH image in your PSP workspace
Select one of the banners with your Selection Tool
Right click on the Title Bar and select COPY from the options
Right click on the Title Bar of your tag image
and select PASTE AS NEW LAYER from the options.
IMAGE >>> RESIZE = 75%
Ensure "Resize all layers" is UNCHECKED
Resample using WEIGHTED AVERAGE
ADJUST >>> SHARPNESS >>> SHARPEN
EFFECTS >>> 3D EFFECTS >>> DROP SHADOW
Same settings
EFFECTS >>> 3D EFFECTS >>> INNER BEVEL
Same settings BUT change AMBIENCE to 43
Reposition with your MOVER tool
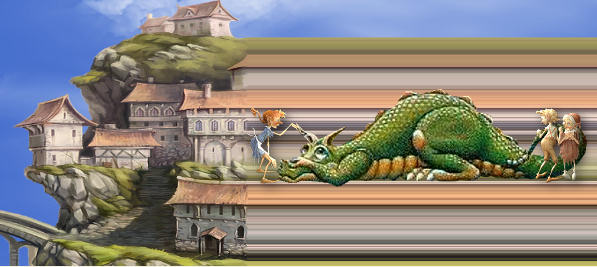
ACTIVATE the layer with the dragon.
EFFECTS >>> 3D EFFECTS >>> DROP SHADOW
Same settings
LAYERS >>> MERGE >>> MERGE ALL (Flatten)
IMAGE >>> ADD BORDERS = SYMMETRIC 2
COLOUR =
#edb387
or a colour of your choice.
Save as .jpg image
Page designed by

for
http://www.artistrypsp.com/
Copyright ©
2000-2011 Artistry In PSP / PSP Artistry
All rights reserved.
Unless specifically made available for
download,
no graphics or text may be removed from
this site for any reason
without written permission from Artistry
In PSP / PSP Artistry
|