STEP 1
In your MATERIALS PALETTE
Load TAN " #bdac8d " in your foreground
Load WHITE ' #ffffff ' in your background
Open up the 0_red.gif (animation fill) image in your PSP workspace
and minimize.
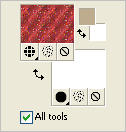
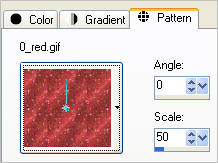
Load the 0_red.gif pattern in the foreground using these settings
NULL the foreground |
STEP 2
Open a new image 600 x 130
Transparent background
PSPX - X2: Colour Depth = 8bits/channel
PSPX3: Colour Depth RGB = 8bits/channel
Select your TEXT tool
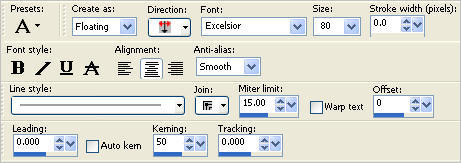
For this exercise we'll enter the word "PEACE"

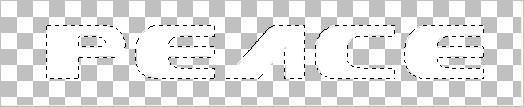
|
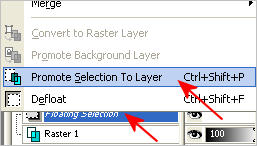
STEP 3
In your LAYER PALETTE
Right Click on the Floating Selection layer
and select Promote Selection To Layer
from the options |
|
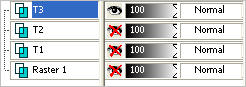
STEP 4
Rename the Promoted layer T1
LAYERS >>> DUPLICATE
Rename this layer T2
LAYERS >>> DUPLICATE
Rename this layer T3
CLOSE the bottom 3 layers |
|
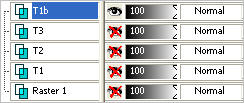
STEP 5
LAYERS >>> DUPLICATE
Rename this layer T1b
CLOSE layer T3
|
|
STEP 6
SELECTIONS >>> MODIFY >>> EXPAND = 3
In your MATERIALS PALETTE open the foreground and select the SOLID TAN colour
and flood fill each of the letters with the TAN
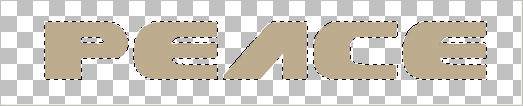 |
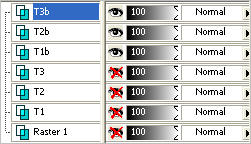
STEP 7
LAYERS >>> DUPLICATE
Rename this layer T2b
LAYERS >>> DUPLICATE
Rename this layer T3b |
|
STEP 8
In your MATERIALS PALETTE
load the pattern |
|
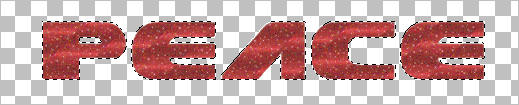
STEP 9
Flood fill layer T3b with the pattern
 |
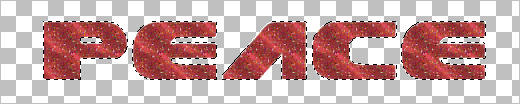
STEP 10
In your MATERIALS PALETTE
change the ANGLE of the pattern to 45
Close layer T3b
Activate layer T2b
Flood fill layer T2b with the pattern
 |
STEP 11
In your MATERIALS PALETTE change the ANGLE of the pattern to 90
Close layer T2b
Activate layer T1b
Flood fill layer T1b with the pattern
DESELECT
|
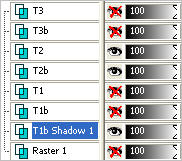
STEP 12
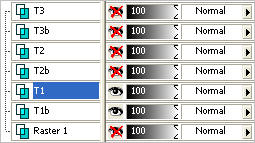
Rearrange the layers as shown
and ACTIVATE layer T1 |
|
STEP 13
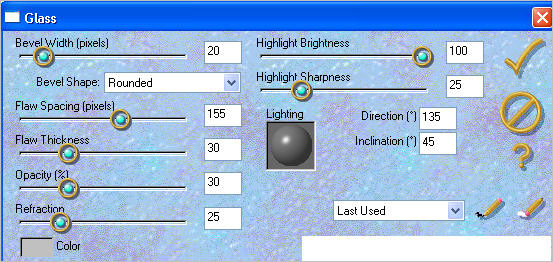
EFFECTS >>> PLUGINS >>> EYE CANDY 3 >>> GLASS
COLOUR = #c0c0c0
 |
STEP 14
OPEN and ACTIVATE layer T2
EFFECTS >>> PLUGINS >>> EYE CANDY 3 >>> GLASS
Same settings
OPEN and ACTIVATE layer T3
EFFECTS >>> PLUGINS >>> EYE CANDY 3 >>> GLASS
Same settings
EFFECTS >>> 3D EFFECTS >>> DROP SHADOW
Vertical & Horizontal offsets = 1
Colour = Black
Opacity = 70
Blur = 0
Repeat Drop Shadow effect changing
Vertical & Horizontal Offsets to - ( minus ) 1
Click OK
|
STEP 15
ACTIVATE layer T2
REPEAT BOTH....
EFFECTS >>> 3D EFFECTS >>> DROP SHADOW
ACTIVATE layer T1
REPEAT BOTH....
EFFECTS >>> 3D EFFECTS >>> DROP SHADOW
 |
STEP 16
OK... you have the option to add a drop shadow
to the whole image now.
ACTIVATE layer T1b
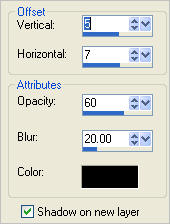
EFFECTS >>> 3D EFFECTS >>> DROP SHADOW
NOTE: Check "Shadow on new layer. |
|
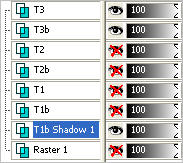
STEP 17
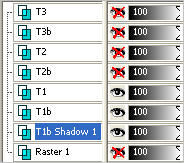
Set up your layer palette as shown
Right click on Title Bar and select
Copy merged from the options
|
|
STEP 18
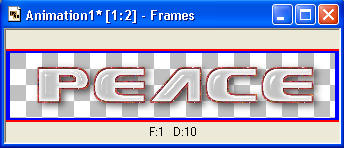
In ANIMATION SHOP
Right click the workspace and select
'Paste As New Animation' from the options.
|
 |
STEP 19
Back to PSP.
CLOSE layers T1b and T1
OPEN layers T2b and T2
Right click on Title Bar and select
Copy merged from the options
|
|
STEP 20
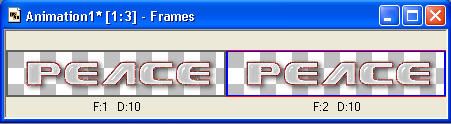
In ANIMATION SHOP
Right click the workspace and select
'Paste After Current Frame' from the options.
|
STEP 21
Back to PSP.
CLOSE layers T2b and T2
OPEN layers T3b and T3
Right click on Title Bar and select
Copy merged from the options |
|
STEP 22
In ANIMATION SHOP
Right click the workspace and select
'Paste After Current Frame' from the options.
 |
STEP 23
NOW... because Animation Shop makes such a crap job of saving animations with Drop Shadows
and I haven't worked out how to fix this I have however found a solution around it.
EDIT >>> SELECT ALL
ANIMATION >>> ANIMATION PROPERTIES
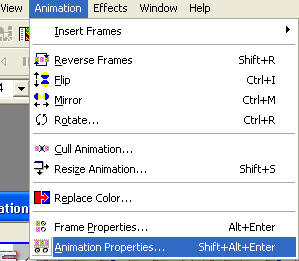
Right Click on the Colour Option and select a colour of your choice.
I chose white because the background on my tutorial page is white.
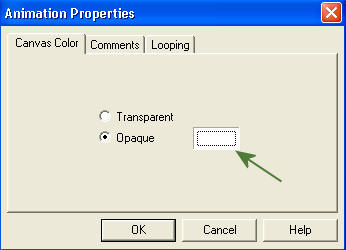
Click OK
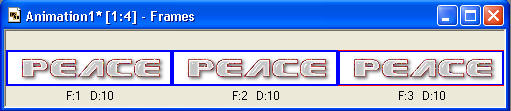
You now have a background colour on all 3 frames
|
STEP 24
View >> Animation
and while it is still running,
File >> Save As
Locate the folder in which you wish to save it.
Name your animation.
With the Gif Optimiser keep pressing NEXT
until you get to the last one... click FINISH
Close the Animation
Close the frames.
Close Animation Shop
|
| |