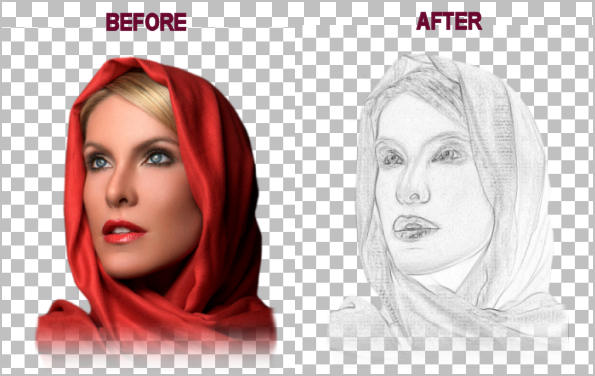
ART FROM TUBED PHOTOS
PSP8 to PSPX3

This tutorial was written by Jemima ~ JULY 2011
Copyright © 2011 ~ Jemima ~ All rights reserved
********************************
This was created using PSP9 but can be adapted for other versions of PSP.
You will need the
following to complete this tutorial
Materials
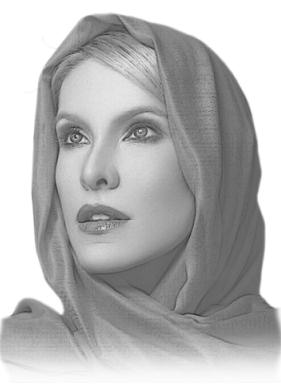
woman328_ByHebe.pspimage
@nn_120407_photos_Fashion_womanspring_tdstudio.psp
TynaReagen_2452.pspimage
Save to a folder on your computer
********************************
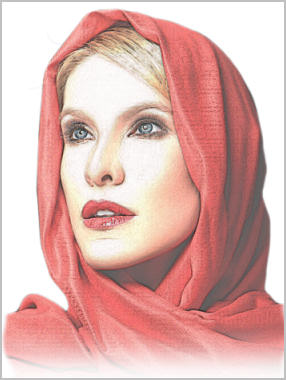
Open up the woman328_ByHebe image in your PSP workspace
WINDOW >>> DUPLICATE
Close the original Image
Delete the following layers
Trama 1
Grupo - Trama 2
Trama 4
IMAGE >>> RESIZE = 85 %
Ensure "Resize all layers" is UNCHECKED
Resample using WEIGHTED AVERAGE
LAYERS >>> DUPLICATE
CLOSE 'Copy of Trama 2' layer
ACTIVATE Trama 2
EFFECTS >>> EDGE EFFECTS >>> FIND ALL
Now we have lots of options....
LAYERS >>> NEW RASTER LAYER
Flood fill with WHITE
LAYERS >>> ARRANGE >>> SEND TO BOTTOM
OPEN & ACTIVATE
'Copy of Trama 2' layer
ADJUST >>> SHARPNESS >>> SHARPEN MORE
In your LAYER PALETTE change the OPACITY to 62%
Change the BLEND MODE to HARD LIGHT |
 |
In your LAYER PALETTE change the OPACITY to 100%
Change the BLEND MODE to OVERLAY |
 |
In your LAYER PALETTE change the OPACITY to 60%
Change the BLEND MODE to MULTIPLY |
 |
In your LAYER PALETTE leave the OPACITY at 60%
Change the BLEND MODE to LUMINANCE (L) |
 |
In your LAYER PALETTE
ACTIVATE 'Copy of Trama 2' layer
Change the OPACITY to 100%
Change the BLEND MODE to BURN |
 |
In your LAYER PALETTE
ACTIVATE 'Trama 2' layer
ADJUST >>> BLUR >>> BLUR AVERAGE
File Aperture = 17
|
 |
NOW... WASN'T THAT NEAT!!!! *S*
|
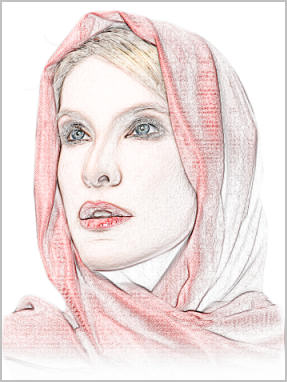
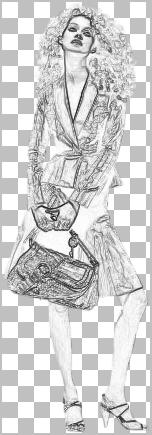
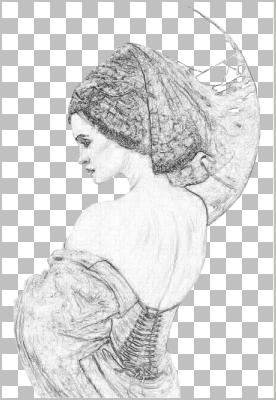
Let's try another.... this time we'll create a 'sketch'.
Open up the @nn_120407_photos_Fashion_womanspring_tdstudio.psp image
in your PSP workspace
WINDOW >>> DUPLICATE
Close the original Image
Delete the watermark (wm) layer
Duplicate the 'tube' layer
ACTIVATE the 'tube' layer
EFFECTS >>> EDGE EFFECTS >>> FIND ALL
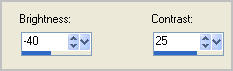
ADJUST >>> BRIGHTNESS and CONTRAST >>> BRIGHTNESS/CONTRAST
OPEN & ACTIVATE the ' Copy of tube' layer
In your LAYER PALETTE change
the BLEND MODE to SCREEN
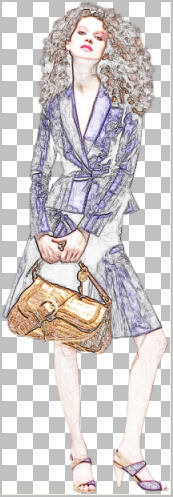
LAYERS >>> MERGE >>> MERGE VISIBLE
Save as .psp image
OK... Last one
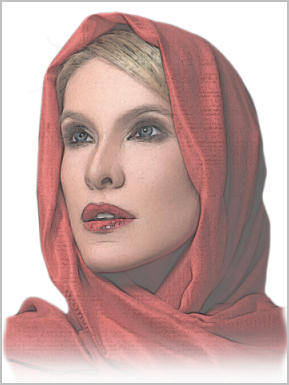
Open up the TynaReagen_2452.pspimage image
in your PSP workspace
WINDOW >>> DUPLICATE
Close the original Image
Delete the watermark layer - Raster 2
Duplicate Raster 1layer
ACTIVATE Raster 1
EFFECTS >>> EDGE EFFECTS >>> FIND ALL
OPEN & ACTIVATE the ' Copy of Raster 1' layer
In your LAYER PALETTE change the BLEND MODE to OVERLAY
LAYERS >>> MERGE >>> MERGE VISIBLE
Save as .psp image
OK... I lied .... *S*
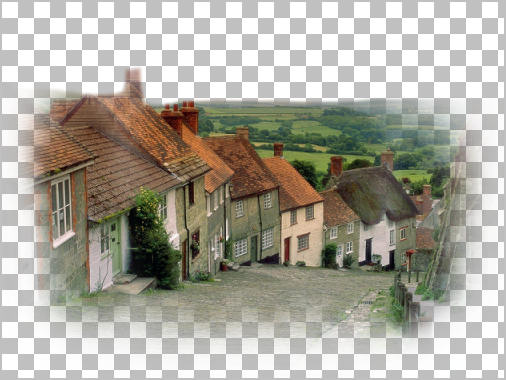
This is the last one... a tubed scene ...
Open up the 1426-luzcristina.pspimage image
in your PSP workspace
WINDOW >>> DUPLICATE
Close the original Image
Delete Raster 1 and Raster 2
Duplicate the ' Group - Raster 1' layer
ACTIVATE the ' Group - Raster 1'
EFFECTS >>> EDGE EFFECTS >>> FIND ALL
ACTIVATE the ' Copy of Group - Raster 1' layer
In your LAYER PALETTE change the BLEND MODE to HARD LIGHT
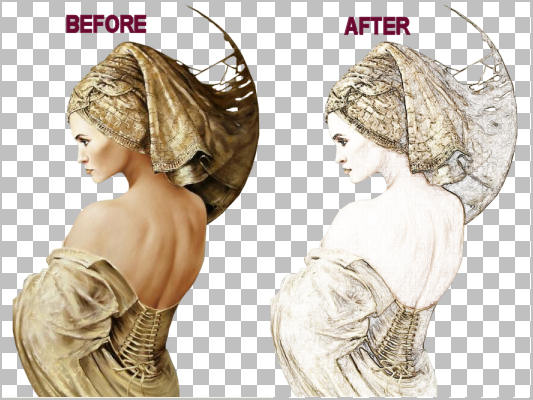
BEFORE
AFTER
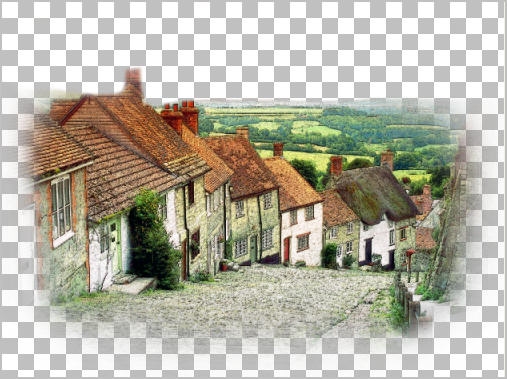
LAYERS >>> MERGE >>> MERGE VISIBLE
Save as .psp image
I hope you enjoyed these exercises.
Remember, by playing around with both layers after the
EFFECTS >>> EDGE EFFECTS >>> FIND ALL
with 'layer blends' / 'blurs' / 'brightness & contrast' etc
you can create a myriad of results
Page designed by

for
http://www.artistrypsp.com/
Copyright ©
2000-2011 Artistry In PSP / PSP Artistry
All rights reserved.
Unless specifically made available for
download,
no graphics or text may be removed from
this site for any reason
without written permission from Artistry
In PSP / PSP Artistry
|