GREEN SWIRL
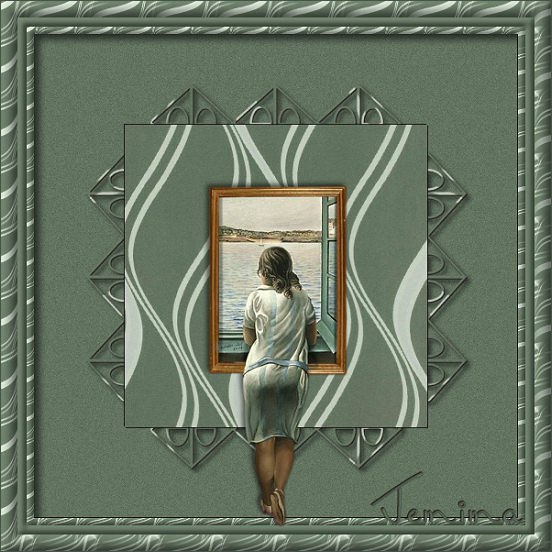
This tutorial was
created by Jemima using PSP9 ~ September 2009
BUT should be creatable using all versions of PSP
Copyright © 2009 ~ Jemima
~ All rights reserved
********************************
You will need the
following to complete this tutorial
Materials
GS_Materials.zip
GSbkgd.jpg
swirlbgd.jpg
Dyveke-LookingOut.pspimage
Save to a folder on your computer
bwEdge220.jpg
Save to your PSP Masks folder
Plugins
** EYE CANDY3 **
http://www.pircnet.com/downloads.html
********************************
Open up the GSbkgd.jpg image in your PSP workspace
WINDOW >>> DUPLICATE
MINIMIZE the original Image
LAYERS >>> Promote Background Layer
LAYERS >>> LOAD/SAVE MASK >>> LOAD MASK FROM DISK
Locate the ' bwEdge220 ' mask
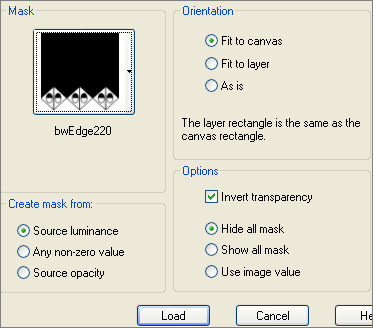
LAYERS >>> MERGE >>> MERGE GROUP
IMAGE >>> RESIZE = 65%
Ensure "Resize all layers" is UNCHECKED
Resample using WEIGHTED AVERAGE
Reposition with your MOVER tool by dragging to the foot
of the
image
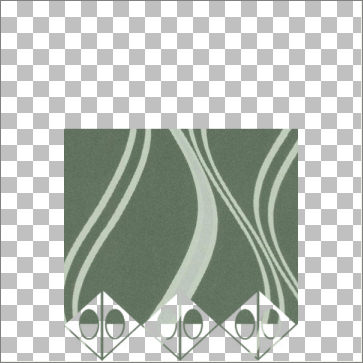
LAYERS >>> DUPLICATE
IMAGE >>> FLIP
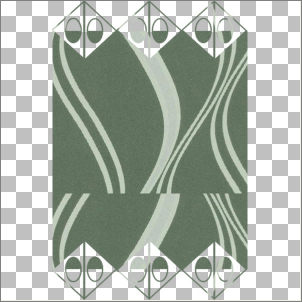
LAYERS >>> DUPLICATE
IMAGE >>> ROTATE >>> FREE ROTATE = LEFT 90
Ensure "All layers" is UNCHECKED
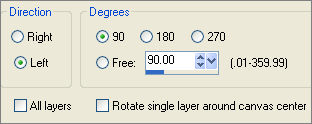
Reposition with your MOVER tool so the middle diamond edge is level
with the 300 pixel mark as shown below.
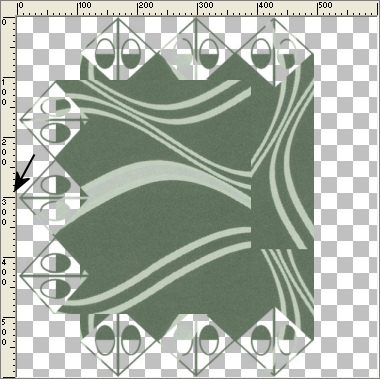
LAYERS >>> DUPLICATE
IMAGE >>> MIRROR
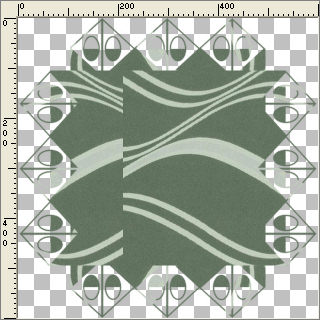
LAYERS >>> MERGE >>> MERGE VISIBLE
To centre the image ...
Right click on the Title Bar and select COPY from the options
Right click on the Title Bar again
and select PASTE AS NEW LAYER from the options.
Go to your LAYER PALETTE and DELETE the MERGED layer
IMAGE >>> RESIZE = 70%
Ensure "Resize all layers" is UNCHECKED
Resample using WEIGHTED AVERAGE
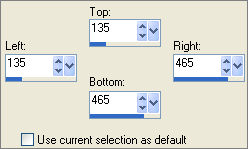
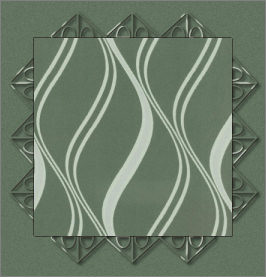
Choose your SELECTION TOOL then click on the CUSTOM SELECTION
symbol
and enter these coordinates.
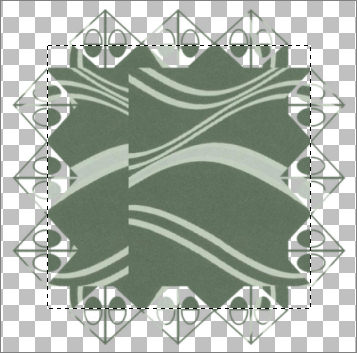
LAYERS >>> NEW RASTER LAYER
Maximize the GSbkgd.jpg image in your PSP workspace
Right click on the Title Bar and select COPY from the options
Right click on the Title Bar of your frame image
and select PASTE INTO SELECTION from the options.
DESELECT
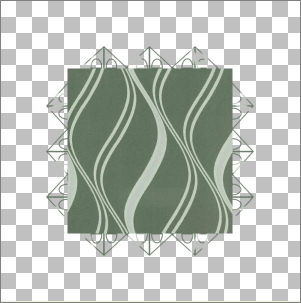
CLOSE RASTER 2
ACTIVATE RASTER 1
LAYERS >>> DUPLICATE
LAYERS >>> MERGE >>> MERGE VISIBLE
EFFECTS >>> 3D EFFECTS >>> DROP SHADOW
Vertical & Horizontal offsets = 1
Colour = Black
Opacity = 80
Blur = 0
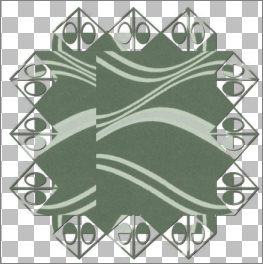
OPEN & ACTIVATE RASTER 2
With your MAGIC WAND
Mode = Replace
Match Mode = RGB Value
Tolerance = 0
Feather = 0
Antialias = UNchecked
Sample Merged = UNCHECKED
PSP9/X: Check CONTIGUOUS
PSPX: There is no " Sample Merged"
PSPX: Use all layers = UNChecked
Select the OUTER transparent area
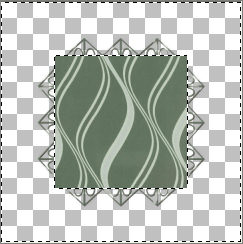
SELECTIONS >>> MODIFY >>> EXPAND = 1
LAYERS >>> NEW RASTER LAYER
LAYERS >>> ARRANGE >>> SEND TO BOTTOM
Flood fill with GREEN #637461
DESELECT
ADJUST >>> ADD/REMOVE NOISE >>> ADD NOISE
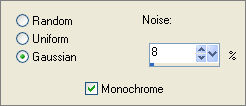
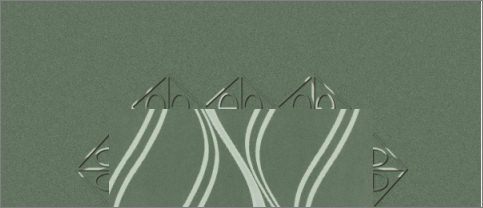
ACTIVATE THE MERGED LAYER
EFFECTS >>> PLUGINS >>> EYE CANDY 3 >>> DROP SHADOW
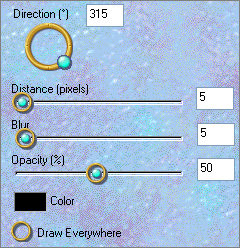
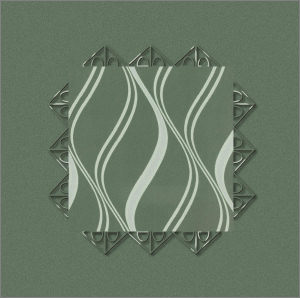
ACTIVATE RASTER 2
EFFECTS >>> 3D EFFECTS >>> DROP SHADOW
Vertical & Horizontal offsets = 1
Colour = Black
Opacity = 80
Blur = 0
Repeat Drop Shadow effect changing
Vertical & Horizontal Offsets to - ( minus ) 1
Click OK
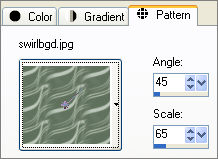
In your MATERIALS PALETTE
Load the ' swirlbgd ' pattern in your foreground
using the settings below.
LAYERS >>> NEW RASTER LAYER
SELECTIONS >>> SELECT ALL
SELECTIONS >>> MODIFY >>> CONTRACT = 18
SELECTIONS >>> INVERT
Flood fill with the swirlbgd
EFFECTS >>> 3D EFFECTS >>> INNER BEVEL
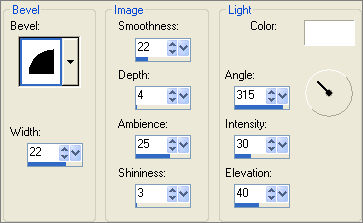
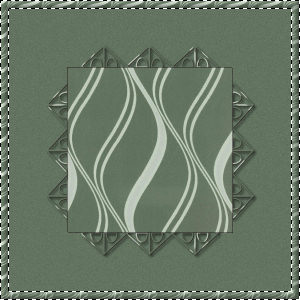
SELECTIONS >>> INVERT
LAYERS >>> NEW RASTER LAYER
Flood fill with GREEN #637461
SELECTIONS >>> MODIFY >>> CONTRACT = 10
EDIT >>> CLEAR
DESELECT
EFFECTS >>> 3D EFFECTS >>> INNER BEVEL
Same settings
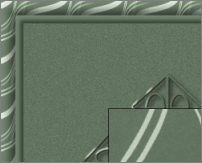
In your MATERIALS PALETTE change the settings for
the swirlbgd.

Still on Raster 4
With your MAGIC WAND....
Same settings.
Select the CENTRE transparent area
Flood fill with the swirlbgd
SELECTIONS >>> MODIFY >>> CONTRACT = 8
EDIT >>> CLEAR
DESELECT
EFFECTS >>> 3D EFFECTS >>> INNER BEVEL
Same settings
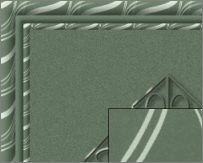
With your MAGIC WAND....
Same settings.
Select the CENTRE transparent area
SELECTIONS >>> INVERT
EFFECTS >>> PLUGINS >>> EYE CANDY 3 >>> DROP SHADOW
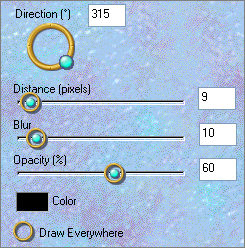
EFFECTS >>> 3D EFFECTS >>> DROP SHADOW
Vertical & Horizontal offsets = ( minus ) -1
Colour = Black
Opacity = 80
Blur = 0
DESELECT

Save as .psp image
Open up the Dyveke-LookingOut image in your PSP workspace
Right click on the Title Bar and select COPY from the options
Right click on the Title Bar of your frame image
and select PASTE AS NEW LAYER from the options.
IMAGE >>> RESIZE = 80%
Ensure "Resize all layers" is UNCHECKED
Resample using WEIGHTED AVERAGE
Reposition with your MOVER tool
ADJUST >>> SHARPNESS >>> SHARPEN
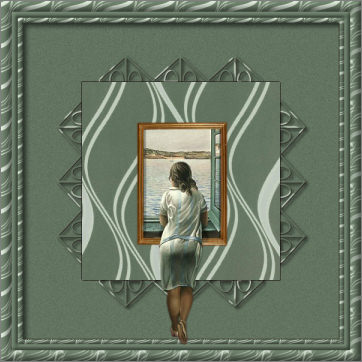
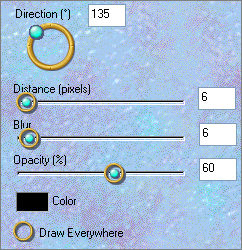
EFFECTS >>> PLUGINS >>> EYE CANDY 3 >>> DROP SHADOW
LAYERS >>> MERGE >>> MERGE ALL (Flatten)
Save as .jpg image
Testers Results
Page designed by

for

http://www.artistrypsp.com/
Copyright ©
2000-2009 Artistry In PSP / PSP Artistry
All rights reserved.
Unless specifically made available for
download,
no graphics or text may be removed from
this site for any reason
without written permission from Artistry
In PSP / PSP Artistry
|