SHAPES
PSP8/9/X
This tutorial was written by Jemima ~ 2008
Copyright © 2008 ~ Jemima ~ All rights reserved
********************************
This was created using PSP9 but can be adapted for other versions of PSP.
You will need the following to complete this tutorial
Materials
RIGHT CLICK >>> SAVE TARGET AS
Metal steel.PspGradient
Save to your PSP Gradients folder
parel02.psp
Save to a folder on your computer
youthere-kris-shapes.jpg
pointy121304.PspShape
Save to your PSP Shapes folder
********************************
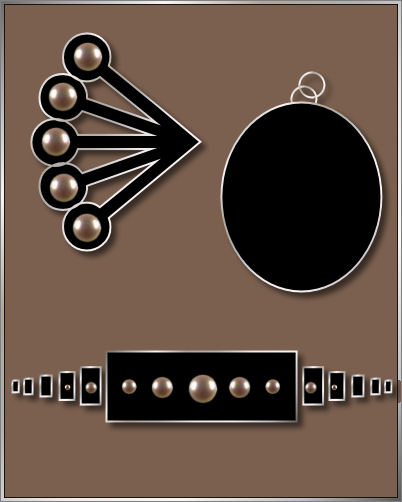
Open a new image 400 x 400
Transparent background
PSPX: Colour Depth = 8bits/channel
Flood fill with #7b604f
LAYERS >>> NEW RASTER LAYER
In your MATERIALS PALETTE
Load the ' Metal steel ' gradient in your foreground
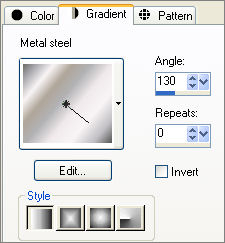
Load SOLID BLACK in your background
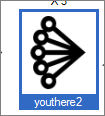
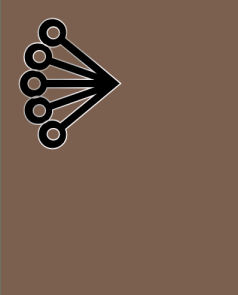
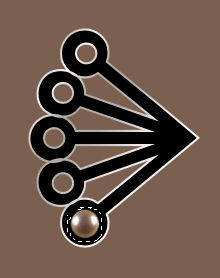
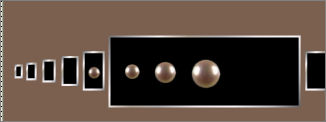
Select your PRESET SHAPES tool (youthere2)
LINE STYLE = SOLID

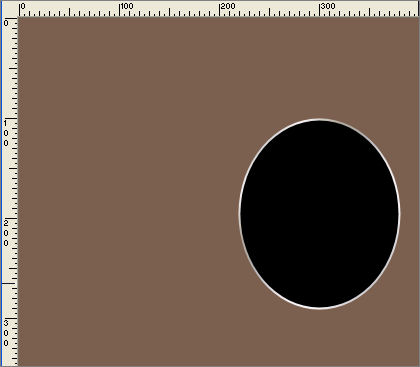
Starting at 30 pixels across and 30 pixels down,
drag your cursor to 200 pixels across and 250 pixels down and release.
Open up the parel02.psp image in your PSP workspace
Right click on the Title Bar and select COPY from the options
Right click on the Title Bar of your shape image
and select PASTE AS NEW SELECTION from the options.
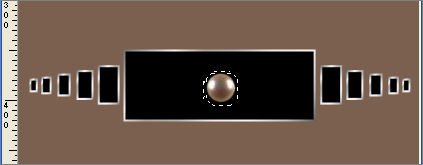
Position the pearl as shown below
DESELECT
Right click on the Title Bar of your shape image
and select PASTE AS NEW SELECTION from the options.
Position the pearl in the next circle and continue in this manner
until all 5 spaces are filled
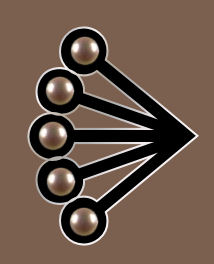
LAYERS >>> NEW RASTER LAYER
*****************************************************************
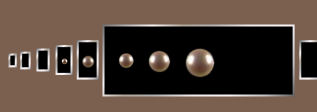
Select your PRESET SHAPES tool ... locate the 'pointy' shape
Same settings
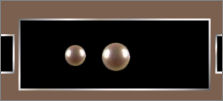
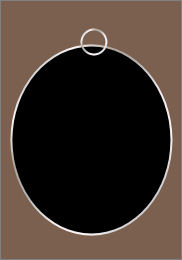
Starting at 10 pixels across and 350 pixels down,
drag your cursor to 390 pixels across and 420 pixels down and release.
Right click on the Title Bar of the parel02.psp image and select COPY from the options
Right click on the Title Bar of your shape image
and select PASTE AS NEW SELECTION from the options.
Position the pearl as shown below
DESELECT
CLOSE RASTER 2
LAYERS >>> NEW RASTER LAYER
Right click on the Title Bar of your shape image
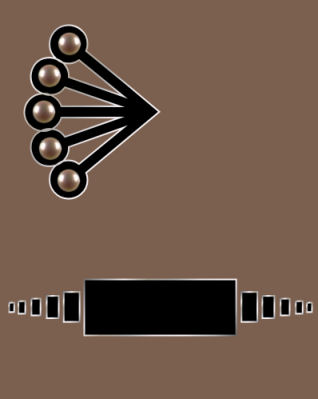
and select PASTE AS NEW SELECTION from the options.
Position the pearl to the left of the first .... as shown below

IMAGE >>> RESIZE = 75%
Ensure "Resize all layers" is UNCHECKED
DESELECT
Right click on the Title Bar of your shape image
and select PASTE AS NEW SELECTION from the options.
Position the pearl to the left of the second .... as shown below
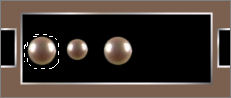
IMAGE >>> RESIZE = 50%
Ensure "Resize all layers" is UNCHECKED
Right click on the Title Bar and select COPY from the options
DESELECT
Right click on the Title Bar of your shape image
and select PASTE AS NEW SELECTION from the options.
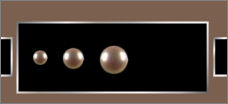
Position the pearl to the left of the third .... as shown below

IMAGE >>> RESIZE = 75%
Ensure "Resize all layers" is UNCHECKED
Right click on the Title Bar and select COPY from the options
DESELECT
Right click on the Title Bar of your shape image
and select PASTE AS NEW SELECTION from the options.
Position the pearl to the left of the fourth
IMAGE >>> RESIZE = 50%
Ensure "Resize all layers" is UNCHECKED
ADJUST >>> SHARPNESS >>> SHARPEN
DESELECT
CLOSE RASTER 1
LAYERS >>> DUPLICATE
IMAGE >>> MIRROR
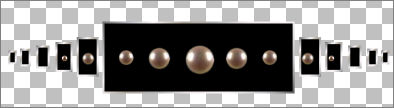
LAYERS >>> MERGE >>> MERGE VISIBLE
OPEN RASTER 1
LAYERS >>> NEW RASTER LAYER
*****************************************************************
CLOSE RASTER 2 and the MERGED layer
Select your PRESET SHAPES tool ... locate the 'ELLIPSE' shape
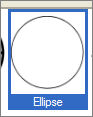
Same settings
Starting at 100 pixels across and 220 pixels down,
drag your cursor to 380 pixels across and 290 pixels down and release.
LAYERS >>> NEW RASTER LAYER
In your MATERIALS PALETTE ... NULL your BLACK background
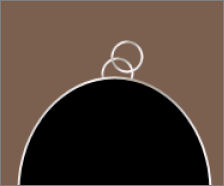
Starting at 290 pixels across and 85 pixels down,
drag your cursor to 315 pixels across and 110 pixels down and release.
LAYERS >>> DUPLICATE
Reposition with your MOVER tool slightly up and to the right

ACTIVATE RASTER 4
LAYERS >>> ARRANGE >>> MOVE DOWN
ACTIVATE " Copy of Raster 4 "layer
ZOOM IN
Choose your FREEHAND SELECTION TOOL
Selection Type = Point to Point
Mode = Replace
Feather = 0
Antialias = Checked
Section off area shown below
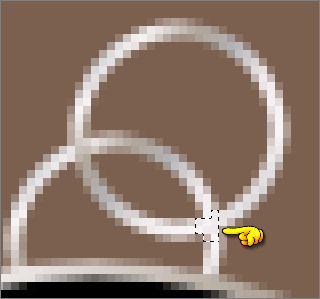
EDIT >>> CLEAR
DESELECT
CLOSE RASTER 1
LAYERS >>> MERGE >>> MERGE VISIBLE
OPEN ALL LAYERS
Save as .psp image
Page designed by

for
http://www.artistrypsp.com/
Copyright © 2000-2008 Artistry In PSP / PSP Artistry
All rights reserved.
Unless specifically made available for download,
no graphics or text may be removed from this site for any reason
without written permission from Artistry In PSP / PSP Artistry
|