FOLDED PAPER
PSP8/9/X
This tutorial was
written by Jemima ~ 2008
Copyright © 2008 ~ Jemima
~ All rights reserved
********************************
This was created using PSP9 but can be adapted for other versions of PSP.
You will need the
following to complete this tutorial
Materials
RIGHT CLICK >>> SAVE TARGET AS
11HP-626.jpg
11HP-626a.jpg
Save to your PSP Patterns folder
JF_staples.psp
Save to a folder on your computer
Plugins
** EYE CANDY3 **
http://www.pircnet.com/downloads.html
OR
http://www.fleursauvage.be/utilitaire/filtres/filtres.htm
********************************
In your MATERIALS PALETTE
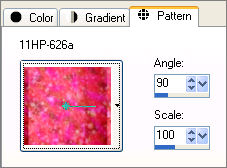
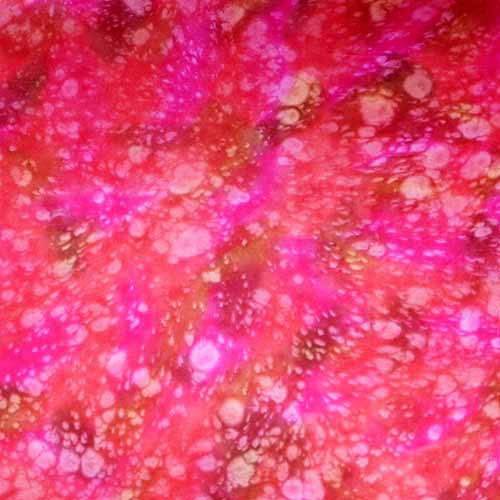
Load the ' 11HP-626a ' pattern in your foreground
using the settings below.
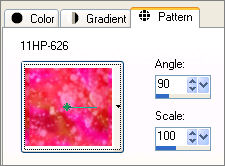
Load the ' 11HP-626 ' pattern in your background
using the settings below.
Open a new image 500 x 500
Transparent background
PSPX: Colour Depth = 8bits/channel
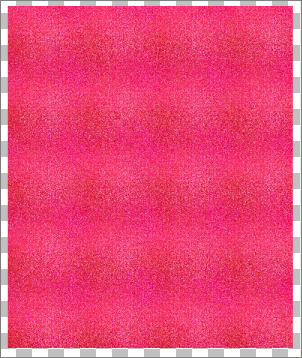
Flood fill with background pattern
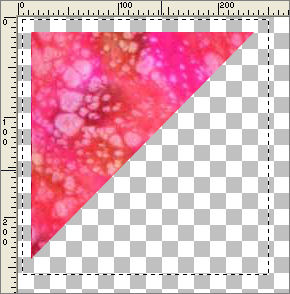
IMAGE >>> RESIZE = 95%
Ensure "Resize all layers" is UNCHECKED
LAYERS >>> DUPLICATE
CLOSE RASTER 1
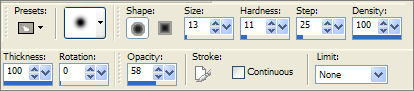
Choose your FREEHAND SELECTION TOOL
Selection Type = Point to Point
Mode = Replace
Feather = 0
Antialias = Checked
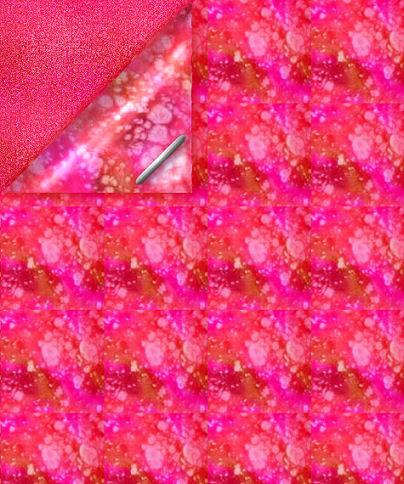
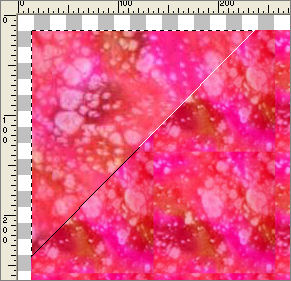
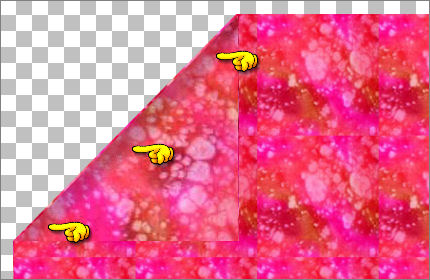
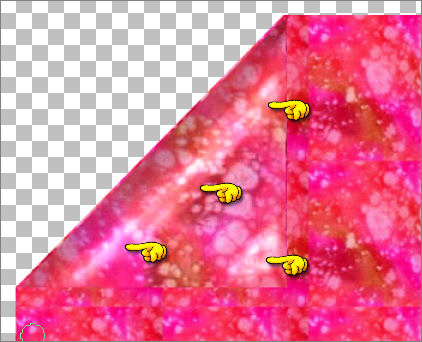
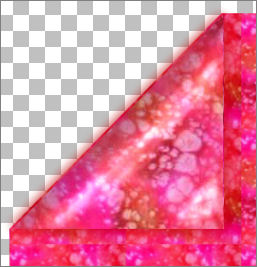
Section off the area shown below
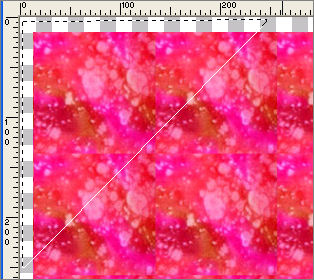
Click inside the marching ants to select the corner
LAYERS >>> NEW RASTER LAYER
Flood fill with foreground pattern
DESELECT
ACTIVATE 'Copy of Raster 1 "
CLOSE Copy of Raster 1 and Raster 2
ACTIVATE RASTER 1
Choose your SELECTION TOOL
Selection Type = Rectangle
Mode = Replace
Feather = 0
Antialias = Checked
Draw a rectangle around the pattern
Click inside the marching ants to select the image
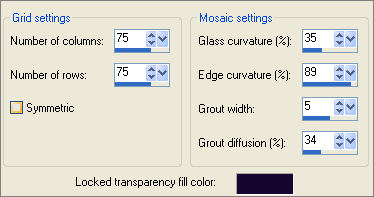
EFFECTS >>> TEXTURE EFFECTS >>> MOSAIC GLASS
DESELECT
CLOSE the bottom 2 layers
ACTIVATE Raster 2
Choose your SELECTION TOOL
Same settings
Draw a rectangle around the corner
Click inside the marching ants to select the image
OPEN & ACTIVATE 'Copy of Raster 1 '
EDIT >>> CLEAR
DESELECT
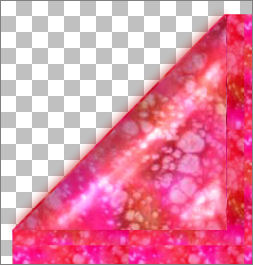
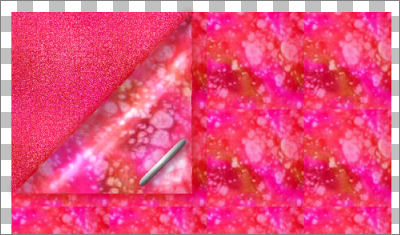
With Raster 2 ACTIVE
IMAGE >>> FLIP
IMAGE >>> MIRROR
The corner is now on the bottom right of your image
Reposition with your MOVER tool

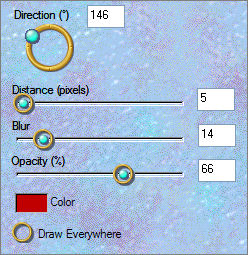
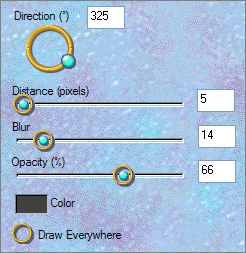
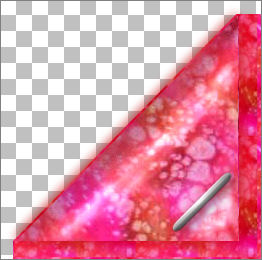
Select your BURN BRUSH tool
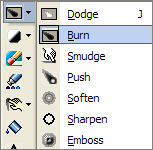
and use these settings
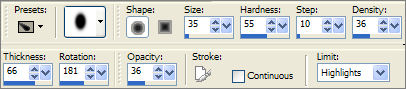
Drag the brush down the edge of the 'corner' about 3 times
Select your DODGE BRUSH tool
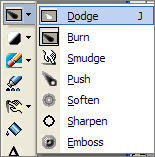
and use these settings
Drag the brush down inside the edge of the 'burn' a few times to create a 'highlight
and also in the bottom right corner
EFFECTS >>> PLUGINS >>> EYE CANDY 3 >>> DROP SHADOW
COLOUR = #c00000
 . . 
EFFECTS >>> PLUGINS >>> EYE CANDY 3 >>> DROP SHADOW
Same colour
 . . 
Open up the JF_staples image in your PSP workspace
Activate Copy of Raster 1
Right click on the Title Bar and select COPY from the options
Right click on the Title Bar of your main image
and select PASTE AS NEW LAYER from the options.
IMAGE >>> RESIZE = 80%
Ensure "Resize all layers" is UNCHECKED
ADJUST >>> SHARPNESS >>> SHARPEN
Reposition with your MOVER tool
EFFECTS >>> PLUGINS >>> EYE CANDY 3 >>> DROP SHADOW
COLOUR = #404040
 . . 
Open Raster 1
LAYERS >>> MERGE >>> MERGE VISIBLE
Choose your SELECTION TOOL then click on the CUSTOM SELECTION
symbol
IMAGE >>> CROP TO SELECTION
Save as .psp image
Page designed by

for
http://www.artistrypsp.com/
Copyright ©
2000-2008 Artistry In PSP / PSP Artistry
All rights reserved.
Unless specifically made available for
download,
no graphics or text may be removed from
this site for any reason
without written permission from Artistry
In PSP / PSP Artistry
|
