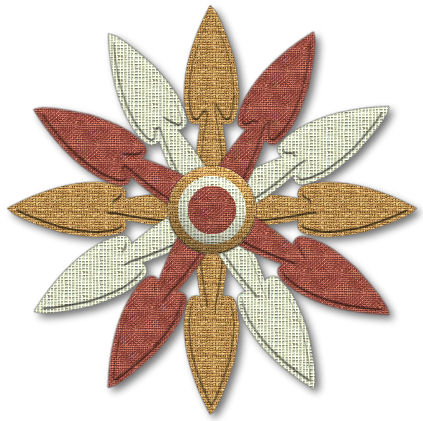
FLORAL DECOS
PSP8/9/X
This tutorial was
written by Jemima ~ 2008
Copyright © 2008 ~ Jemima
~ All rights reserved
********************************
This was created using PSP9 but can be adapted for other versions of PSP.
You will need the
following to complete this tutorial
Materials
RIGHT CLICK >>> SAVE TARGET AS
SK Random 40.PspShape
Save to your PSP Shapes folder
canvas3.jpg
canvas4.jpg
canvas6.jpg
Save to your PSP Patterns folder
********************************
Open a new image 500 x 500
Transparent background
PSPX: Colour Depth = 8bits/channel
In your MATERIALS PALETTE
Load BLACK in your foreground
Load WHITE in your background
Select your PRESET SHAPES tool
Select the SK Random 40 shape
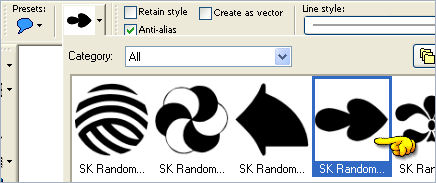
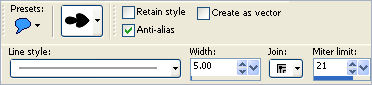
Use these settings
Line Style = + Solid
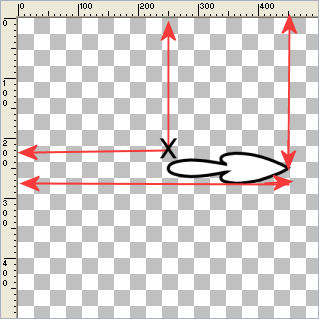
Starting at 250 pixels across and 225 pixels down
drag your cursor to
450 pixels across and 275 pixels down
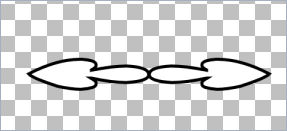
LAYERS >>> DUPLICATE
IMAGE >>> MIRROR
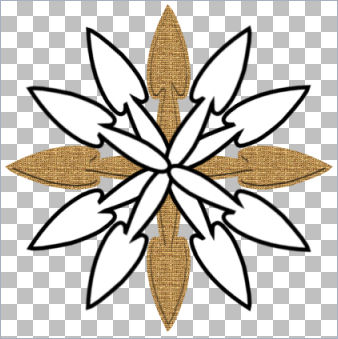
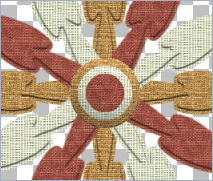
Your image should look like this...
if not... realign shapes with your mover tool
LAYERS >>> MERGE >>> MERGE VISIBLE
Now we'll make sure it's centred....
Right click on the Title Bar and select COPY from the options
Right click on the Title Bar
and select PASTE AS NEW LAYER from the options.
In your LAYER PALETTE right click on The Merged layer
and select
DELETE
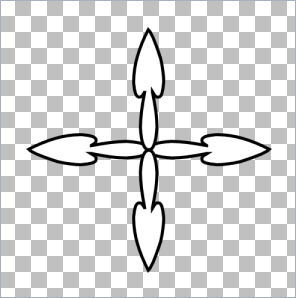
LAYERS >>> DUPLICATE
IMAGE >>> ROTATE >>> FREE ROTATE = LEFT 90
Ensure "All layers" is UNCHECKED
LAYERS >>> MERGE >>> MERGE VISIBLE
LAYERS >>> DUPLICATE
IMAGE >>> ROTATE >>> FREE ROTATE = LEFT 30
Ensure "All layers" is UNCHECKED
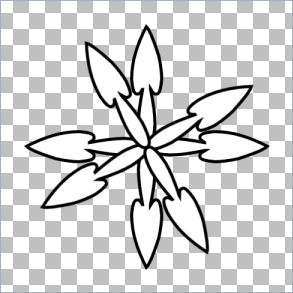
LAYERS >>> DUPLICATE
IMAGE >>> ROTATE >>> FREE ROTATE = LEFT 30
Ensure "All layers" is UNCHECKED
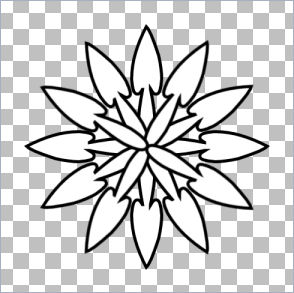
Activate the merged LAYER
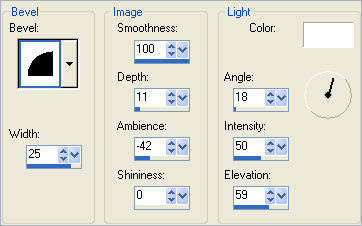
EFFECTS >>> TEXTURE EFFECTS >>> SCULPTURE
COLOUR = #c0c0c0

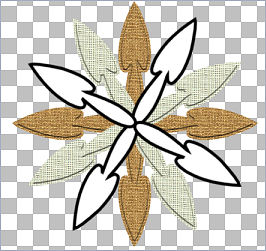
Activate 'Copy of Merged' layer
EFFECTS >>> TEXTURE EFFECTS >>> SCULPTURE
Same settings BUT CHANGE the PATTERN to CANVAS 3
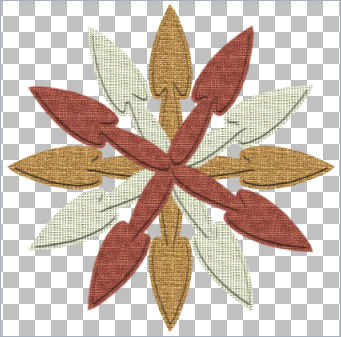
Activate ' Copy (2) of Merged ' layer
EFFECTS >>> TEXTURE EFFECTS >>> SCULPTURE
Same settings BUT CHANGE the PATTERN to CANVAS 6
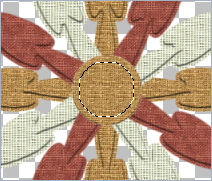
LAYERS >>> NEW RASTER LAYER
Choose your SELECTION TOOL
Selection Type = CIRCLE
Mode = Replace
Feather = 0
Antialias = Checked
Starting in the centre of your image draw a small circle as shown.
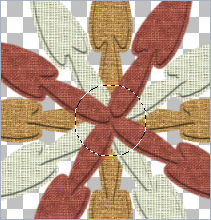
Flood fill with WHITE
EFFECTS >>> TEXTURE EFFECTS >>> SCULPTURE
COLOUR = #c0c0c0
SELECTIONS >>> MODIFY >>> CONTRACT = 10
EFFECTS >>> TEXTURE EFFECTS >>> SCULPTURE
Same settings BUT CHANGE the PATTERN to CANVAS 3
SELECTIONS >>> MODIFY >>> CONTRACT = 10
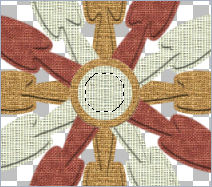
EFFECTS >>> TEXTURE EFFECTS >>> SCULPTURE
Same settings BUT CHANGE the PATTERN to CANVAS 6
DESELECT
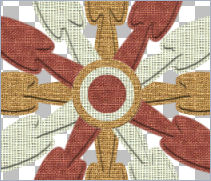
EFFECTS >>> 3D EFFECTS >>> INNER BEVEL
Activate the Merged layer
EFFECTS >>> 3D EFFECTS >>> DROP SHADOW
Vertical & Horizontal offsets = 0
Colour = Black
Opacity = 100
Blur = 2.00
Activate ' Copy of Merged ' layer
EDIT >>>Repeat Drop Shadow
Activate ' Copy (2) of Merged ' layer
EDIT >>>Repeat Drop Shadow
Activate 'Raster 1' layer
EDIT >>>Repeat Drop Shadow
LAYERS >>> MERGE >>> MERGE VISIBLE
Save as .psp image
NEXT DECO
Page designed by

for
http://www.artistrypsp.com/
Copyright ©
2000-2008 Artistry In PSP / PSP Artistry
All rights reserved.
Unless specifically made available for
download,
no graphics or text may be removed from
this site for any reason
without written permission from Artistry
In PSP / PSP Artistry
|
