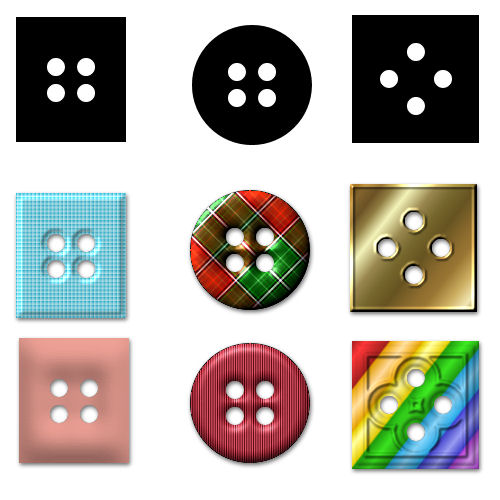
BUTTON - TEMPLATES
PSP8/9/X
This tutorial was
written by Jemima ~ 2008
Copyright © 2008 ~ Jemima
~ All rights reserved
********************************
This was created using PSP9 but can be adapted for other versions of PSP.
********************************
This tut is to create BUTTON templates
Open a new image 300 x 300
Transparent background
PSPX: Colour Depth = 8bits/channel
Choose your SELECTION TOOL
Selection Type = CIRCLE
Mode = Replace
Feather = 0
Antialias = Checked
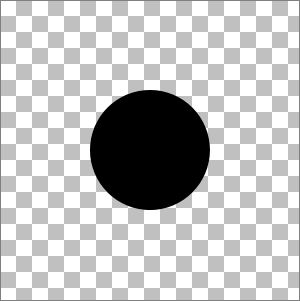
Position your cursor at 150 pixels across and 150 pixels down
Drag to 210 pixels across and 210 pixels down
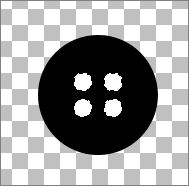
Flood fill with BLACK
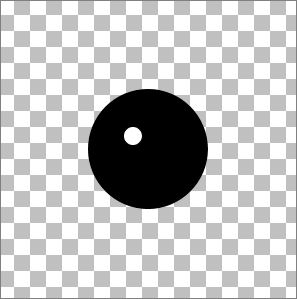
LAYERS >>> NEW RASTER LAYER
With your SELECTION TOOL ... same settings, create a smaller circle as shown
and flood fill with WHITE
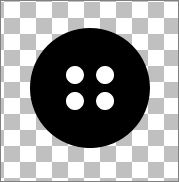
LAYERS >>> DUPLICATE
IMAGE >>> MIRROR
CLOSE RASTER 1
LAYERS >>> MERGE >>> MERGE VISIBLE
LAYERS >>> DUPLICATE
IMAGE >>> FLIP
LAYERS >>> MERGE >>> MERGE VISIBLE
OPEN RASTER 1
Choose your SELECTION TOOL
Selection Type = Rectangle
Mode = Replace
Feather = 0
Antialias = Checked
Draw a rectangle around the 4 white circles.
Click inside the rectangle to select the circles.
ACTIVATE RASTER 1
EDIT >>> CLEAR
DESELECT
DELETE THE MERGED LAYER
Save the template as .psp image
**************
Open a new image 300 x 300
Transparent background
PSPX: Colour Depth = 8bits/channel
Choose your SELECTION TOOL
Selection Type = SQUARE
Mode = Replace
Feather = 0
Antialias = Checked
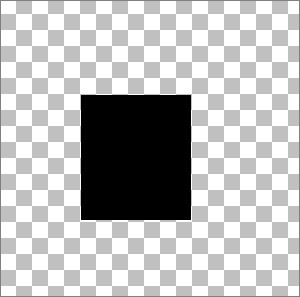
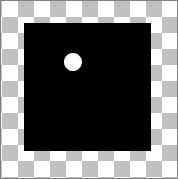
Create a square and flood fill with BLACK
To centre the image...
Right click on the Title Bar and select COPY from the options
Right click on the Title Bar of your image
and select PASTE AS NEW LAYER from the options.
DELETE RASTER 1
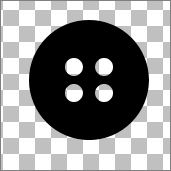
Create the button holes as instructed for the round button above
Save the template as .psp image
**************
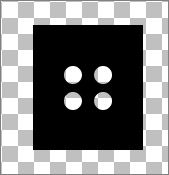
You could place the button holes differently....
Open a new image 300 x 300
Transparent background
PSPX: Colour Depth = 8bits/channel
Choose your SELECTION TOOL
Selection Type = SQUARE
Mode = Replace
Feather = 0
Antialias = Checked
Create a square and flood fill with BLACK
To centre the image...
Right click on the Title Bar and select COPY from the options
Right click on the Title Bar of your image
and select PASTE AS NEW LAYER from the options.
DELETE RASTER 1
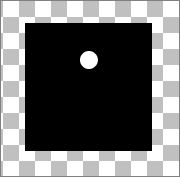
LAYERS >>> NEW RASTER LAYER
With your SELECTION TOOL ... Selection Type = Rectangle,
create a smaller circle as shown
and flood fill with WHITE
Reposition with your MOVER tool to the top centre of your button
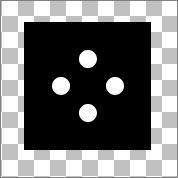
LAYERS >>> DUPLICATE
IMAGE >>> FLIP
CLOSE RASTER 2
LAYERS >>> MERGE >>> MERGE VISIBLE
LAYERS >>> DUPLICATE
IMAGE >>> ROTATE >>> FREE ROTATE = RIGHT 90
Ensure "All layers" is UNCHECKED
LAYERS >>> MERGE >>> MERGE VISIBLE
OPEN RASTER 2
Choose your SELECTION TOOL
Selection Type = Rectangle
Mode = Replace
Feather = 0
Antialias = Checked
Draw a rectangle around the 4 white circles.
Click inside the rectangle to select the circles.
ACTIVATE RASTER 2
EDIT >>> CLEAR
DESELECT
DELETE THE MERGED LAYER
Save the template as .psp image
Page designed by

for
http://www.artistrypsp.com/
Copyright ©
2000-2008 Artistry In PSP / PSP Artistry
All rights reserved.
Unless specifically made available for
download,
no graphics or text may be removed from
this site for any reason
without written permission from Artistry
In PSP / PSP Artistry
|
