TAG BACK 9
PSP9/X
This tutorial was
written by Jemima ~ January 2007
Copyright © 2007 ~ Jemima
~ All rights reserved
********************************
This was created using PSP9 but can be adapted for other versions of PSP.
You will need the
following to complete this tutorial
Materials
LEFT CLICK >>> SAVE
rw-Flowers-7-30-07.psp
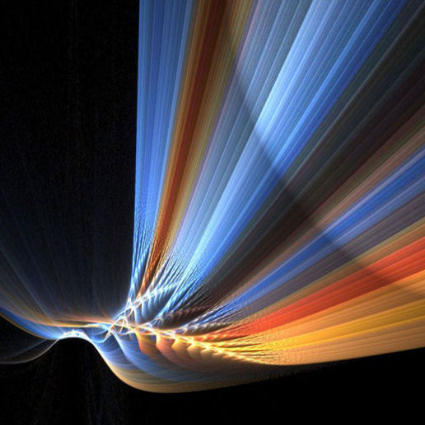
abstract222.jpg
tiabennett_13nov2005_quotechallenge_wordART.psp
Save to a folder on your computer
3linestriplecross-psp8-danetta.PspBrush
Save to your PSP Brushes folder
Polka dot.bmp
Save to your PSP Textures folder
Plugins
** EYE CANDY3 **
http://www.pircnet.com/downloads.html
OR
http://www.fleursauvage.be/utilitaire/filtres/filtres.htm
********************************
Open all your images in PSP and minimize.
In your MATERIALS PALETTE
Load SOLID WHITE ' ffffff ' in your foreground
Load SOLID BLUE " #2b488c " in your background
Open a new image 640 x 480
Transparent background
PSPX: Colour Depth = 8bits/channel
Flood fill with BLUE " #2b488c "
LAYERS >>> NEW RASTER LAYER
Flood fill with WHITE
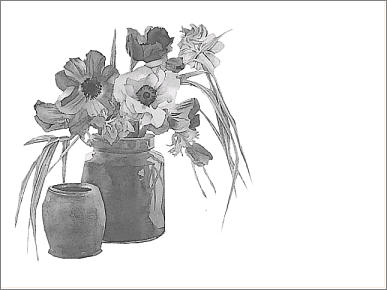
Open up the rw-Flowers-7-30-07.psp image in your PSP workspace
WINDOW >>> DUPLICATE
Minimize the original Image
With the duplicated image....
IMAGE >>> GREYSCALE
IMAGE >>> RESIZE

FILE >>> EXPORT >>> CUSTOM BRUSH
Name the brush, then click OK
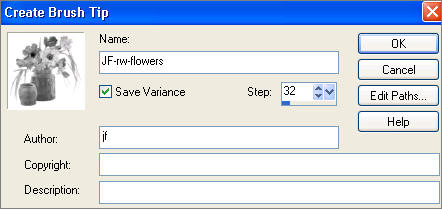
(The brush is now saved in
C:\Documents and Settings\YOUR NAME\My Documents\My PSP Files\Brushes)
Close the greyscale image.
Now
back to your tag image....
Select your PAINT BRUSH tool
Locate your newly created brush by clicking the arrow
indicated below...

and these settings

CLICK your RIGHT mouse button once
EFFECTS >>> EDGE EFFECTS >>> ENHANCE MORE
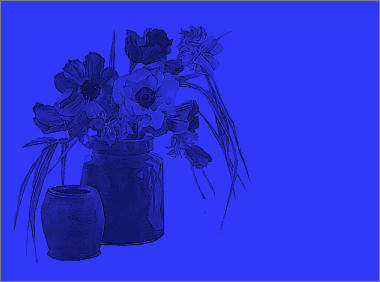
LAYERS >>> NEW RASTER LAYER
Flood fill with BLUE " #353bf7 "
In your LAYER PALETTE change BLEND MODE to MULTIPLY
SELECTIONS >>> SELECT ALL
SELECTIONS >>> MODIFY >>> CONTRACT = 20
SELECTIONS >>> MODIFY >>> FEATHER = 30
SELECTIONS >>> INVERT
EDIT >>> CLEAR (Twice)
DESELECT
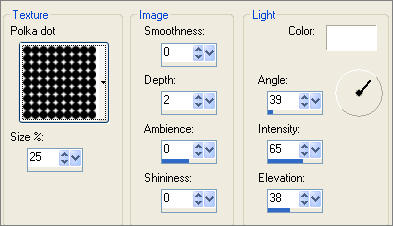
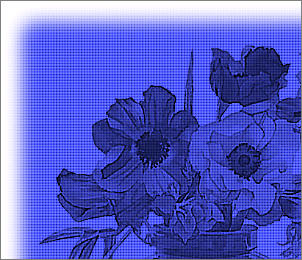
EFFECTS >>> TEXTURE EFFECTS >>> TEXTURE
Open up the abstract222.jpg image in your PSP workspace
WINDOW >>> DUPLICATE
Close the original Image
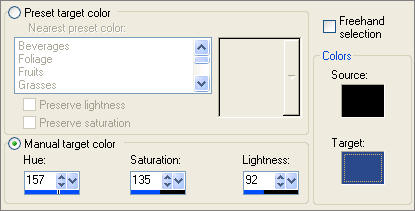
ADJUST >>> COLOUR BALANCE >>> MANUAL COLOUR CORRECTION
SOURCE COLOUR = BLACK
TARGET COLOUR = #2b488c
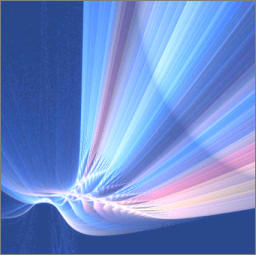
Right click on the Title Bar and select COPY from the options
Right click on the Title Bar of your tag image
and select PASTE AS NEW LAYER from the options.
IMAGE >>> MIRROR
Select your DEFORMATION tool
( PSPX/XI/XII: Select your PICK tool )
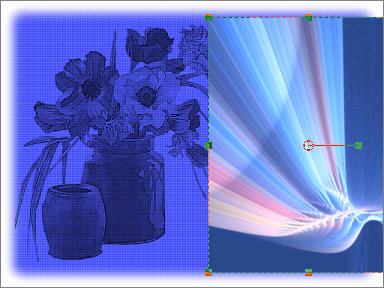
Drag the side centre nodes inwards so the left side is level with the 200 pixel mark
on the top ruler and the right side level with the 450 mark.
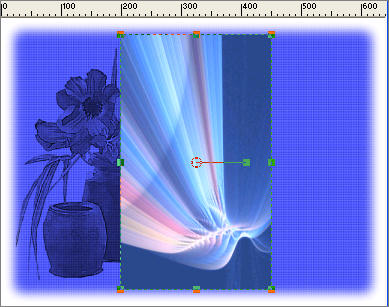
Grab the centre node and slide the whole image to the right.
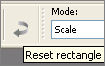
Click the RESET RECTANGLE arrow
EFFECTS >>> EDGE EFFECTS >>> ENHANCE MORE
In your LAYER PALETTE change the OPACITY to 40%
EFFECTS >>> 3D EFFECTS >>> DROP SHADOW
Vertical & Horizontal offsets = 4
Colour = WHITE
Opacity = 60
Blur = 10.00
Repeat Drop Shadow effect changing
Vertical & Horizontal Offsets to - ( minus ) 4
Click OK
Open up the rw-Flowers-7-30-07.psp image in your PSP workspace
Right click on the Title Bar of your tag image
and select PASTE AS NEW LAYER from the options.
IMAGE >>> RESIZE = 65%
Ensure "Resize all layers" is UNCHECKED
IMAGE >>> MIRROR
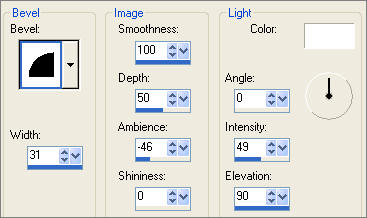
EFFECTS >>> 3D EFFECTS >>> INNER BEVEL
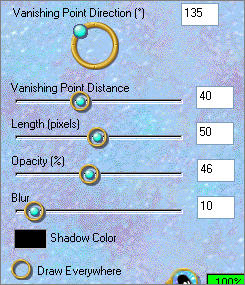
EFFECTS >>> PLUGINS >>> EYE CANDY 3 >>> PERSPECTIVE SHADOW
Reposition with your MOVER tool
LAYERS >>> NEW RASTER LAYER
Select your PAINT BRUSH tool
Locate the " 3linestriplecross-psp8-danetta" brush and use these settings
COLOUR = WHITE

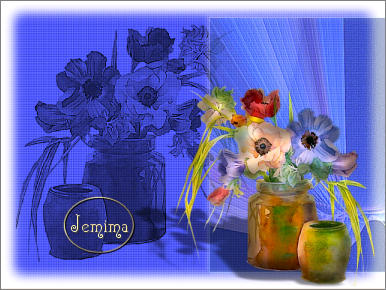
Paint the brush on the tag as shown below
Open up the tiabennett_13nov2005_quotechallenge_wordART.psp
image in your PSP workspace
Right click on the Title Bar and select COPY from the options
Right click on the Title Bar of your tag image
and select PASTE AS NEW LAYER from the options.
ADJUST >>> COLOUR BALANCE >>> NEGATIVE IMAGE
(PSPXII Users:
View/customize/then at the bottom choose all/negative image.)
Reposition with your MOVER tool

SELECTIONS >>> SELECT ALL
ACTIVATE RASTER 4
SELECTIONS >>> MODIFY >>> CONTRACT = 20
SELECTIONS >>> MODIFY >>> FEATHER = 30
SELECTIONS >>> INVERT
EDIT >>> CLEAR (Twice)
DESELECT
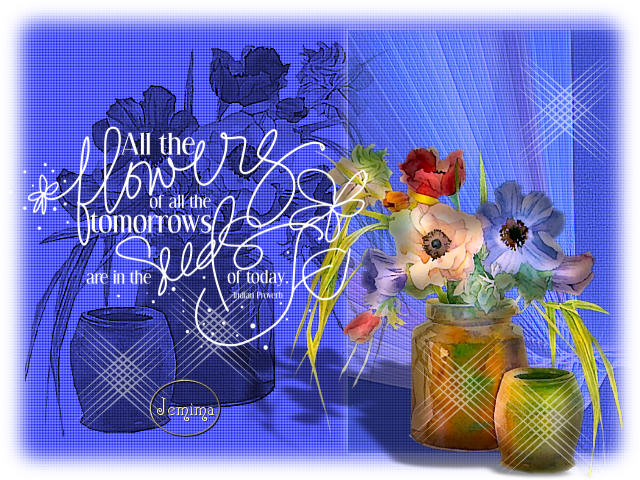
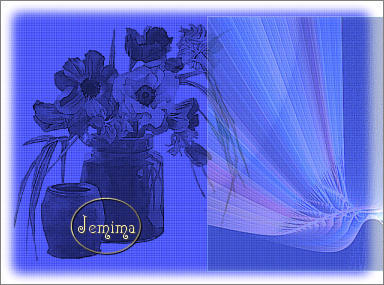
LAYERS >>> MERGE >>> MERGE ALL (Flatten)
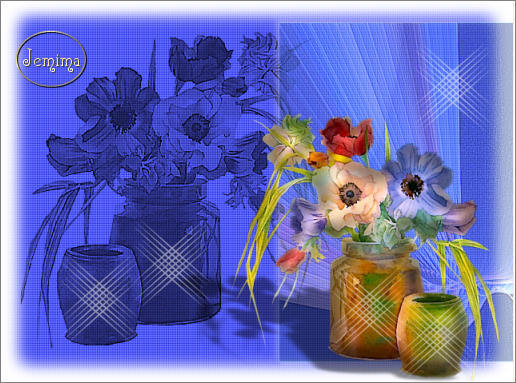
Save as .jpg image
TESTERS RESULTS
Page designed by

for

http://www.artistrypsp.com/
Copyright ©
2000-2007 Artistry In PSP / PSP Artistry
All rights reserved.
Unless specifically made available for
download,
no graphics or text may be removed from
this site for any reason
without written permission from Artistry
In PSP / PSP Artistry
|