TAG BACK 30
PSP8/9/X
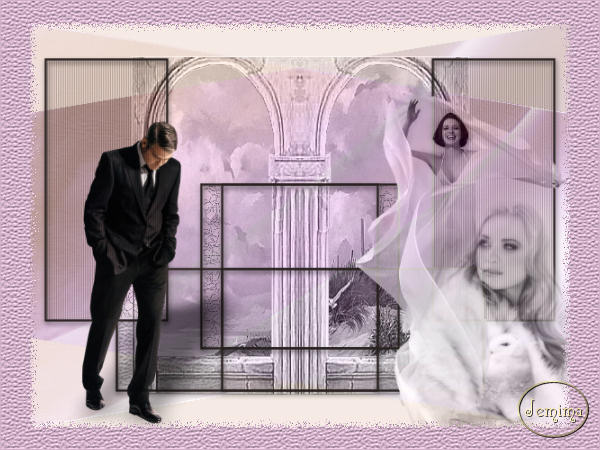
This tutorial was
written by Jemima ~ 2007
Copyright © 2007 ~ Jemima
~ All rights reserved
********************************
This was created using PSP9 but can be adapted for other versions of PSP.
You will need the
following to complete this tutorial
Materials
LEFT CLICK >>> SAVE
JF_abstract-purple.jpg
CB00024lg.jpg
LD-zuilentube.pspimage
JF_26.psp
GeorgeClooney_10507_cy.pspimage
SS_1606_Tube.pspimage
silnic-m246.psp
Save to a folder on your computer
t094.gif
Save to your PSP Textures folder
Plugins
** EYE CANDY3 **
http://www.pircnet.com/downloads.html
********************************
Open ALL your images in PSP and minimize
Open a new image 600 x 450
Transparent background
PSPX: Colour Depth = 8bits/channel
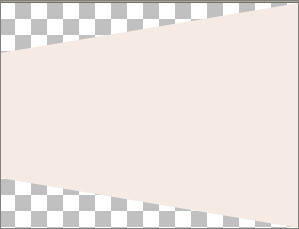
Flood fill with CREAM " #f5ebe4 "
EFFECTS>>> GEOMETRIC EFFECTS >>> PERSPECTIVE - HORIZONTAL
 . . 
In your LAYER PALETTE change the OPACITY to 90%
Change the BLEND MODE to HARD LIGHT
SELECTIONS >>> SELECT ALL
LAYERS >>> NEW RASTER LAYER
LAYERS >>> ARRANGE >>> MOVE DOWN
Open up the JF_abstract-purple.jpg image in your PSP workspace
Right click on the Title Bar and select COPY from the options
Right click on the Title Bar of your tag image
and select PASTE INTO SELECTION from the options.
DESELECT
EFFECTS>>> GEOMETRIC EFFECTS >>> PERSPECTIVE - HORIZONTAL
Same settings
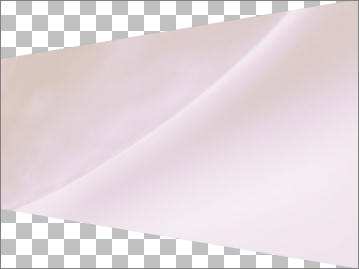
SELECTIONS >>> SELECT ALL
LAYERS >>> NEW RASTER LAYER
Go back to the JF_abstract-purple.jpg image
Right click on the Title Bar and select COPY from the options
Right click on the Title Bar of your tag image
and select PASTE INTO SELECTION from the options.
DESELECT
EFFECTS>>> GEOMETRIC EFFECTS >>> PERSPECTIVE - HORIZONTAL

In your LAYER PALETTE ....Change the BLEND MODE to OVERLAY
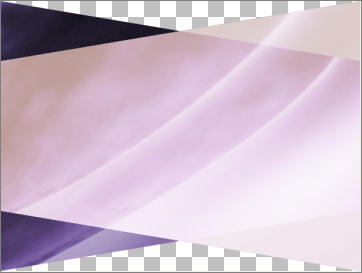
EFFECTS >>> EDGE EFFECTS >>> ENHANCE MORE
LAYERS >>> NEW RASTER LAYER
LAYERS >>> ARRANGE >>> SEND TO BOTTOM
Flood fill with CREAM" #f5ebe4 "
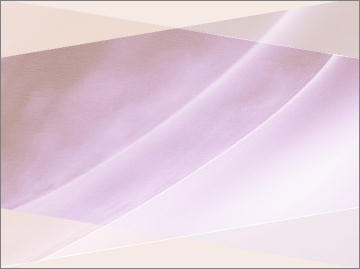
LAYERS >>> MERGE >>> MERGE VISIBLE
Open up the LD-zuilentube.pspimage image in your PSP workspace
Right click on the Title Bar and select COPY from the options
Right click on the Title Bar of your tag image
and select PASTE AS NEW LAYER from the options.
IMAGE >>> RESIZE = 72%
Ensure "Resize all layers" is UNCHECKED
In your LAYER PALETTE change the OPACITY to 85%
Change the BLEND MODE to LUMINANCE (L)
EFFECTS >>> EDGE EFFECTS >>> ENHANCE MORE
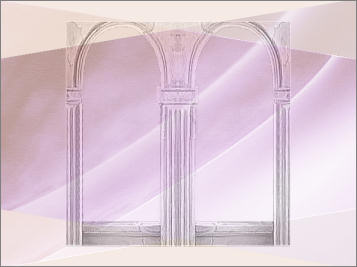
Choose your SELECTION TOOL
Selection Type = Rectangle
Mode = Replace
Feather = 0
Antialias = UNChecked
Draw a rectangle around the columns
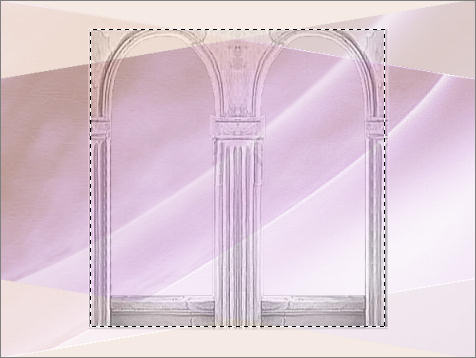
LAYERS >>> NEW RASTER LAYER
LAYERS >>> ARRANGE >>> MOVE DOWN
Open up the CB00024lg.jpg image in your PSP workspace
Right click on the Title Bar and select COPY from the options
Right click on the Title Bar of your tag image
and select PASTE INTO SELECTION from the options.
In your LAYER PALETTE change the BLEND MODE to LUMINANCE (L)
ACTIVATE RASTER 1
With your MAGIC WAND
Mode = Replace
Match Mode = RGB Value
Tolerance = 0
Feather = 0
Antialias = UNchecked
Sample Merged = UNCHECKED
PSP9/X: Check CONTIGUOUS
PSPX: There is no " Sample Merged"
PSPX: Use all layers = UNChecked
and while depressing your SHIFT KEY...
Select the areas between the columns
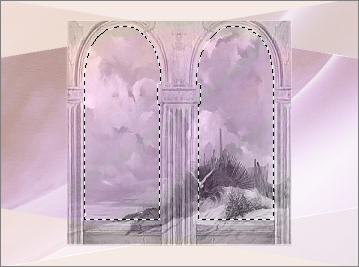
ACTIVATE RASTER 2
SELECTIONS >>> INVERT
EDIT >>> CLEAR
DESELECT
ACTIVATE RASTER 1
LAYERS >>> DUPLICATE
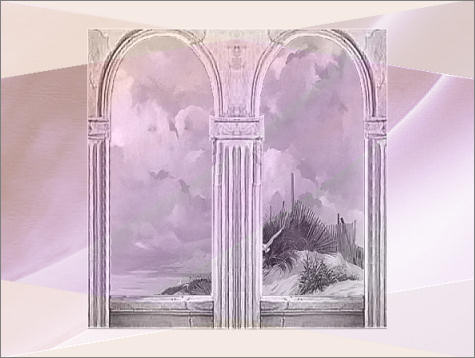
Open up the JF_26.psp image in your PSP workspace
Right click on the Title Bar and select COPY from the options
Right click on the Title Bar of your tag image
and select PASTE AS NEW LAYER from the options.
With your MAGIC WAND
Same settings.. and while depressing your SHIFT KEY...
Select the 2 areas indicated below
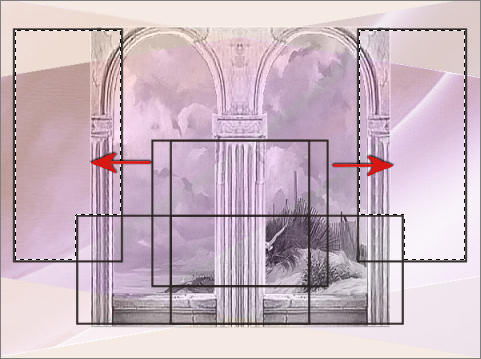
LAYERS >>> NEW RASTER LAYER
Flood fill with CREAM
EFFECTS >>> TEXTURE EFFECTS >>> BLINDS
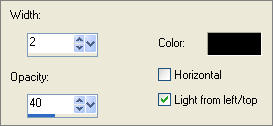
In your LAYER PALETTE change the OPACITY to 58%
Change the BLEND MODE to MULTIPLY
DESELECT
ACTIVATE RASTER 3
With your MAGIC WAND
Same settings.. and while depressing your SHIFT KEY...
Select the 2 areas indicated below
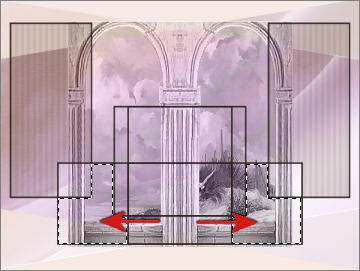
ACTIVATE THE MERGED LAYER
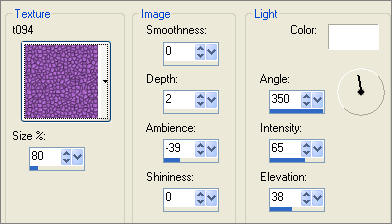
EFFECTS >>> TEXTURE EFFECTS >>> TEXTURE
ACTIVATE RASTER 3
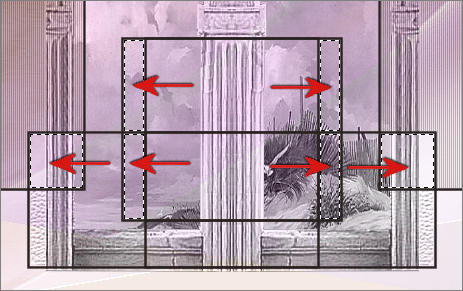
With your MAGIC WAND
Same settings.. and while depressing your SHIFT KEY...
Select the 6 areas indicated below
LAYERS >>> NEW RASTER LAYER
Flood fill with CREAM
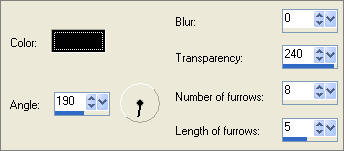
EFFECTS >>> TEXTURE EFFECTS >>> FINE LEATHER
In your LAYER PALETTE change the OPACITY to 58%
Change the BLEND MODE to MULTIPLY
EFFECTS >>> EDGE EFFECTS >>> ENHANCE MORE
Open up the GeorgeClooney_10507_cy.pspimage image in your PSP workspace
Right click on the Title Bar and select COPY from the options
Right click on the Title Bar of your tag image
and select PASTE AS NEW LAYER from the options.
IMAGE >>> RESIZE = 35%
Ensure "Resize all layers" is UNCHECKED
IMAGE >>> MIRROR
Reposition with your MOVER tool
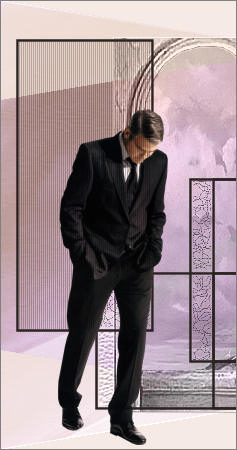
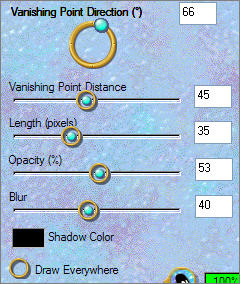
EFFECTS >>> PLUGINS >>> EYE CANDY 3 >>> PERSPECTIVE SHADOW
Open up the SS_1606_Tube.pspimage image in your PSP workspace
Right click on the Title Bar and select COPY from the options
Right click on the Title Bar of your tag image
and select PASTE AS NEW LAYER from the options.
IMAGE >>> RESIZE = 50%
Ensure "Resize all layers" is UNCHECKED
Reposition with your MOVER tool
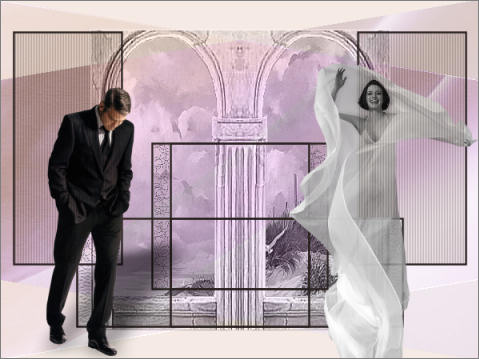
In your LAYER PALETTE change the BLEND MODE to LUMINANCE (L)
LAYERS >>> ARRANGE >>> MOVE DOWN
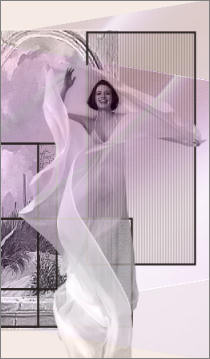
Open up the silnic-m246.psp image in your PSP workspace
Right click on the Title Bar and select COPY from the options
Right click on the Title Bar of your tag image
and select PASTE AS NEW LAYER from the options.
IMAGE >>> RESIZE = 50%
Ensure "Resize all layers" is UNCHECKED
Reposition with your MOVER tool
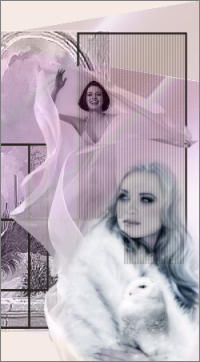
In your LAYER PALETTE change the OPACITY to 75%
Change the BLEND MODE to LUMINANCE (L)
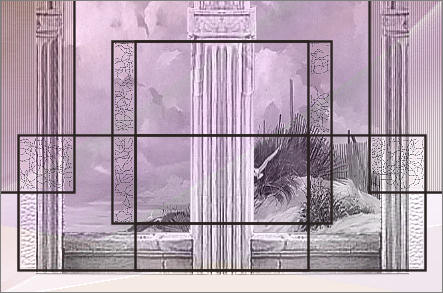
ACTIVATE RASTER 3
Choose your SELECTION TOOL
Same settings
PSPX/XI/XII:Select your PICK tool
Draw a rectangle around the outside of the black lines
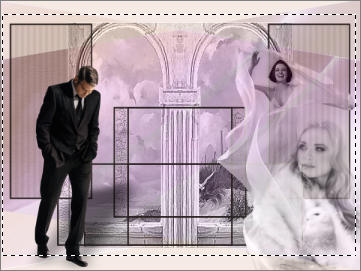
Click inside the marching ants to select the black lines
EFFECTS >>> PLUGINS >>> EYE CANDY 3 >>> DROP SHADOW
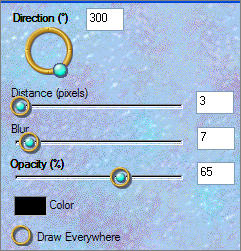
DESELECT
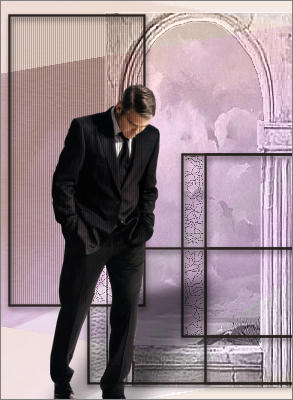
LAYERS >>> MERGE >>> MERGE VISIBLE
IMAGE >>> RESIZE = 90%
Ensure "Resize all layers" is UNCHECKED
LAYERS >>> NEW RASTER LAYER
LAYERS >>> ARRANGE >>> MOVE DOWN
Flood fill with DARK PINK " #d5b6cc "
EFFECTS >>> TEXTURE EFFECTS >>> TEXTURE
Same settings

ACTIVATE THE MERGED LAYER
With your MAGIC WAND ...
Same settings..
Select the OUTER area of the image
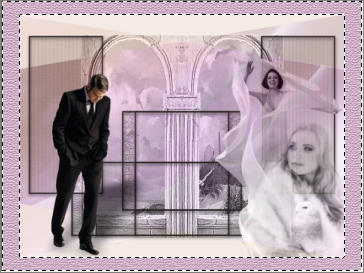
SELECTIONS >>> INVERT
SELECTIONS >>> MODIFY >>> FEATHER

SELECTIONS >>> INVERT
EDIT >>> CLEAR
EDIT >>> CLEAR
In your LAYER PALETTE change the BLEND MODE to DISSOLVE
DESELECT

LAYERS >>> MERGE >>> MERGE ALL (Flatten)
You could add some WordArt to add some more interest.
Save as .jpg image
TESTERS RESULTS
Page designed by

for
http://www.artistrypsp.com/
Copyright ©
2000-2007 Artistry In PSP / PSP Artistry
All rights reserved.
Unless specifically made available for
download,
no graphics or text may be removed from
this site for any reason
without written permission from Artistry
In PSP / PSP Artistry
TUTORIAL
INDEX
|