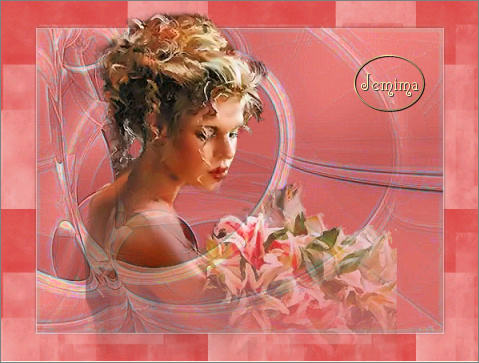
TAG BACK 11
PRETTY MISS
PSP8/9/X

This tutorial was
written by Jemima ~ January 2007
Copyright © 2007 ~ Jemima
~ All rights reserved
********************************
This was created using PSP9 but can be adapted for other versions of PSP.
You will need the
following to complete this tutorial
Materials
LEFT CLICK >>> SAVE
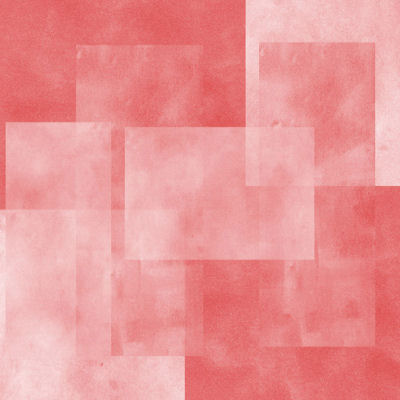
Abstract310_prev.jpg
obsflncldw.psp
Save to a folder on your computer
BRUSH DOWNLOAD
3linesarchsquare-psp8-danetta.PspBrush
BrushTip_3linesarchsquare-psp8-danetta.PspScript
Save to your PSP Brushes folder
tourmalinesquares_rdickson.jpg
Save to your PSP Patterns folder
Plugins
NONE
********************************
Open all your images in PSP and minimize
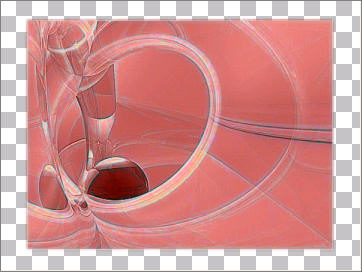
Open up the Abstract310_prev.jpg image in your PSP workspace
WINDOW >>> DUPLICATE
Close the original Image
LAYERS >>> Promote background layer
IMAGE >>> RESIZE = 85%
Ensure "Resize all layers" is UNCHECKED
LAYERS >>> DUPLICATE
In your LAYER PALETTE change the OPACITY to 58%
Change the BLEND MODE to LUMINANCE (L)
On the "
Copy of Raster 1" layer
ACTIVATE RASTER 1
EFFECTS >>> EDGE EFFECTS >>> ENHANCE MORE
EDIT >>> Repeat Enhance Edges More
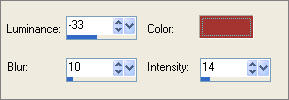
EFFECTS >>> ART MEDIA EFFECTS >>> PENCIL
COLOUR = " #a53631 "
LAYERS >>> MERGE >>> MERGE VISIBLE
Open up the obsflncldw.psp image in your PSP workspace
Right click on the Title Bar and select COPY from the options
Right click on the Title Bar of your tag image
and select PASTE AS NEW LAYER from the options.
LAYERS >>> NEW RASTER LAYER
LAYERS >>> ARRANGE >>> SEND TO BOTTOM
Flood fill with PINK " #ffccc8 "
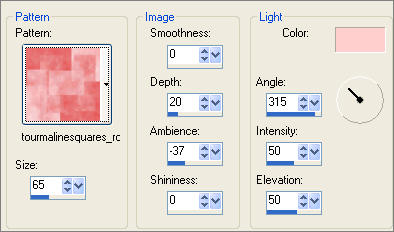
EFFECTS >>> TEXTURE EFFECTS >>> SCULPTURE
COLOUR = PINK " #ffccc8 "
ACTIVATE THE MERGED LAYER
EFFECTS >>> EDGE EFFECTS >>> ENHANCE
With your MAGIC WAND
Mode = Replace
Match Mode = RGB Value
Tolerance = 0
Feather = 0
Antialias = Checked
Sample Merged = UNCHECKED
PSP9/X: Check CONTIGUOUS
PSPX: There is no " Sample Merged"
PSPX: Use all layers = UNChecked
PSP9/X: ANTIALIAS = Inside
Select the area surrounding the image
SELECTIONS >>> INVERT
SELECTIONS >>> SELECT ALL
SELECTIONS >>> MODIFY >>> CONTRACT = 4
EFFECTS >>> 3D EFFECTS >>> DROP SHADOW
Vertical & Horizontal offsets = 2
Colour = WHITE
Opacity = 60
Blur = 0
EFFECTS >>> 3D EFFECTS >>> DROP SHADOW
Vertical & Horizontal offsets = - ( minus ) 2
Colour = WHITE
Opacity = 60
Blur = 0
DESELECT
In your LAYER PALETTE change the BLEND MODE to LIGHTEN
LAYERS >>> NEW RASTER LAYER
Select your PAINT BRUSH tool
Locate the " 3linesarchsquare-psp8-danetta " brush
use default settings
With WHITE in your foreground ( MATERIALS PALETTE )
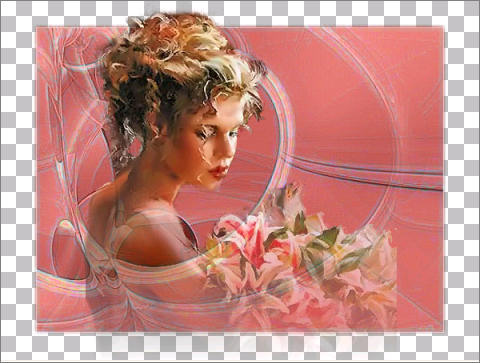
Click once with your left mouse button in the top right corner as shown
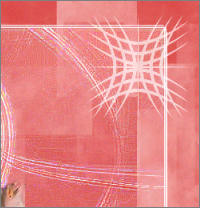
Change the size to 90 and repeat the brush.
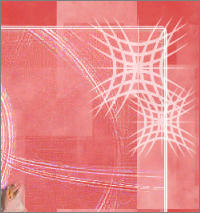
Change the size to 70 and repeat the brush 3 times as shown.

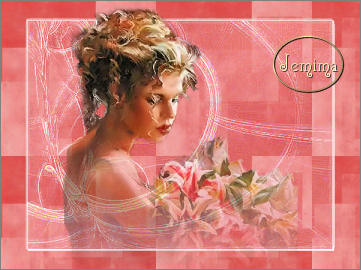
LAYERS >>> MERGE >>> MERGE ALL (Flatten)
Save as .jpg image
The font I used in the final image at the top of the page is
MissLankfort.ttf
TESTERS RESULTS
Page designed by

for
http://www.artistrypsp.com/
Copyright ©
2000-2007 Artistry In PSP / PSP Artistry
All rights reserved.
Unless specifically made available for
download,
no graphics or text may be removed from
this site for any reason
without written permission from Artistry
In PSP / PSP Artistry
TUTORIAL
INDEX
|
