CYNICAL
PSP8 to X2
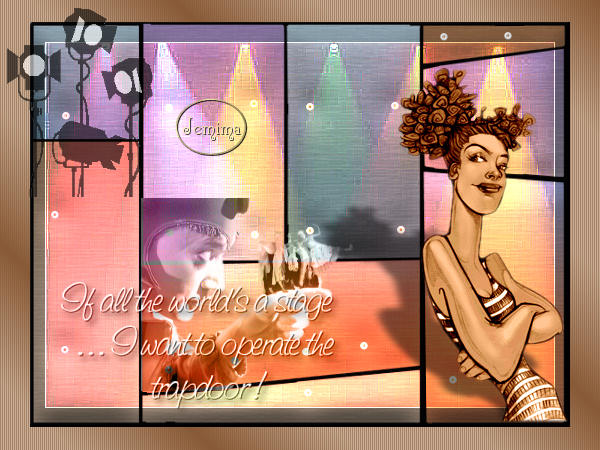
This tutorial was
written by Jemima ~ 2007
Copyright © 2007 ~ Jemima
~ All rights reserved
********************************
This was created using PSP9 but can be adapted for other versions of PSP.
You will need the
following to complete this tutorial
Materials
LEFT CLICK >>> SAVE
JF_templateC.psp
JF_StageLights.psp
JF_Actors.psp
JF_Lights.psp
CURLY CURLS-MMACYY.pspimage
JF_WSA_17.psp
Save to a folder on your computer
Hatch fine shallow.bmp
Save to your PSP Textures folder
Plugins
** EYE CANDY3 **
http://www.pircnet.com/downloads.html
********************************
Open your images in PSP and minimize
Open a new image 600 x 450
Transparent background
PSPX: Colour Depth = 8bits/channel
Open up the JF_templateC.psp image in your PSP workspace
Right click on the Title Bar and select COPY from the options
Right click on the Title Bar of your new tag image
and select PASTE AS NEW LAYER from the options.
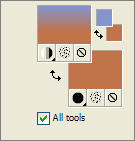
In your MATERIALS PALETTE
Load SOLID BLUE ' #8395ce ' in your foreground
Load SOLID ORANGE ' #c17349 ' in your background
Then select the GRADIENT option in the foreground
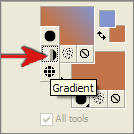
Left click inside the gradient box
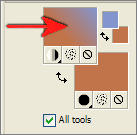
Locate the "Foreground-background" gradient
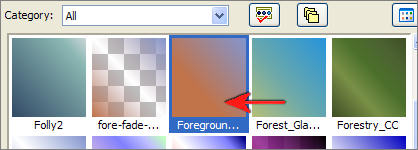
Use these settings
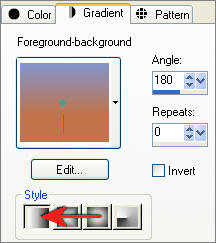 . . 
With your MAGIC WAND
Mode = Replace
Match Mode = RGB Value
Tolerance = 0
Feather = 0
Antialias = UNchecked
Sample Merged = UNCHECKED
PSP9/X: Check CONTIGUOUS
PSPX: There is no " Sample Merged"
PSPX: Use all layers = UNChecked
and while depressing your SHIFT KEY...
Select the transparent areas indicated
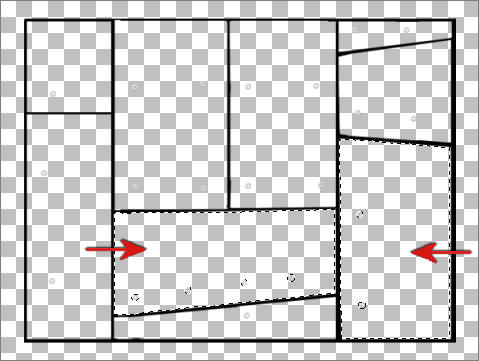
SELECTIONS >>> MODIFY >>> EXPAND = 2
ACTIVATE RASTER 1
Flood fill with the GRADIENT
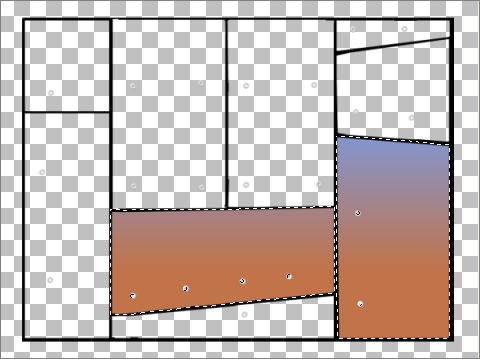
DESELECT
In your MATERIALS PALETTE
Left click in the small colour boxes and
Load SOLID LIGHT BLUE ' #95acb9 ' in your foreground
Load SOLID DARK BLUE ' #4a708d ' in your background
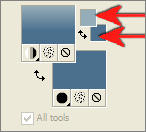
ACTIVATE RASTER 2
With your MAGIC WAND
Same settings.. and while depressing your SHIFT KEY...
Select the transparent areas indicated
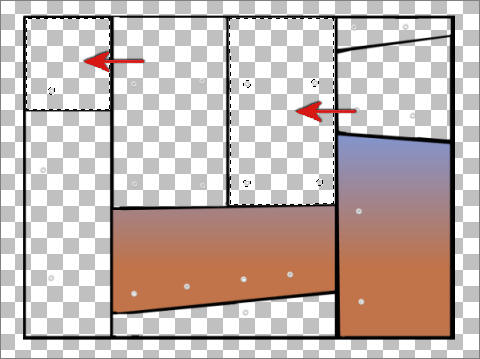
SELECTIONS >>> MODIFY >>> EXPAND = 2
ACTIVATE RASTER 1
Flood fill with the GRADIENT
DESELECT
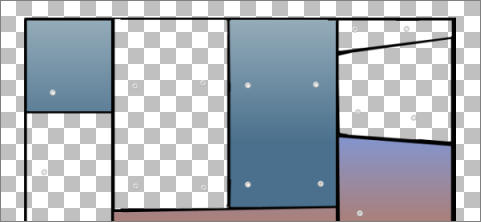
In your MATERIALS PALETTE
Left click in the small colour boxes and
Load SOLID PURPLE ' #8872a6 ' in your foreground
Load SOLID LIGHT PURPLE' #948ca1 ' in your background
ACTIVATE RASTER 2
With your MAGIC WAND
Same settings.. and while depressing your SHIFT KEY...
Select the transparent areas indicated
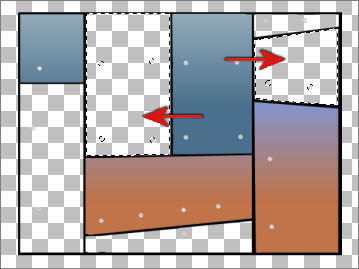
SELECTIONS >>> MODIFY >>> EXPAND = 2
ACTIVATE RASTER 1
Flood fill with the GRADIENT
DESELECT
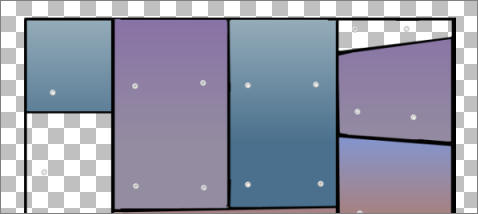
In your MATERIALS PALETTE
Left click in the small colour boxes and
Load SOLID BROWN ' #885a37 ' in your foreground
Load SOLID FAWN ' #c8ae96 ' in your background
ACTIVATE RASTER 2
With your MAGIC WAND
Same settings.. and while depressing your SHIFT KEY...
Select the remaining transparent areas
SELECTIONS >>> MODIFY >>> EXPAND = 2
ACTIVATE RASTER 1
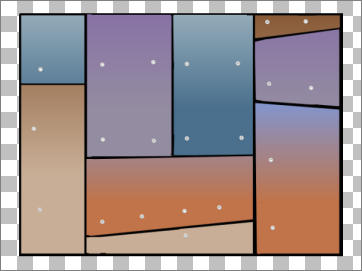
Flood fill with the GRADIENT
DESELECT
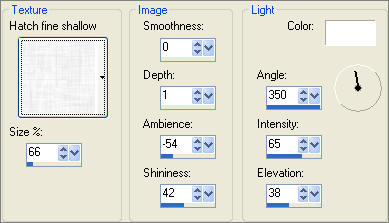
EFFECTS >>> TEXTURE EFFECTS >>> TEXTURE

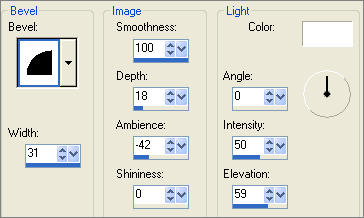
EFFECTS >>> 3D EFFECTS >>> INNER BEVEL
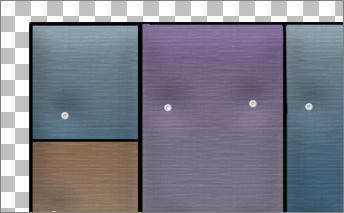
ACTIVATE RASTER 2
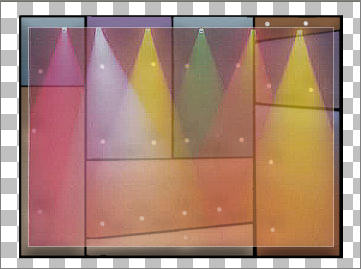
Open up the JF_StageLights.psp image in your PSP workspace
Right click on the Title Bar and select COPY from the options
Right click on the Title Bar of your new tag image
and select PASTE AS NEW LAYER from the options.
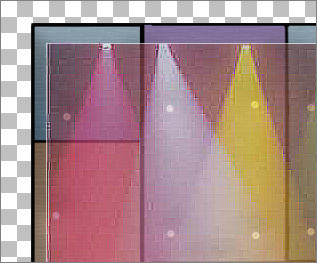
EFFECTS >>> EDGE EFFECTS >>> ENHANCE MORE
 . . 
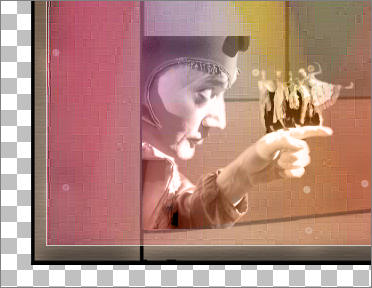
Open up the JF_Actors.psp image in your PSP workspace
Right click on the Title Bar and select COPY from the options
Right click on the Title Bar of your new tag image
and select PASTE AS NEW LAYER from the options.
IMAGE >>> RESIZE = 50%
Ensure "Resize all layers" is UNCHECKED
Reposition with your MOVER tool
In your LAYER PALETTE change the BLEND MODE to LUMINANCE (L)
Open up the JF_Lights.psp image in your PSP workspace
Right click on the Title Bar and select COPY from the options
Right click on the Title Bar of your new tag image
and select PASTE AS NEW LAYER from the options.
In your LAYER PALETTE change the OPACITY to 60%
Reposition with your MOVER tool
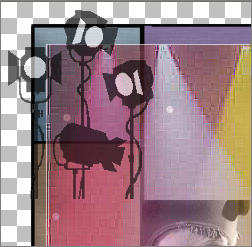
Open up the CURLY CURLS-MMACYY.pspimage image in your PSP workspace
Right click on the Title Bar and select COPY from the options
Right click on the Title Bar of your new tag image
and select PASTE AS NEW LAYER from the options.
Reposition with your MOVER tool
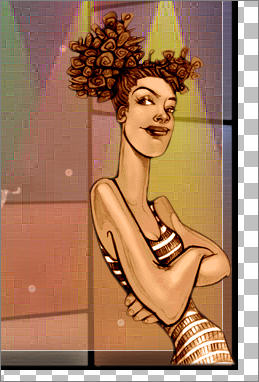
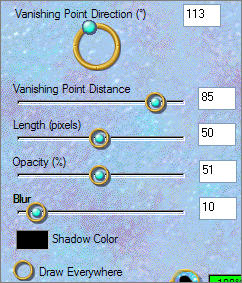
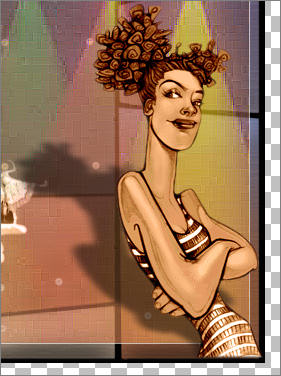
EFFECTS >>> PLUGINS >>> EYE CANDY 3 >>> PERSPECTIVE SHADOW
 . . 
Open up the JF_WSA_17.psp image in your PSP workspace
WINDOW >>> DUPLICATE
Close the original Image
CLOSE RASTER 4
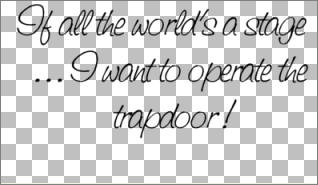
With RASTER 3 active use you MOVER tool to reposition the bottom line
 . . 
LAYERS >>> MERGE >>> MERGE VISIBLE
LAYERS >>> DUPLICATE
LAYERS >>> MERGE >>> MERGE VISIBLE
Right click on the Title Bar and select COPY from the options
Right click on the Title Bar of your new tag image
and select PASTE AS NEW LAYER from the options.
ADJUST >>> COLOUR BALANCE >>> NEGATIVE IMAGE
PSPX - X2: IMAGE >>> NEGATIVE IMAGE
IMAGE >>> RESIZE = 75%
Ensure "Resize all layers" is UNCHECKED
EFFECTS >>> 3D EFFECTS >>> DROP SHADOW
Vertical & Horizontal offsets = 1
Colour = Black
Opacity = 70
Blur = 0
EFFECTS >>> PLUGINS >>> EYE CANDY 3 >>> DROP SHADOW
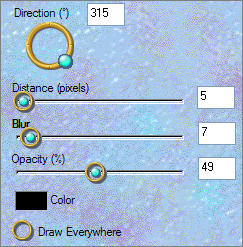
Reposition with your MOVER tool
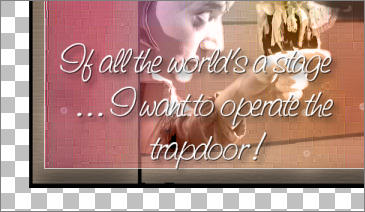
In your LAYER PALETTE change the BLEND MODE to LUMINANCE (L)
In your MATERIALS PALETTE change the settings for the Foreground Gradient
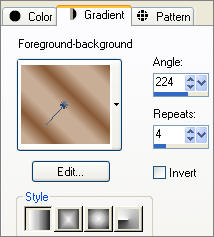
LAYERS >>> NEW RASTER LAYER
LAYERS >>> ARRANGE >>> SEND TO BOTTOM
Flood fill with the gradient
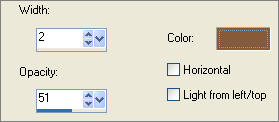
EFFECTS >>> TEXTURE EFFECTS >>> BLINDS
COLOUR = "
#885a37 "
 . . 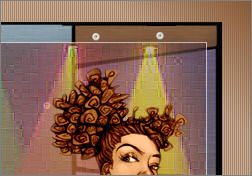
In your LAYER PALETTE change the BLEND MODE to DODGE for RASTER 3
LAYERS >>> MERGE >>> MERGE ALL (Flatten)
Save as .jpg image
TESTERS RESULTS
Page designed by

for
http://www.artistrypsp.com/
Copyright ©
2000-2007 Artistry In PSP / PSP Artistry
All rights reserved.
Unless specifically made available for
download,
no graphics or text may be removed from
this site for any reason
without written permission from Artistry
In PSP / PSP Artistry |