SPRING - Version 2
PSP8/9
This tutorial was
written by Jemima ~ January 2007
Copyright © 2007 ~ Jemima
~ All rights reserved
********************************
Maximize your "SPRING2.psp" image
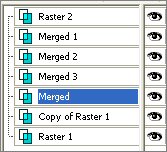
Activate the Merged 3 layer and close all the others
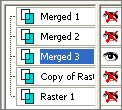
LAYERS >>> DUPLICATE
CLOSE Merged 3
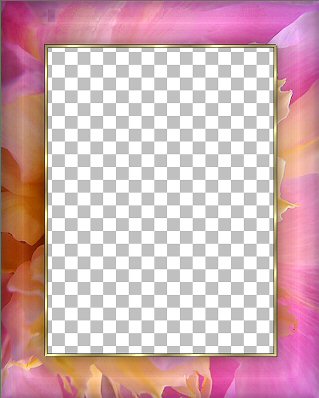
SELECTIONS >>> SELECT ALL
SELECTIONS >>> MODIFY >>> CONTRACT = 40
SELECTIONS >>> INVERT
EDIT >>> CLEAR
EFFECTS >>> 3D Effects >>> Drop Shadow
Vertical & Horizontal offsets = 1
Colour = Black
Opacity = 55
Blur = 0
Repeat Drop Shadow effect changing
Vertical & Horizontal Offsets to - ( minus ) 1
Click OK
DESELECT
LAYERS >>> DUPLICATE
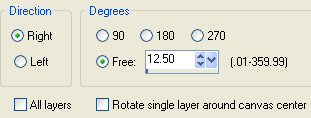
IMAGE >>> ROTATE >>> FREE ROTATE = RIGHT 12.50
Ensure "All layers" is UNCHECKED
LAYERS >>> DUPLICATE
IMAGE >>> ROTATE >>> FREE ROTATE = RIGHT 12.50

Repeat this process until you have " Copy (10) of Merged 3 "
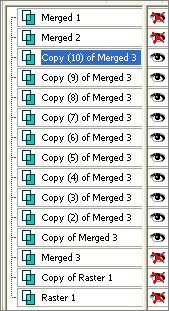
LAYERS >>> MERGE >>> MERGE VISIBLE
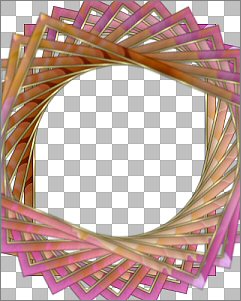
ADJUST >>> SHARPNESS >>> UNSHARP MASK
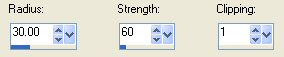
With your MAGIC WAND .. same settings
Select the CENTRE transparent area
SELECTIONS >>> MODIFY >>> EXPAND = 3
LAYERS >>> NEW RASTER LAYER
LAYERS >>> ARRANGE >>> MOVE DOWN
SELECTIONS >>> INVERT
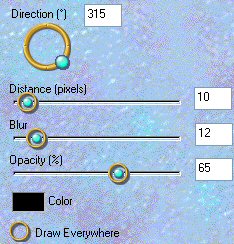
EFFECTS >>> PLUGINS >>> EYE CANDY 3 >>> DROP SHADOW
DESELECT
LAYERS >>> MERGE >>> MERGE VISIBLE
OPEN ALL LAYERS
Activate "Raster 1"
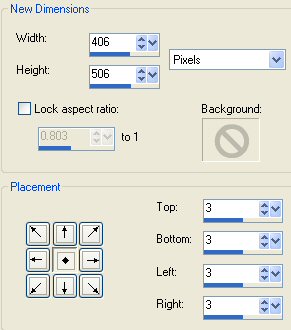
IMAGE >>> CANVAS SIZE
With your MAGIC WAND .. same settings
Select the outer transparent border
LAYERS >>> NEW RASTER LAYER
LAYERS >>> ARRANGE >>> BRING TO TOP
Flood fill with GOLD
EFFECTS >>> 3D EFFECTS >>> DROP SHADOW
Use the same settings
Click OK
Repeat Drop Shadow effect changing
Vertical & Horizontal Offsets to 1
Click OK
DESELECT
Activate the MERGED layer
LAYERS >>> ARRANGE >>> MOVE DOWN
LAYERS >>> MERGE >>> MERGE ALL (Flatten)
Save as a .jpg image
I hope you enjoyed this tutorial.
Page designed by

for

http://www.artistrypsp.com/
Copyright ©
2000-2007 Artistry In PSP / PSP Artistry
All rights reserved.
Unless specifically made available for
download,
no graphics or text may be removed from
this site for any reason
without written permission from Artistry
In PSP / PSP Artistry
|