SHEER ELEGANCE
PSP8
Page 2
This
tutorial was written by Jemima ~ April
2005
Copyright © 2005 ~
Jemima ~ All rights reserved
********************************
This isn't very clear because of the
reduction.
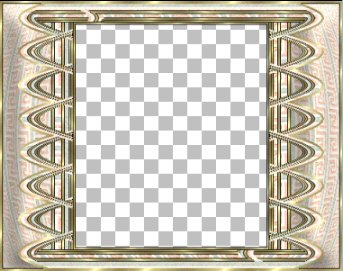
You will need a tube of your choice.
To create the same effect make sure it's
a large one.
~*~*~*~*~*~*~*~*~
Go to WINDOW >>> DUPLICATE
Close the original frame you created,
this way it can be used for other images.
Go to your LAYER PALETTE
Click on Raster1 to activate
Flood fill with a colour of your choice.
I chose CREAM ( #FFEDCF )
Go to LAYERS >>> NEW RASTER
LAYER
Right click on the title bar of your tube
image
and select COPY from the options
Go to your frame image
Right click on the Title Bar
and select PASTE AS NEW SELECTION from
the options.
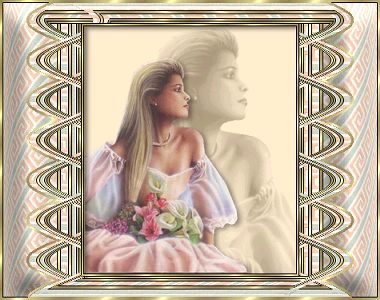
Go to your LAYER PALETTE
On Raster 2
Change the LAYER BLEND MODE to LUMINANCE
(Legacy)
Reduce the LAYER OPACITY TO 38%
Or whatever suits your tube
so you end up with something similar to
the example below.

Go to LAYERS >>> NEW RASTER
LAYER
Right click on the title bar of your tube
image
and select COPY from the options
Go to your frame image
Right click on the Title Bar
and select PASTE AS NEW SELECTION from
the options.
Go to IMAGE >>> RESIZE
and reduce the image to about 70 - 75% of
it's original size>
DON'T
FORGET
Make sure "Resize all layers"
is UNCHECKED
Reposition the tube to suit.
Go to your LAYER PALETTE
On Layer 3 reduce the OPACITY to about
75%
(That is... if your image needs
softening)
Go to EFFECTS >>> PLUGINS
>>> EYE CANDY 3 >>>
DROP SHADOW
Use these settings
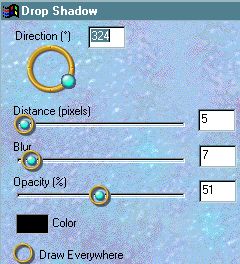
Click OK
DESELECT
Go to your LAYER PALETTE
Click on the MERGED layer to activate
With your MAGIC WAND
Match Mode = RGB Value
Tolerance = 0
Feather = 0
Sample Merged = UNCHECKED
Click in the centre of the image
Go to SELECTIONS >>> INVERT
Go to EFFECTS >>> PLUGINS
>>> EYE CANDY 3 >>>
DROP SHADOW
Use the same settings
Click OK
DESELECT
Go to LAYERS >>> MERGE
>>> MERGE ALL (Flatten)
Your image is complete *S*
I hope you enjoyed this tutorial
~*~*~*~*~*~*~
I would like to thank KAT
from GrafixAddixNewzSharesForU
and
SCARLET from AIPSP
for their assistance in testing this
tutorial *S*
All I can say is...
Thank goodness Kat knows what I MEAN to
say in my
untested tutorials *S*
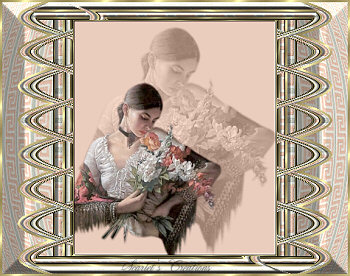
Here is Kat's fantastic result.

Scarlet's great result
Page designed by

for

http://www.artistrypsp.com/
Copyright
© 2000-2005 Artistry In PSP / PSP
Artistry
All rights reserved.
Unless specifically made available for
download,
no graphics or text may be removed from
this site for any reason
without written permission from Artistry
In PSP / PSP Artistry
TUTORIAL INDEX
|