MISTING IMAGES
PSP7
This can be adapted
for PSP8 and UP
This
tutorial was written by Jemima ~ July
2005
Copyright © 2005 ~
Jemima ~ All rights reserved
********************************
You will
need the following to complete this
tutorial
An image of your choice
OR
you can use the one supplied for this
exercise*S*
********************************
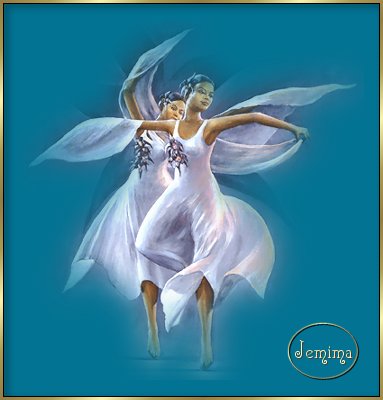
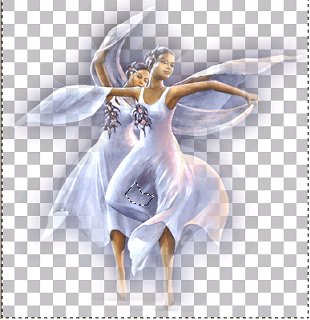
We'll use this image

This is a painting by LAVARNE ROSS
called "Black Orchid"
You can find his beautiful artwork HERE
Right click and save the image to a
folder on your computer.
~*~*~*~*~*~*~*~*~
Open up your image in your PSP workspace
Go to LAYERS >>> Promote to
Layer
~*~*~*~*~*~*~*~*~*
TIP: If
you wish to follow the progress of your
"misting" more accurately....
Go to LAYERS >>> NEW RASTER
LAYER
Flood fill with a DARK colour.
Go to LAYERS >>> ARRANGE
>>> SEND TO BOTTOM.
You won't see this layer until you start
'misting'.
DON'T FORGET TO DELETE THIS LAYER
BEFORE SAVING YOUR MISTED IMAGE.
~*~*~*~*~*~*~*~*~
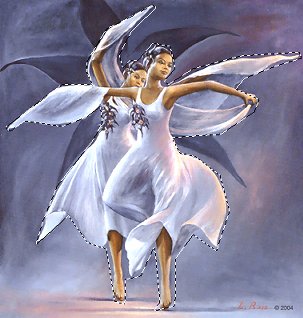
Select your FREEHAND (Lasso) TOOL
SELECTION TYPE = Point To Point
FEATHER = 0
ANTIALIAS = CHECKED
Select the image as shown below by
working around
the outer edge of the dancers.
No need to be precise.
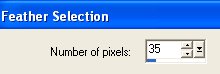
Go to SELECTIONS >>> MODIFY
>>> FEATHER
~*~*~*~*~*~*~*~*~
NOTE:You
can play around with the FEATHER settings
to control
the amount of "misting" you
wish to create.
I play with settings between 25 and 35
depending on the image I use.
~*~*~*~*~*~*~*~*~
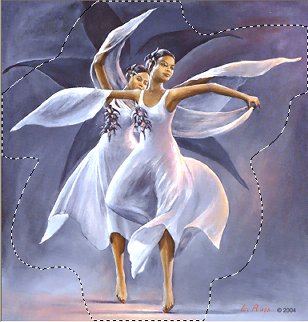
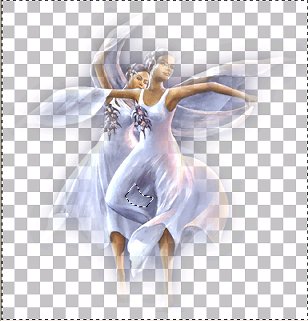
Go to SELECTIONS >>> INVERT
The selection will now be reversed

Go to EDIT >>> CUT
You can repeat the EDIT >>> CUT
as many times as you wish
This is mine done a second time
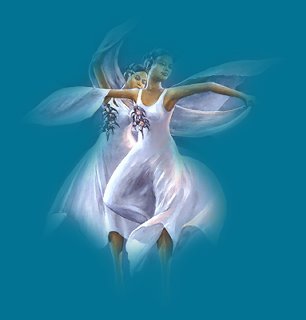
Once you are satisfied
Go to SELECTIONS >>> SELECT NONE
save your image as a
.psp file
Page designed by

for

http://www.artistrypsp.com/
Copyright
© 2000-2005 Artistry In PSP / PSP
Artistry
All rights reserved.
Unless specifically made available for
download,
no graphics or text may be removed from
this site for any reason
without written permission from Artistry
In PSP / PSP Artistry
TUTORIAL INDEX
|